Naturally fresh, beautifully stored

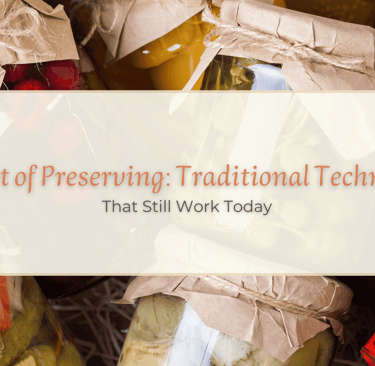
The Art of Preserving: Traditional Techniques That Still Work Today
In a world where refrigerators and freezers do most of the heavy lifting, it’s easy to forget that for thousands of years, humans relied on skill, patience, and creativity to keep food fresh. From sun-drying to fermenting, these time-tested methods are still alive today, and they not only work, but often give food deeper flavor and texture. Let’s take a journey through some of these traditional preservation techniques, see how they’ve evolved, and discover how you can try them in your own kitchen.
9/11/2025

Step into a kitchen from over a century ago.
The room is cool and dim, with shelves heavy under rows of glass jars catching the afternoon light. A loaf of bread sits wrapped in cloth, its crust still crisp. Herbs sway gently from the rafters, releasing their scent whenever the wind sneaks in.
This wasn’t done for show, it was survival. Every jar, wrap, and bundle was part of a centuries-old skill: keeping food safe, fresh, and full of flavor without the help of a refrigerator.
These methods weren’t just practical, they shaped the way people cooked, stored, and even celebrated food. And here’s the thing: they still work. Let’s wander through six traditional preservation techniques, from how they began to how you can use them today, with tips, common mistakes, and how long your efforts will last.
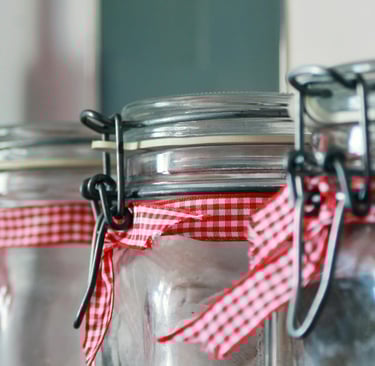
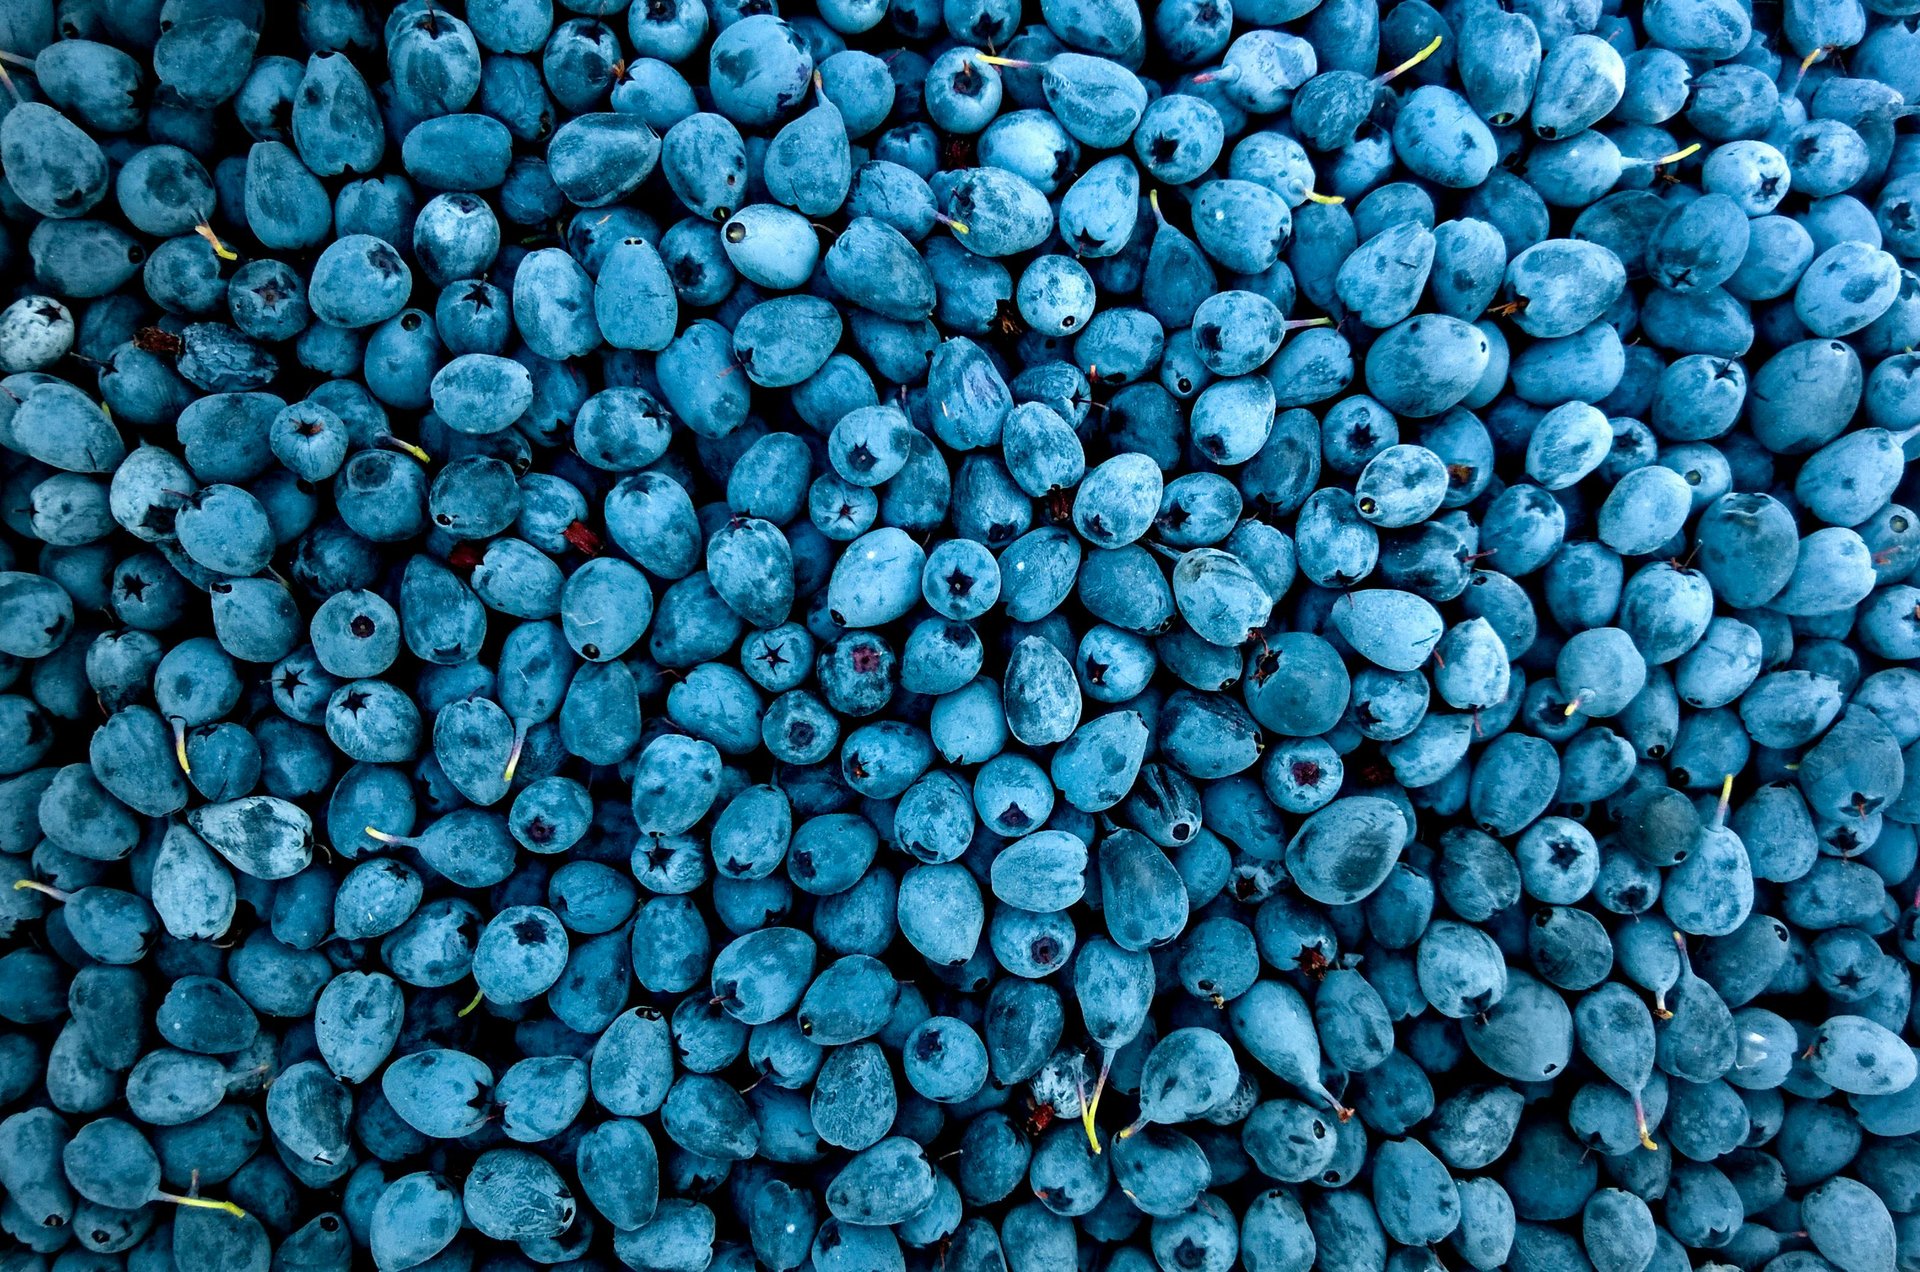
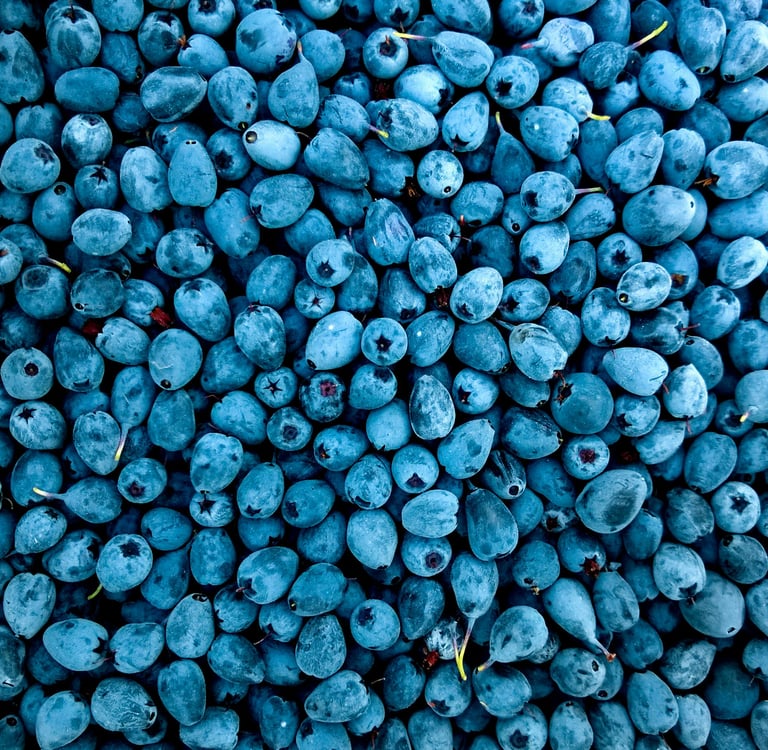
Fermentation, Flavor That Gets Better With Time
Before, long before refrigerators, people stored vegetables like cabbage, cucumbers, and turnips in barrels of salty brine, sometimes burying them underground or keeping them in cool cellars. The natural bacteria worked slowly, creating tangy flavors while keeping food safe to eat for months. often lasting all winter. Families relied on these jars as a steady source of vitamins when fresh produce wasn’t available.


Today, the principle is the same, but the setting is usually a glass jar on your kitchen counter. Once fermentation starts, the jar often moves to the refrigerator to slow the process and keep it fresh for longer. Homemade ferments like sauerkraut, kimchi, or pickled carrots are now praised not only for their flavor but also for their probiotics, adding a healthy twist to an age-old tradition.
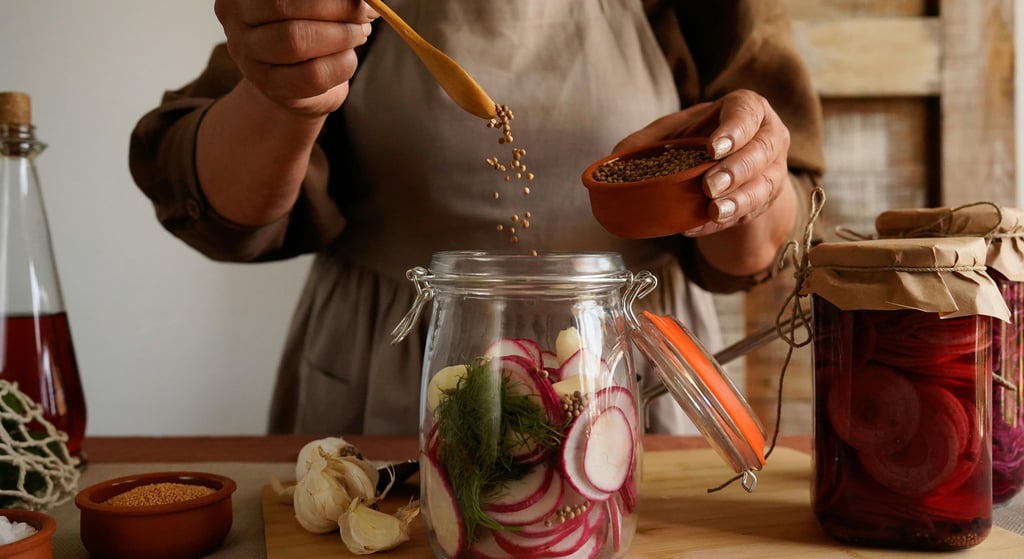
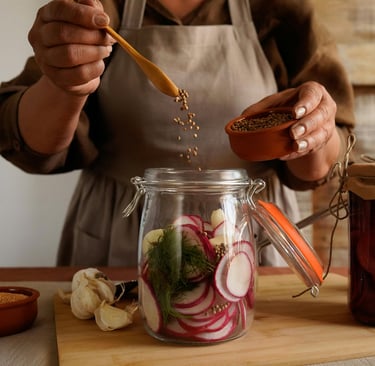
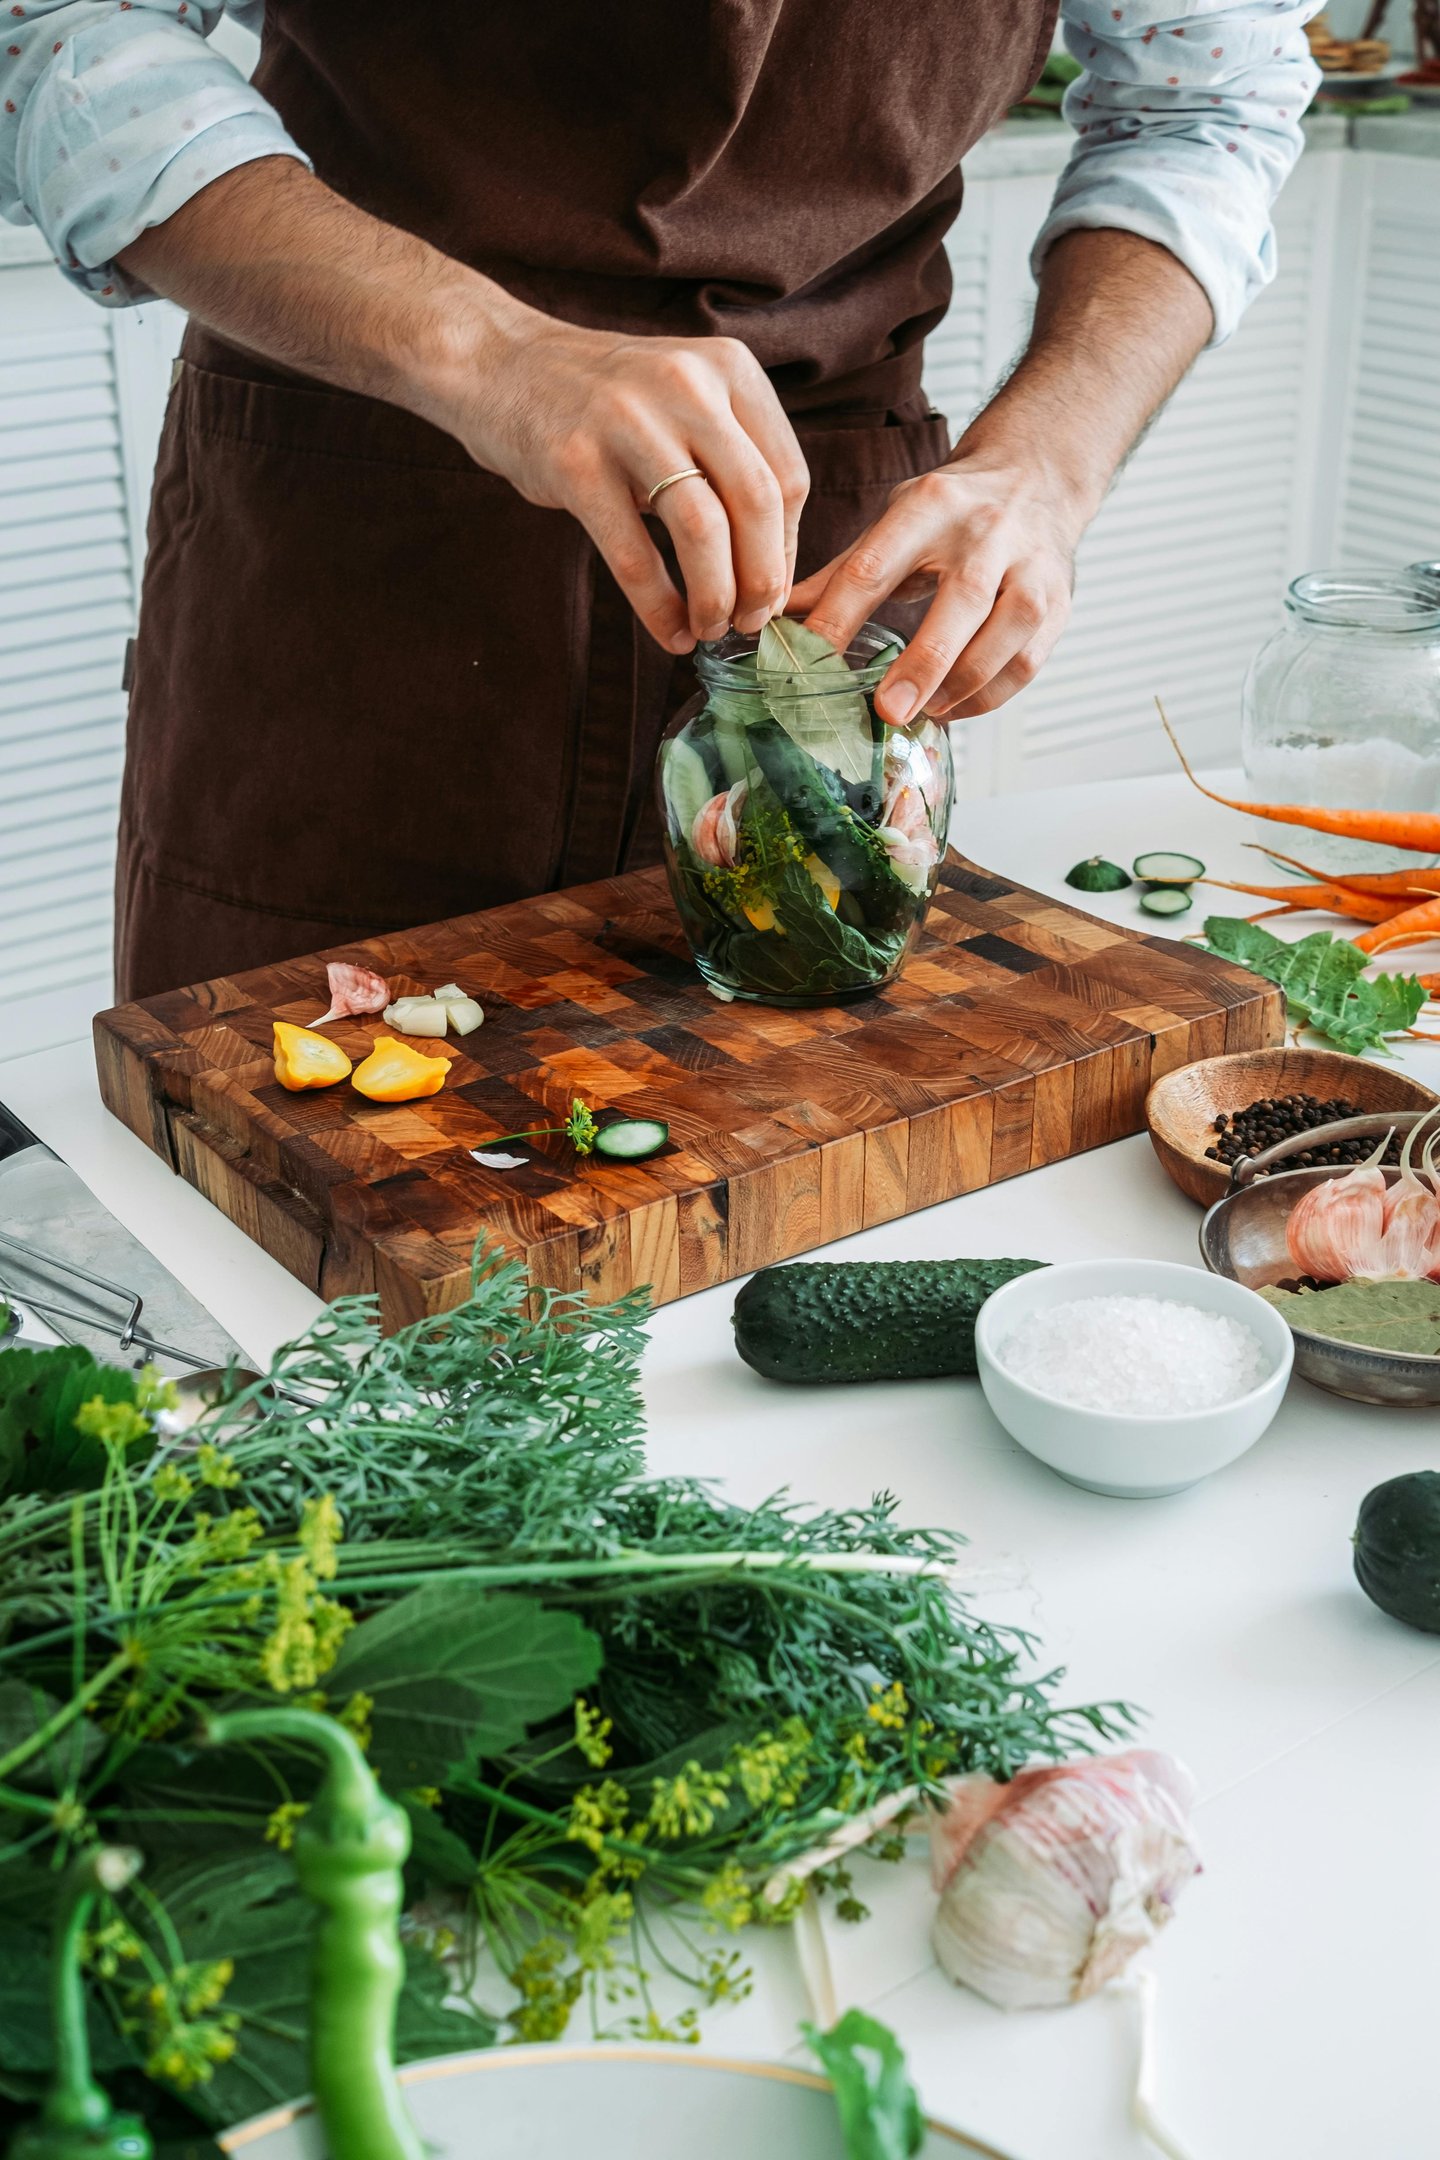
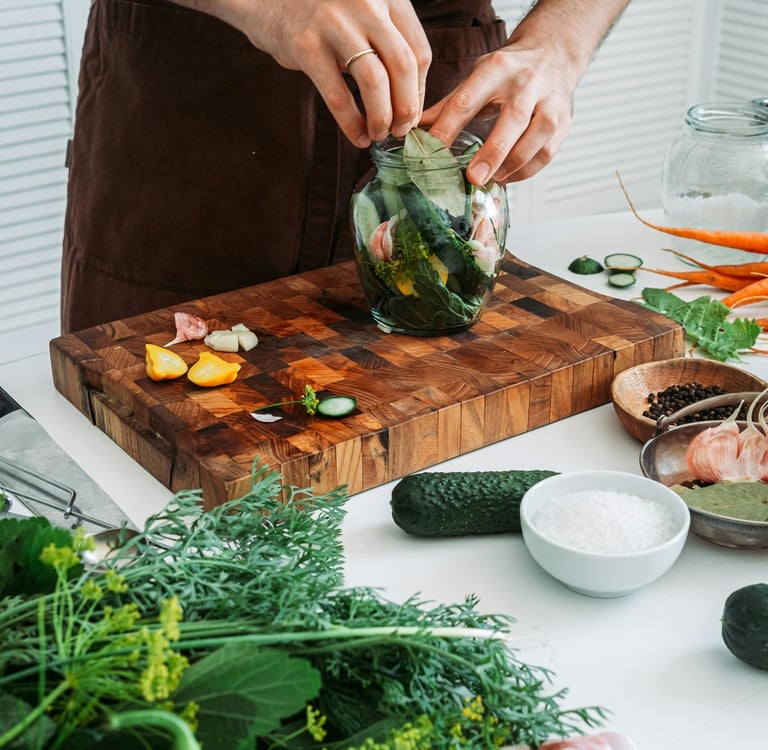
How to do it: To ferment at home, choose fresh vegetables and wash them well. Slice or leave them whole, depending on the recipe, then pack them tightly into a clean jar. Cover with brine made of water and non-iodized salt, making sure the veggies stay submerged. Loosely close the lid to let gases escape and leave the jar at room temperature for a few days to a week, depending on your taste preference. Once the flavor is where you like it, tighten the lid and store it in the fridge. This simple setup requires no special equipment beyond a jar, salt, and water.
Tips: Use filtered water and non-iodized salt so you don’t interfere with the fermentation process. Keep veggies fully submerged under the brine to avoid mold. Be patient, the best flavors usually take a few extra days.
Common mistakes: Opening the jar too often during the first days, which lets unwanted bacteria in. Not using enough salt or exposing the jar to temperature swings can also ruin the batch. Another common mistake is forgetting to push vegetables back under the brine once they float up.
Approximate duration: Traditionally, fermented vegetables could last 6–12 months in a cool cellar. Today, in the fridge, most stay good for around 6 months. For softer veggies like cucumbers, aim to eat them within 2–3 months for the best crunch and flavor
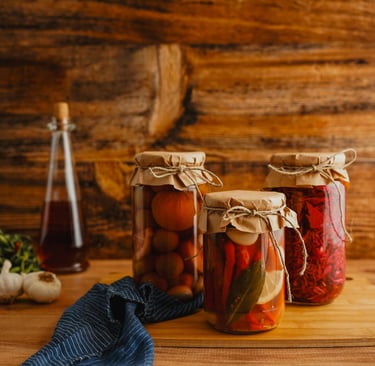
Pickling and Salting: Sharp, Tangy, and Reliable
Before, picture sailors in the 17th century, spending months at sea with no refrigerators, no ice, and certainly no grocery stores. Preserving food was a matter of survival, and vinegar and salt were their most trusted allies. Barrels of pickled vegetables or salted fish were stacked in ship holds, resisting heat, humidity, and time. On land, families relied on the same methods to store their summer harvest and make sure they had enough food to last through the long winter. Beyond practicality, these techniques also brought bold, tangy flavors that broke the monotony of otherwise bland diets.
Today, while we no longer rely on pickling and salting to get us through the year, these methods remain just as useful, and delicious. Many home cooks prepare quick pickles to keep in the fridge for a few weeks, adding a crunchy, tangy bite to salads and sandwiches. For longer storage, jars can be sealed in a hot-water bath, creating shelf-stable preserves that last for months. With just salt, vinegar, and a few spices, you’re not only preserving food, you’re transforming it.


How to do it: For vinegar pickling, heat vinegar, water, salt, and your favorite spices (garlic, dill, mustard seeds, peppercorns…). Pour the hot brine over prepared vegetables in sterilized jars, leaving a little headspace. Seal tightly and refrigerate for short-term storage, or process in a hot-water bath for longer shelf life.
For salting, coat fish or meat generously with salt, making sure every surface is covered. Store in a cool, dry place or in the fridge. The salt pulls out moisture and creates an environment where harmful bacteria can’t thrive.
Tips: Use filtered water and non-iodized salt so the fermentation process isn’t disrupted. Keep vegetables fully submerged under the brine to avoid mold, and try adding garlic, dill, or spices for more flavor. Patience pays off, the best taste often develops after several days.
Common mistakes: Opening the jar too often in the first few days, which exposes the batch to unwanted bacteria, or storing it somewhere with big temperature swings. Forgetting to push floating vegetables back under the brine is another easy way to ruin the ferment.
Approximate duration: Traditionally, fermented vegetables stored in a cool cellar could last 6–12 months. Today, most batches kept in the fridge stay good for around 6 months, though softer vegetables like cucumbers are best enjoyed within 2–3 months for the ideal crunch.
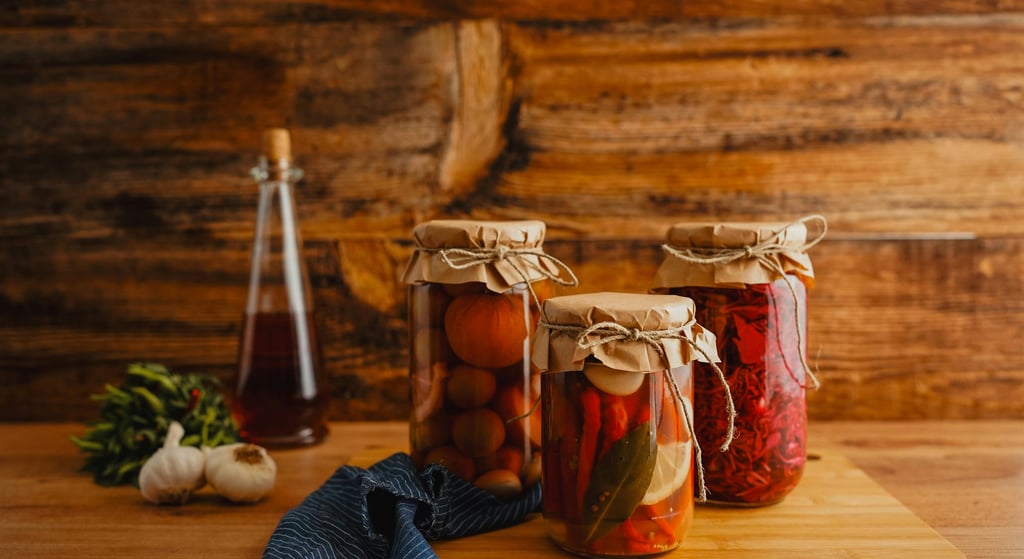
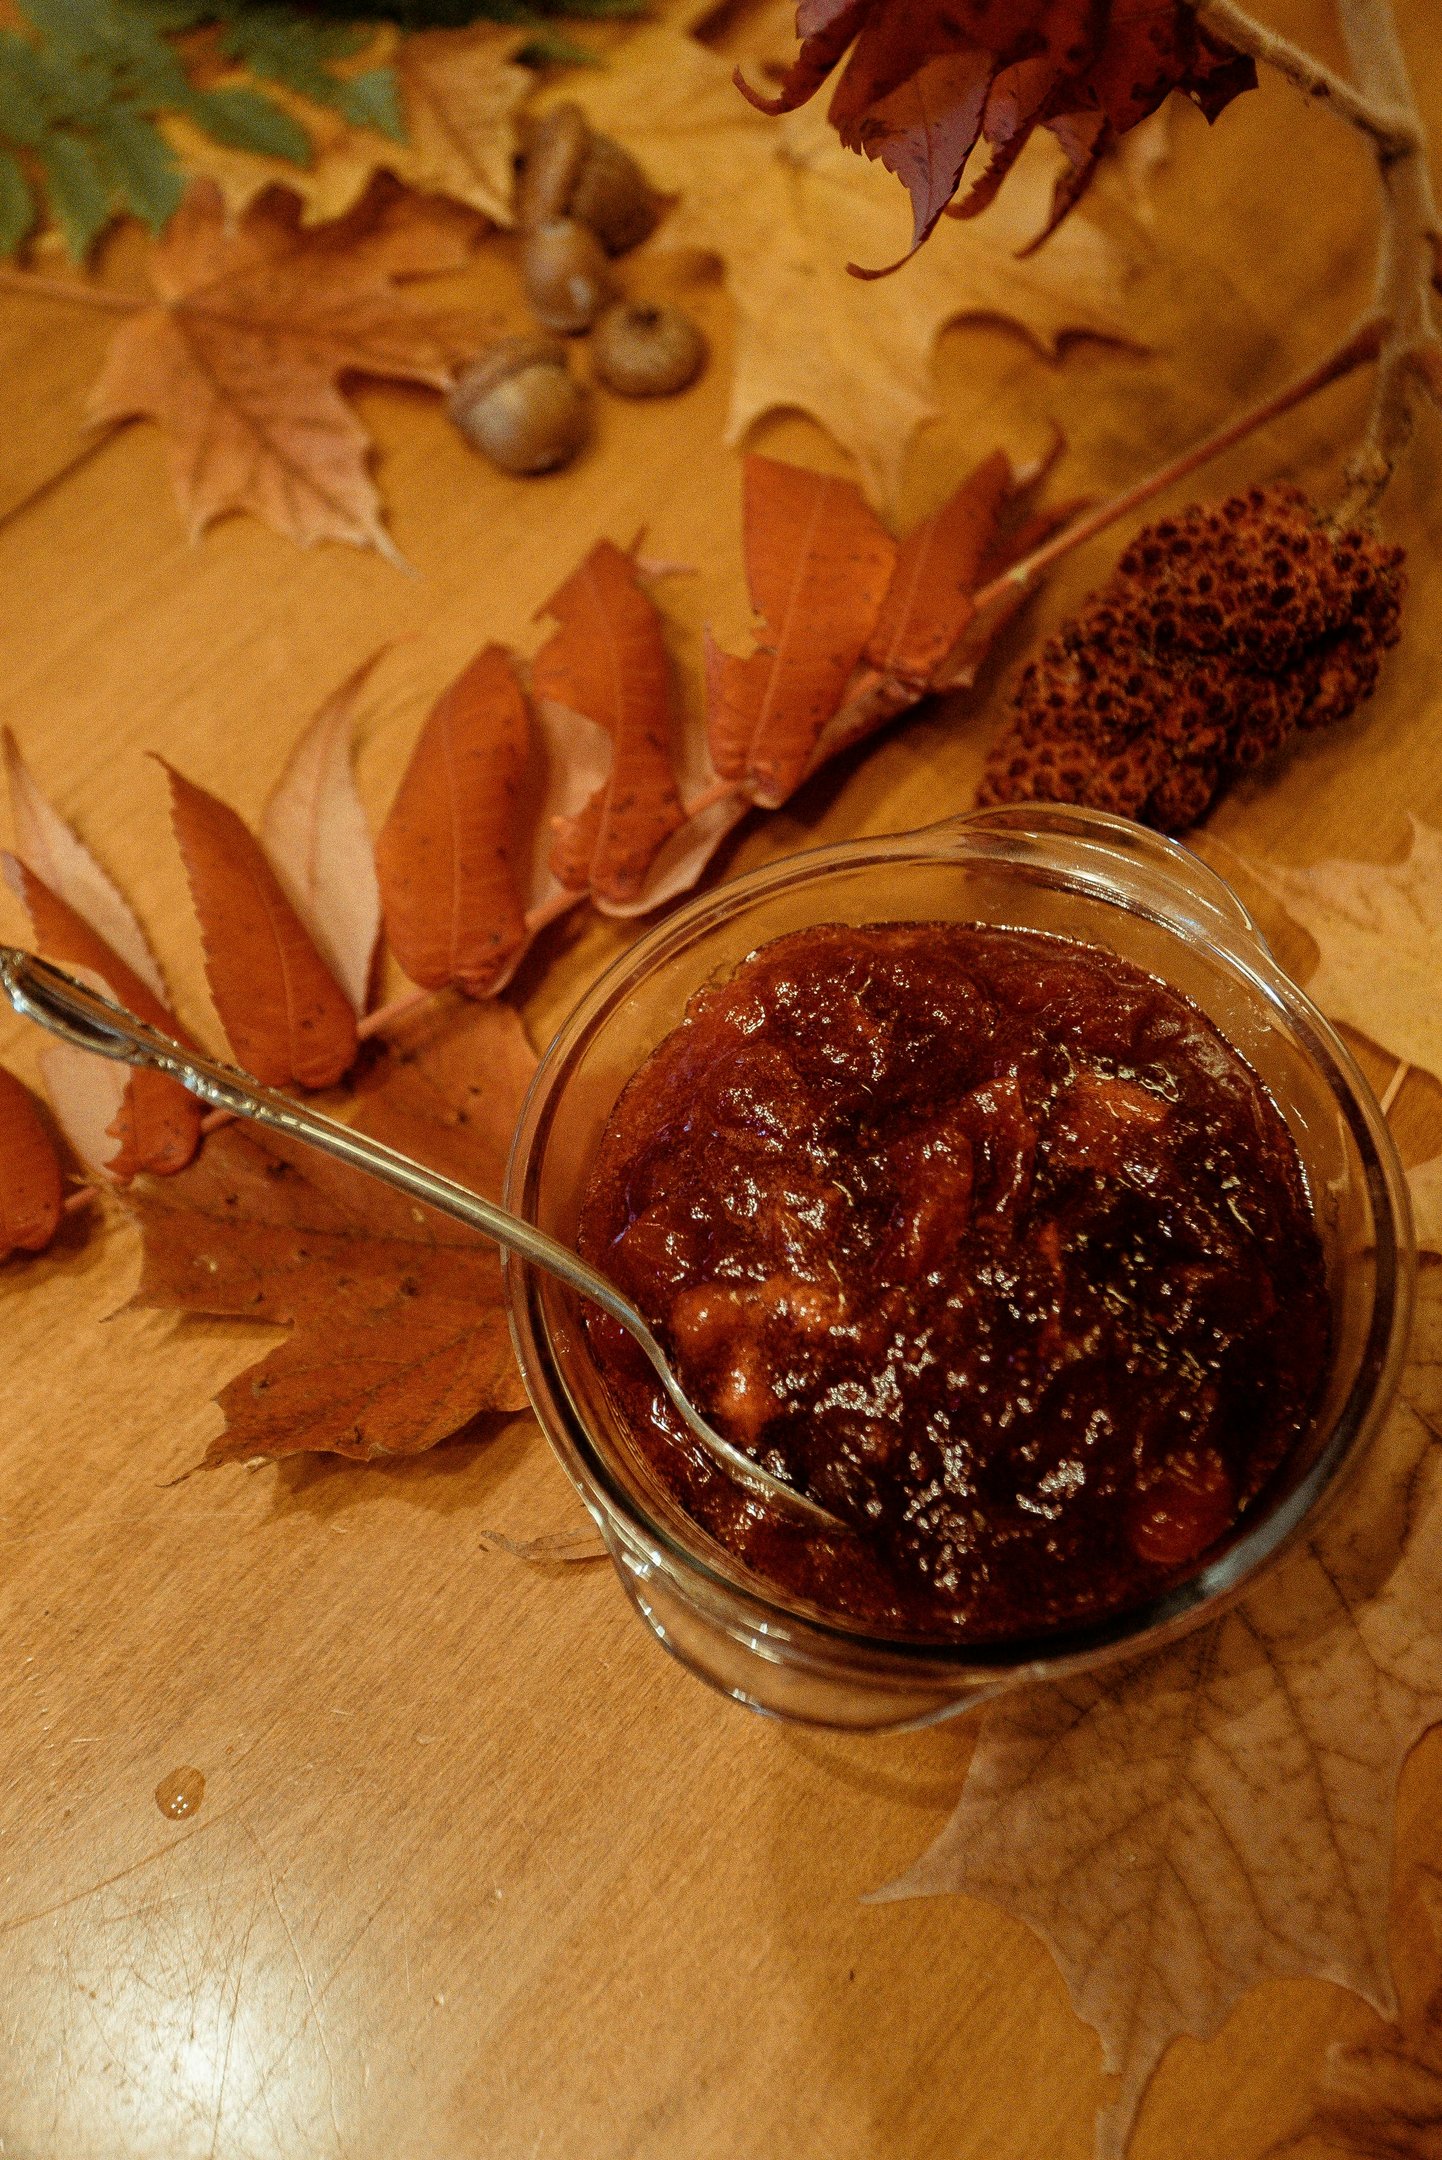
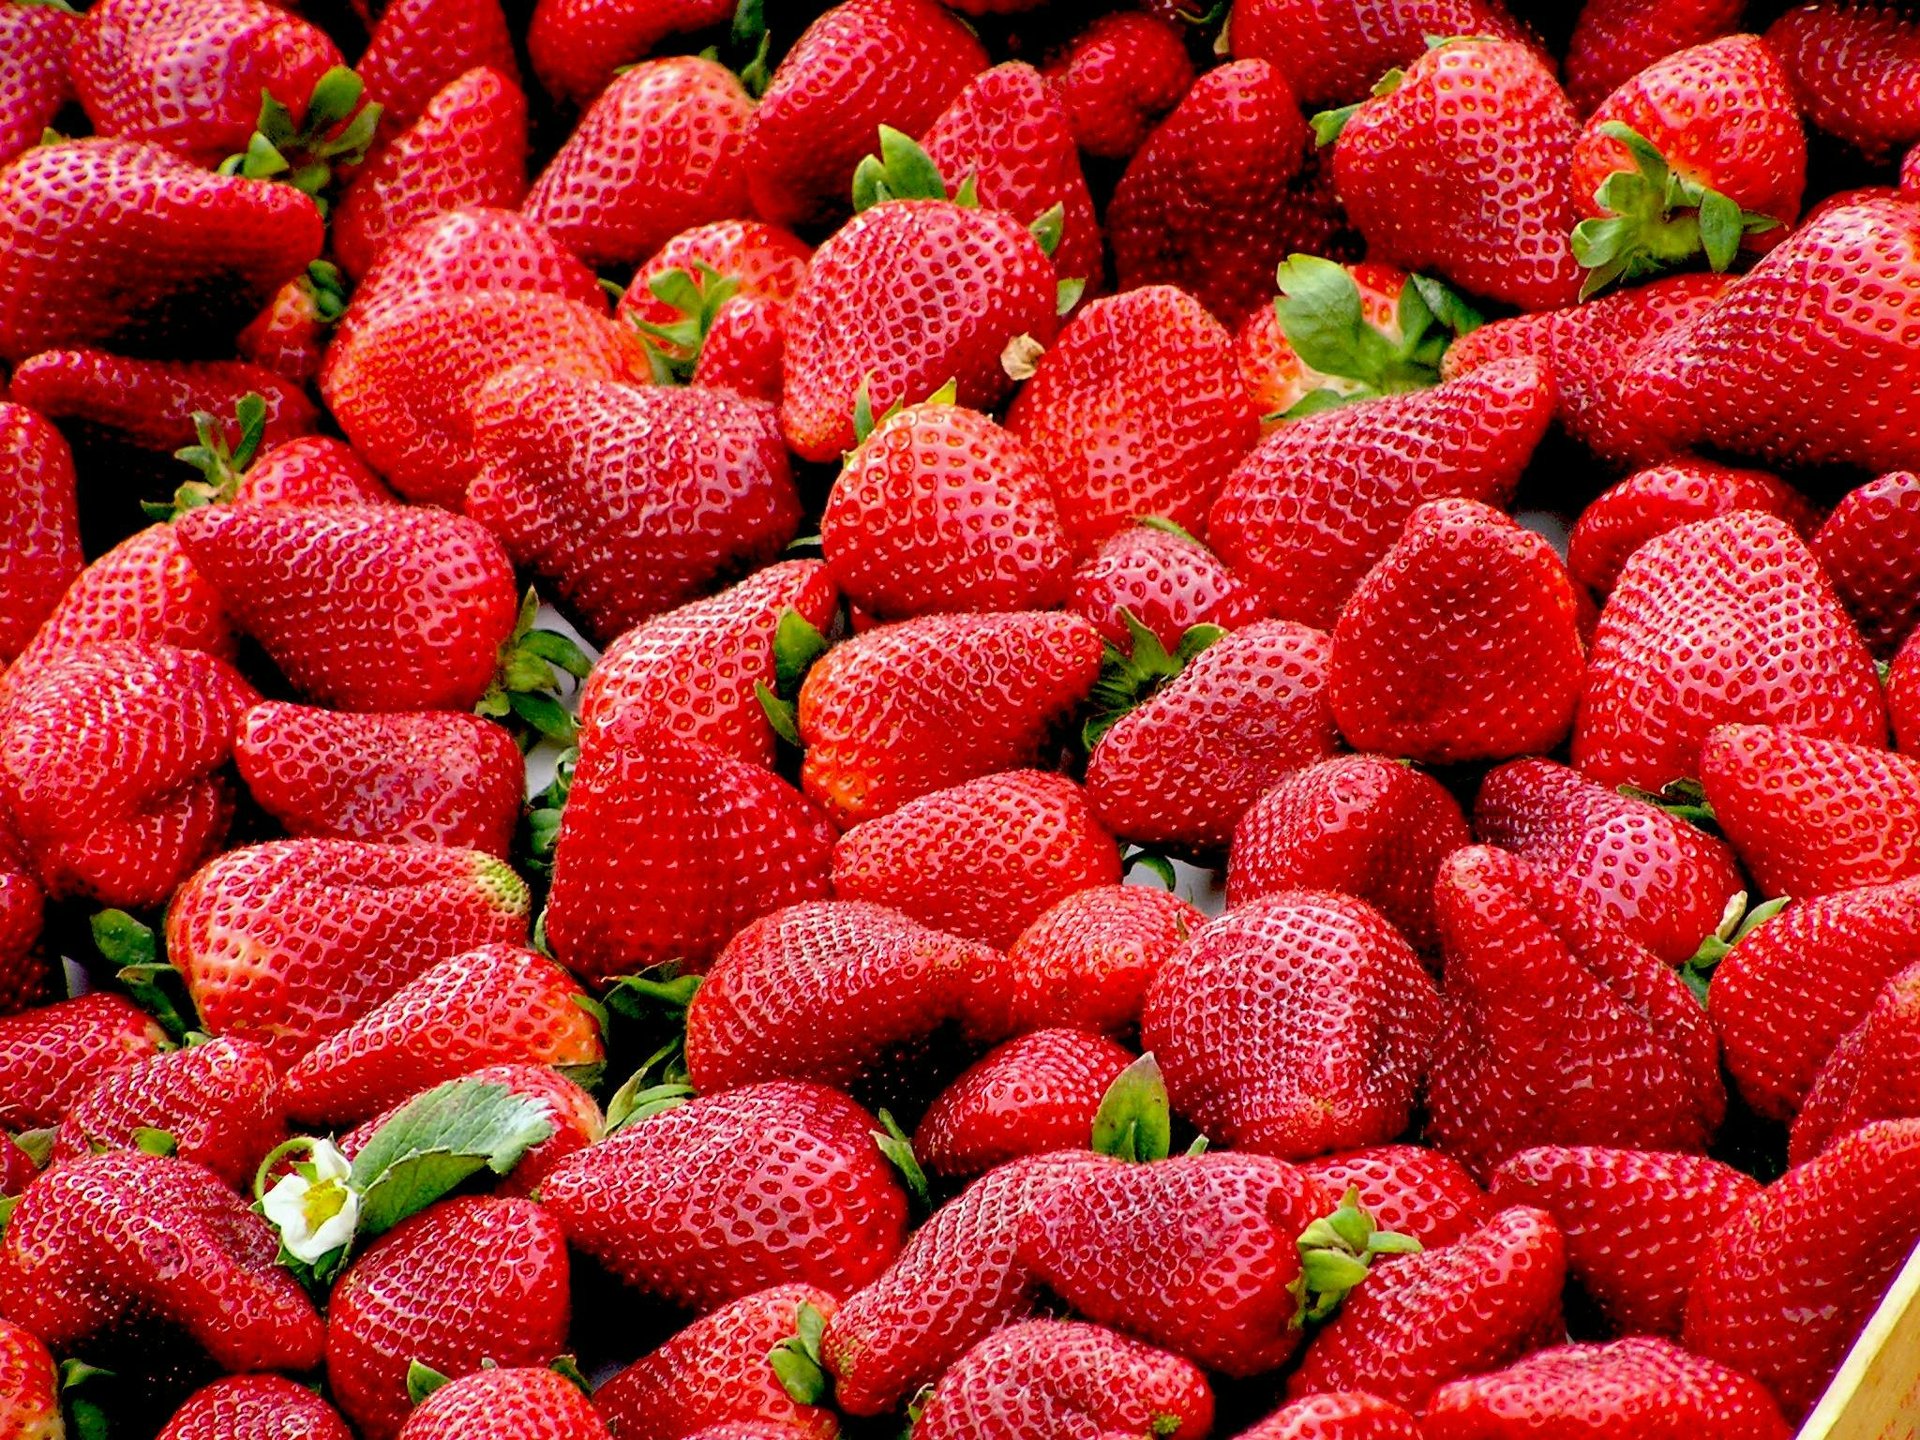
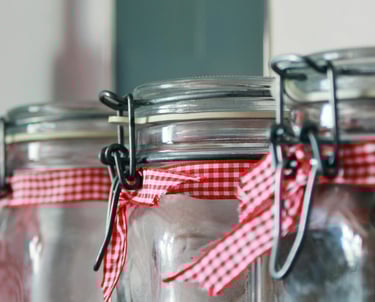
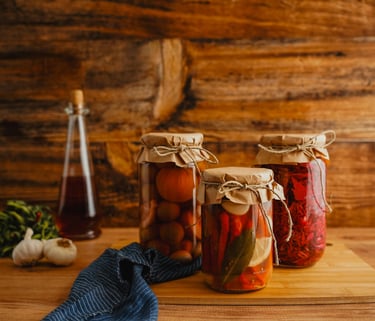
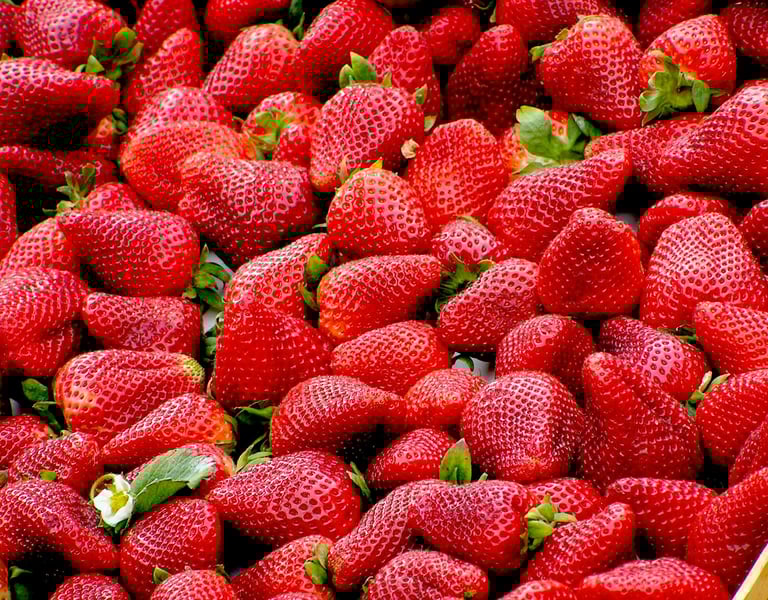
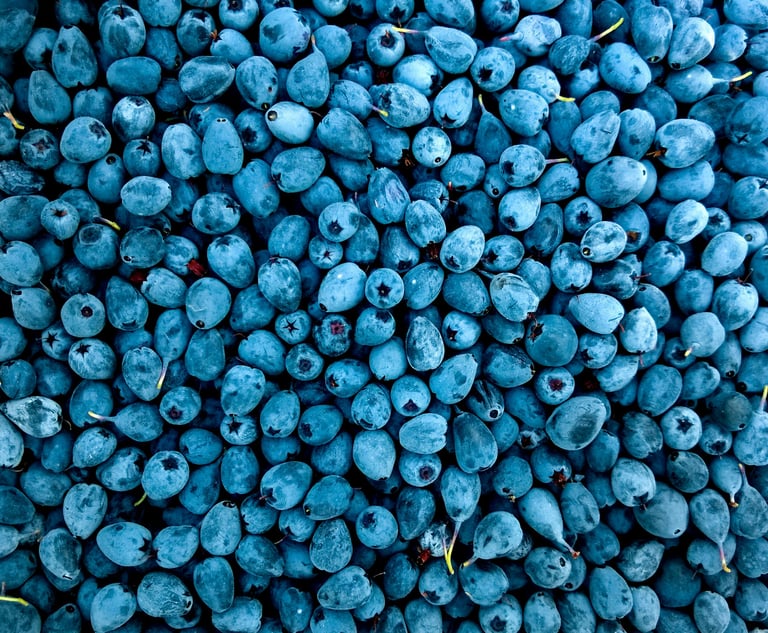
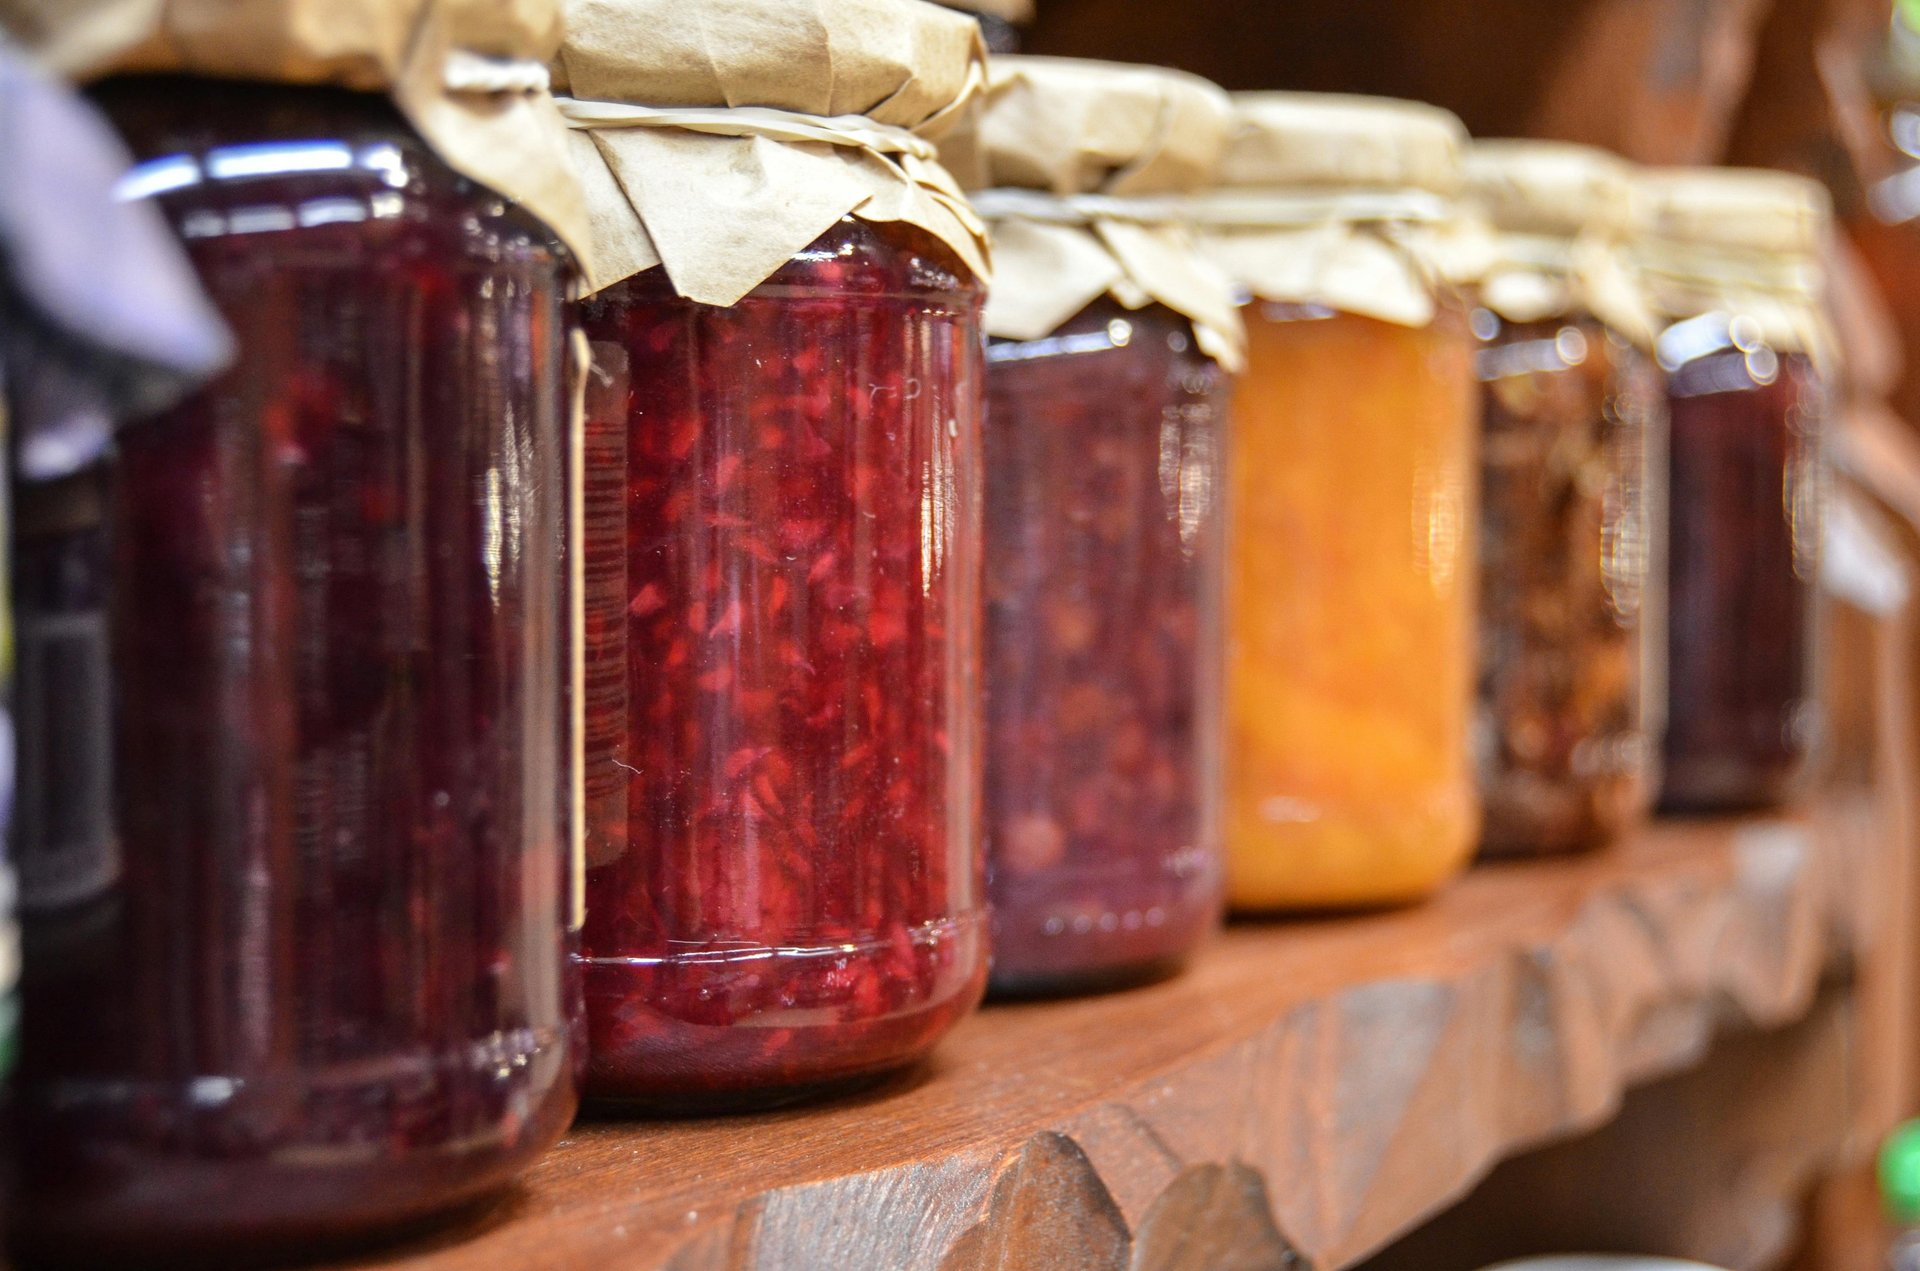
Canning and Jams: Capturing Summer in a Jar
Before, in times without refrigeration, canning and preserving were essential for survival as well as enjoyment. Families would spend late summer boiling fruits, vegetables, and sugar into jams and preserves, carefully sealing them in glass jars to stock their pantries. Shelves lined with colorful jars of peaches, berries, or tomatoes meant security during the winter months, offering both nourishment and a taste of sunshine when fresh produce was scarce.
Today, the tradition continues, though it has shifted from necessity to a way of celebrating seasonal abundance. Many people still follow family recipes, filling their kitchens with the comforting smell of bubbling fruit, while modern canners benefit from tested guidelines, reliable jars and lids, and safety standards that ensure both flavor and preservation.

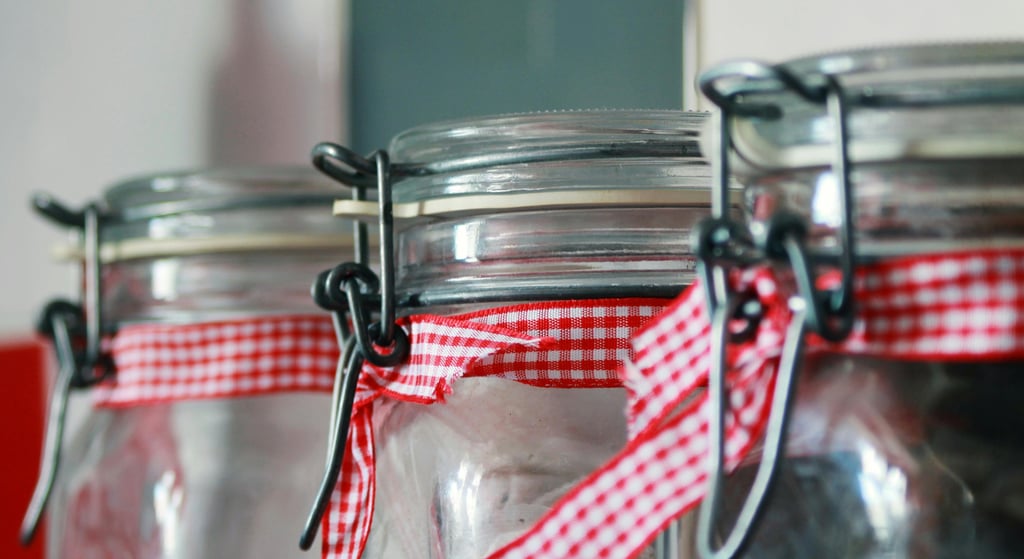
How to do it: Sterilize jars and lids by boiling them in water for about 10 minutes or running them through the dishwasher on a hot cycle right before use. Cook your fruit with sugar, or vegetables with syrup or brine, until the mixture thickens or reaches the right point for your recipe. While still hot, fill the jars, leaving about ¼–½ inch of headspace. Wipe the rims clean, place the lids, and close them tightly. Then, process the sealed jars in a boiling water bath for 10–15 minutes (for jams, jellies, and high-acid foods). For low-acid foods like green beans, use a pressure canner at 240–250 °F (116–121 °C), following recipe-specific times (usually 20–40 minutes, depending on the food and jar size). You’ll know they’re sealed when the lid no longer pops up and down in the center.
Tips: Always start with clean, sterilized jars and new lids to ensure a proper seal. When making jams or preserves, measure sugar and fruit carefully, too little sugar can affect both flavor and shelf life. Skimming foam while the mixture boils will help your jars look clear and inviting. For extra depth of flavor, some cooks add a squeeze of lemon juice or a pinch of spices, but always follow tested recipes to keep acidity levels safe.
Common mistakes: Not boiling the jars long enough to seal properly is one of the most frequent errors, often leading to spoilage. Another common issue is overcooking the fruit, which can dull the flavor and make the texture overly stiff. Reusing old lids is also risky, as they may not form an airtight seal. Sometimes, people store jars in places that are too warm, which can shorten their lifespan.
Approximate duration: Traditionally, well-sealed preserves could last until the next harvest, about a year. Today, properly canned goods can remain safe for 12–24 months if kept unopened in a cool, dark pantry. Once opened, jams and preserves should be refrigerated and enjoyed within 6–12 months for the best quality in both taste and texture.
Fermentation, Flavor That Gets Better With Time
Before, long before fridges, people stored vegetables like cabbage, cucumbers, and turnips in barrels of salty brine, sometimes burying them underground or keeping them in cool cellars. The natural bacteria worked slowly, creating tangy flavors while keeping the food safe to eat for months, sometimes all winter long.

Today, the principle is the same, but the setting is often a glass jar in your kitchen. Once fermentation starts, the jar usually moves to the refrigerator to slow the process and extend freshness.
How to do it: Choose fresh vegetables and wash them well. Slice them or leave them whole, depending on the recipe, and pack them tightly into a clean jar. Cover with brine made of water and non-iodized salt, making sure the veggies stay submerged. Loosely close the lid to let gases escape and leave the jar at room temperature for a few days to a week, depending on your taste preference. Once the flavor is where you like it, tighten the lid and store the jar in the fridge. That’s it, no special equipment needed beyond a jar, salt, and water.
Tips: Use filtered water and non-iodized salt so you don’t interfere with the fermentation process. Keep veggies fully submerged under the brine to avoid mold. Be patient, the best flavors usually take a few extra days.
Common mistakes: Opening the jar too often during the first days, which lets unwanted bacteria in. Not using enough salt or exposing the jar to temperature swings can also ruin the batch. Another common mistake is forgetting to push vegetables back under the brine once they float up.
Approximate duration: Traditionally, fermented vegetables could last 6–12 months in a cool cellar. Today, in the fridge, most stay good for around 6 months. For softer veggies like cucumbers, aim to eat them within 2–3 months for the best crunch and flavor
Pickling and Salting: Sharp, Tangy, and Reliable
Before, picture sailors in the 17th century, spending months at sea with no refrigerators, no ice, and certainly no grocery stores. Preserving food was a matter of survival, and vinegar and salt were their most trusted allies. Barrels of pickled vegetables or salted fish were stacked in ship holds, resisting heat, humidity, and time. On land, families relied on the same methods to store their summer harvest and make sure they had enough food to last through the long winter. Beyond practicality, these techniques also brought bold, tangy flavors that broke the monotony of otherwise bland diets.
Today, while we no longer rely on pickling and salting to get us through the year, these methods remain just as useful, and delicious. Many home cooks prepare quick pickles to keep in the fridge for a few weeks, adding a crunchy, tangy bite to salads and sandwiches. For longer storage, jars can be sealed in a hot-water bath, creating shelf-stable preserves that last for months. With just salt, vinegar, and a few spices, you’re not only preserving food, you’re transforming it.

How to do it: For vinegar pickling, heat vinegar, water, salt, and your favorite spices (garlic, dill, mustard seeds, peppercorns…). Pour the hot brine over prepared vegetables in sterilized jars, leaving a little headspace. Seal tightly and refrigerate for short-term storage, or process in a hot-water bath for longer shelf life.
For salting, coat fish or meat generously with salt, making sure every surface is covered. Store in a cool, dry place or in the fridge. The salt pulls out moisture and creates an environment where harmful bacteria can’t thrive.
Tips: Use filtered water and non-iodized salt so the fermentation process isn’t disrupted. Keep vegetables fully submerged under the brine to avoid mold, and try adding garlic, dill, or spices for more flavor. Patience pays off—the best taste often develops after several days.
Common mistakes: Opening the jar too often in the first few days, which exposes the batch to unwanted bacteria, or storing it somewhere with big temperature swings. Forgetting to push floating vegetables back under the brine is another easy way to ruin the ferment.
Approximate duration: Traditionally, fermented vegetables stored in a cool cellar could last 6–12 months. Today, most batches kept in the fridge stay good for around 6 months, though softer vegetables like cucumbers are best enjoyed within 2–3 months for the ideal crunch.
Canning and Jams: Capturing Summer in a Jar
Before, in times without refrigeration, canning and preserving were essential for survival as well as enjoyment. Families would spend late summer boiling fruits, vegetables, and sugar into jams and preserves, carefully sealing them in glass jars to stock their pantries. Shelves lined with colorful jars of peaches, berries, or tomatoes meant security during the winter months, offering both nourishment and a taste of sunshine when fresh produce was scarce.
Today, the tradition continues, though it has shifted from necessity to a way of celebrating seasonal abundance. Many people still follow family recipes, filling their kitchens with the comforting smell of bubbling fruit, while modern canners benefit from tested guidelines, reliable jars and lids, and safety standards that ensure both flavor and preservation.

How to do it: Sterilize jars and lids by boiling them in water for about 10 minutes or running them through the dishwasher on a hot cycle right before use. Cook your fruit with sugar, or vegetables with syrup or brine, until the mixture thickens or reaches the right point for your recipe. While still hot, fill the jars, leaving about ¼–½ inch of headspace. Wipe the rims clean, place the lids, and close them tightly. Then, process the sealed jars in a boiling water bath for 10–15 minutes (for jams, jellies, and high-acid foods). For low-acid foods like green beans, use a pressure canner at 240–250 °F (116–121 °C), following recipe-specific times (usually 20–40 minutes, depending on the food and jar size). You’ll know they’re sealed when the lid no longer pops up and down in the center.
Tips: Always start with clean, sterilized jars and new lids to ensure a proper seal. When making jams or preserves, measure sugar and fruit carefully, too little sugar can affect both flavor and shelf life. Skimming foam while the mixture boils will help your jars look clear and inviting. For extra depth of flavor, some cooks add a squeeze of lemon juice or a pinch of spices, but always follow tested recipes to keep acidity levels safe.
Common mistakes: Not boiling the jars long enough to seal properly is one of the most frequent errors, often leading to spoilage. Another common issue is overcooking the fruit, which can dull the flavor and make the texture overly stiff. Reusing old lids is also risky, as they may not form an airtight seal. Sometimes, people store jars in places that are too warm, which can shorten their lifespan.
Approximate duration: Traditionally, well-sealed preserves could last until the next harvest, about a year. Today, properly canned goods can remain safe for 12–24 months if kept unopened in a cool, dark pantry. Once opened, jams and preserves should be refrigerated and enjoyed within 6–12 months for the best quality in both taste and texture
At Naturable, we believe that looking back at traditional food preservation is more than a history lesson, it’s a way of reclaiming practices that help us live more sustainably and stay connected to nature. Fermentation, pickling, and canning may have started as essential survival methods, but today they offer us the opportunity to enjoy homemade flavors, reduce food waste, and bring a sense of care and creativity back into the kitchen.
These are just the first three of the six timeless preservation methods we’ll be exploring. In our next post, we’ll dive into the remaining techniques, showing how they, too, have evolved over time while still holding valuable lessons for modern living. Stay tuned, there’s much more to discover.
Sources
• National Center for Home Food Preservation.
• USDA Complete Guide to Home Canning.
• University of Minnesota Extension: Food Preservation.
• Food and Agriculture Organization (FAO): Food Preservation Overview.
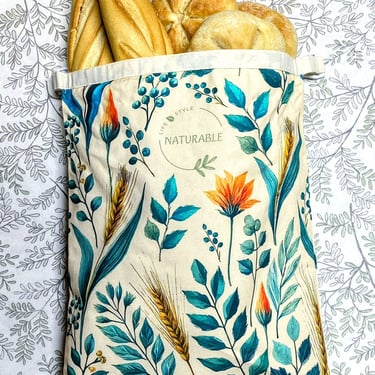
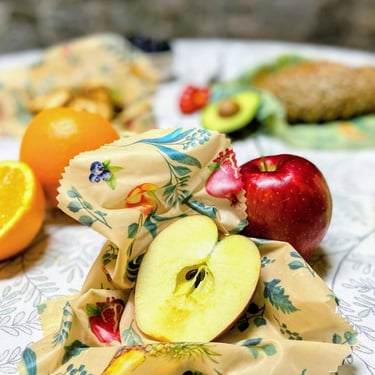
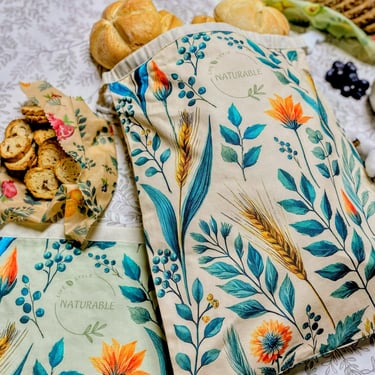
Have You Tried Our Beeswax Bags & Wraps?
A natural way to keep your food and bread fresh while reducing plastic in your kitchen.
Each set includes 2 reusable bread bags and 2 wraps, made from 100% cotton, beeswax, jojoba oil, and pine resin.
Simple, sustainable, and long-lasting.

Have You Tried Our Beeswax Bags & Wraps?
A natural way to keep your food and bread fresh while reducing plastic in your kitchen.
Each set includes 2 reusable bread bags and 2 wraps, made from 100% cotton, beeswax, jojoba oil, and pine resin.
Simple, sustainable, and long-lasting.
Let’s Connect on Instagram
Let’s Connect on Instagram
Subscribe to Our Newsletter
Join the Naturable Blog! Stay updated with our tips, kitchen hacks, and much more
Subscribe to Our Newsletter
Join the Naturable Blog! Stay updated with our tips, kitchen hacks, and much more
Stay connected! Follow us for tips, updates, and a little extra inspiration for your home and kitchen.
Have a question or need assistance?
Feel free to contact us!
© 2025. Naturable – A brand of Horizon Origin LLC