Naturally fresh, beautifully stored

The Art of Preserving: Traditional Techniques That Still Work Today - Part II
In a world where refrigerators and freezers do most of the heavy lifting, it’s easy to forget that for thousands of years, humans relied on skill, patience, and creativity to keep food fresh. From sun-drying to fermenting, these time-tested methods are still alive today, and they not only work, but often give food deeper flavor and texture. Let’s take a journey through some of these traditional preservation techniques, see how they’ve evolved, and discover how you can try them in your own kitchen.
9/18/2025


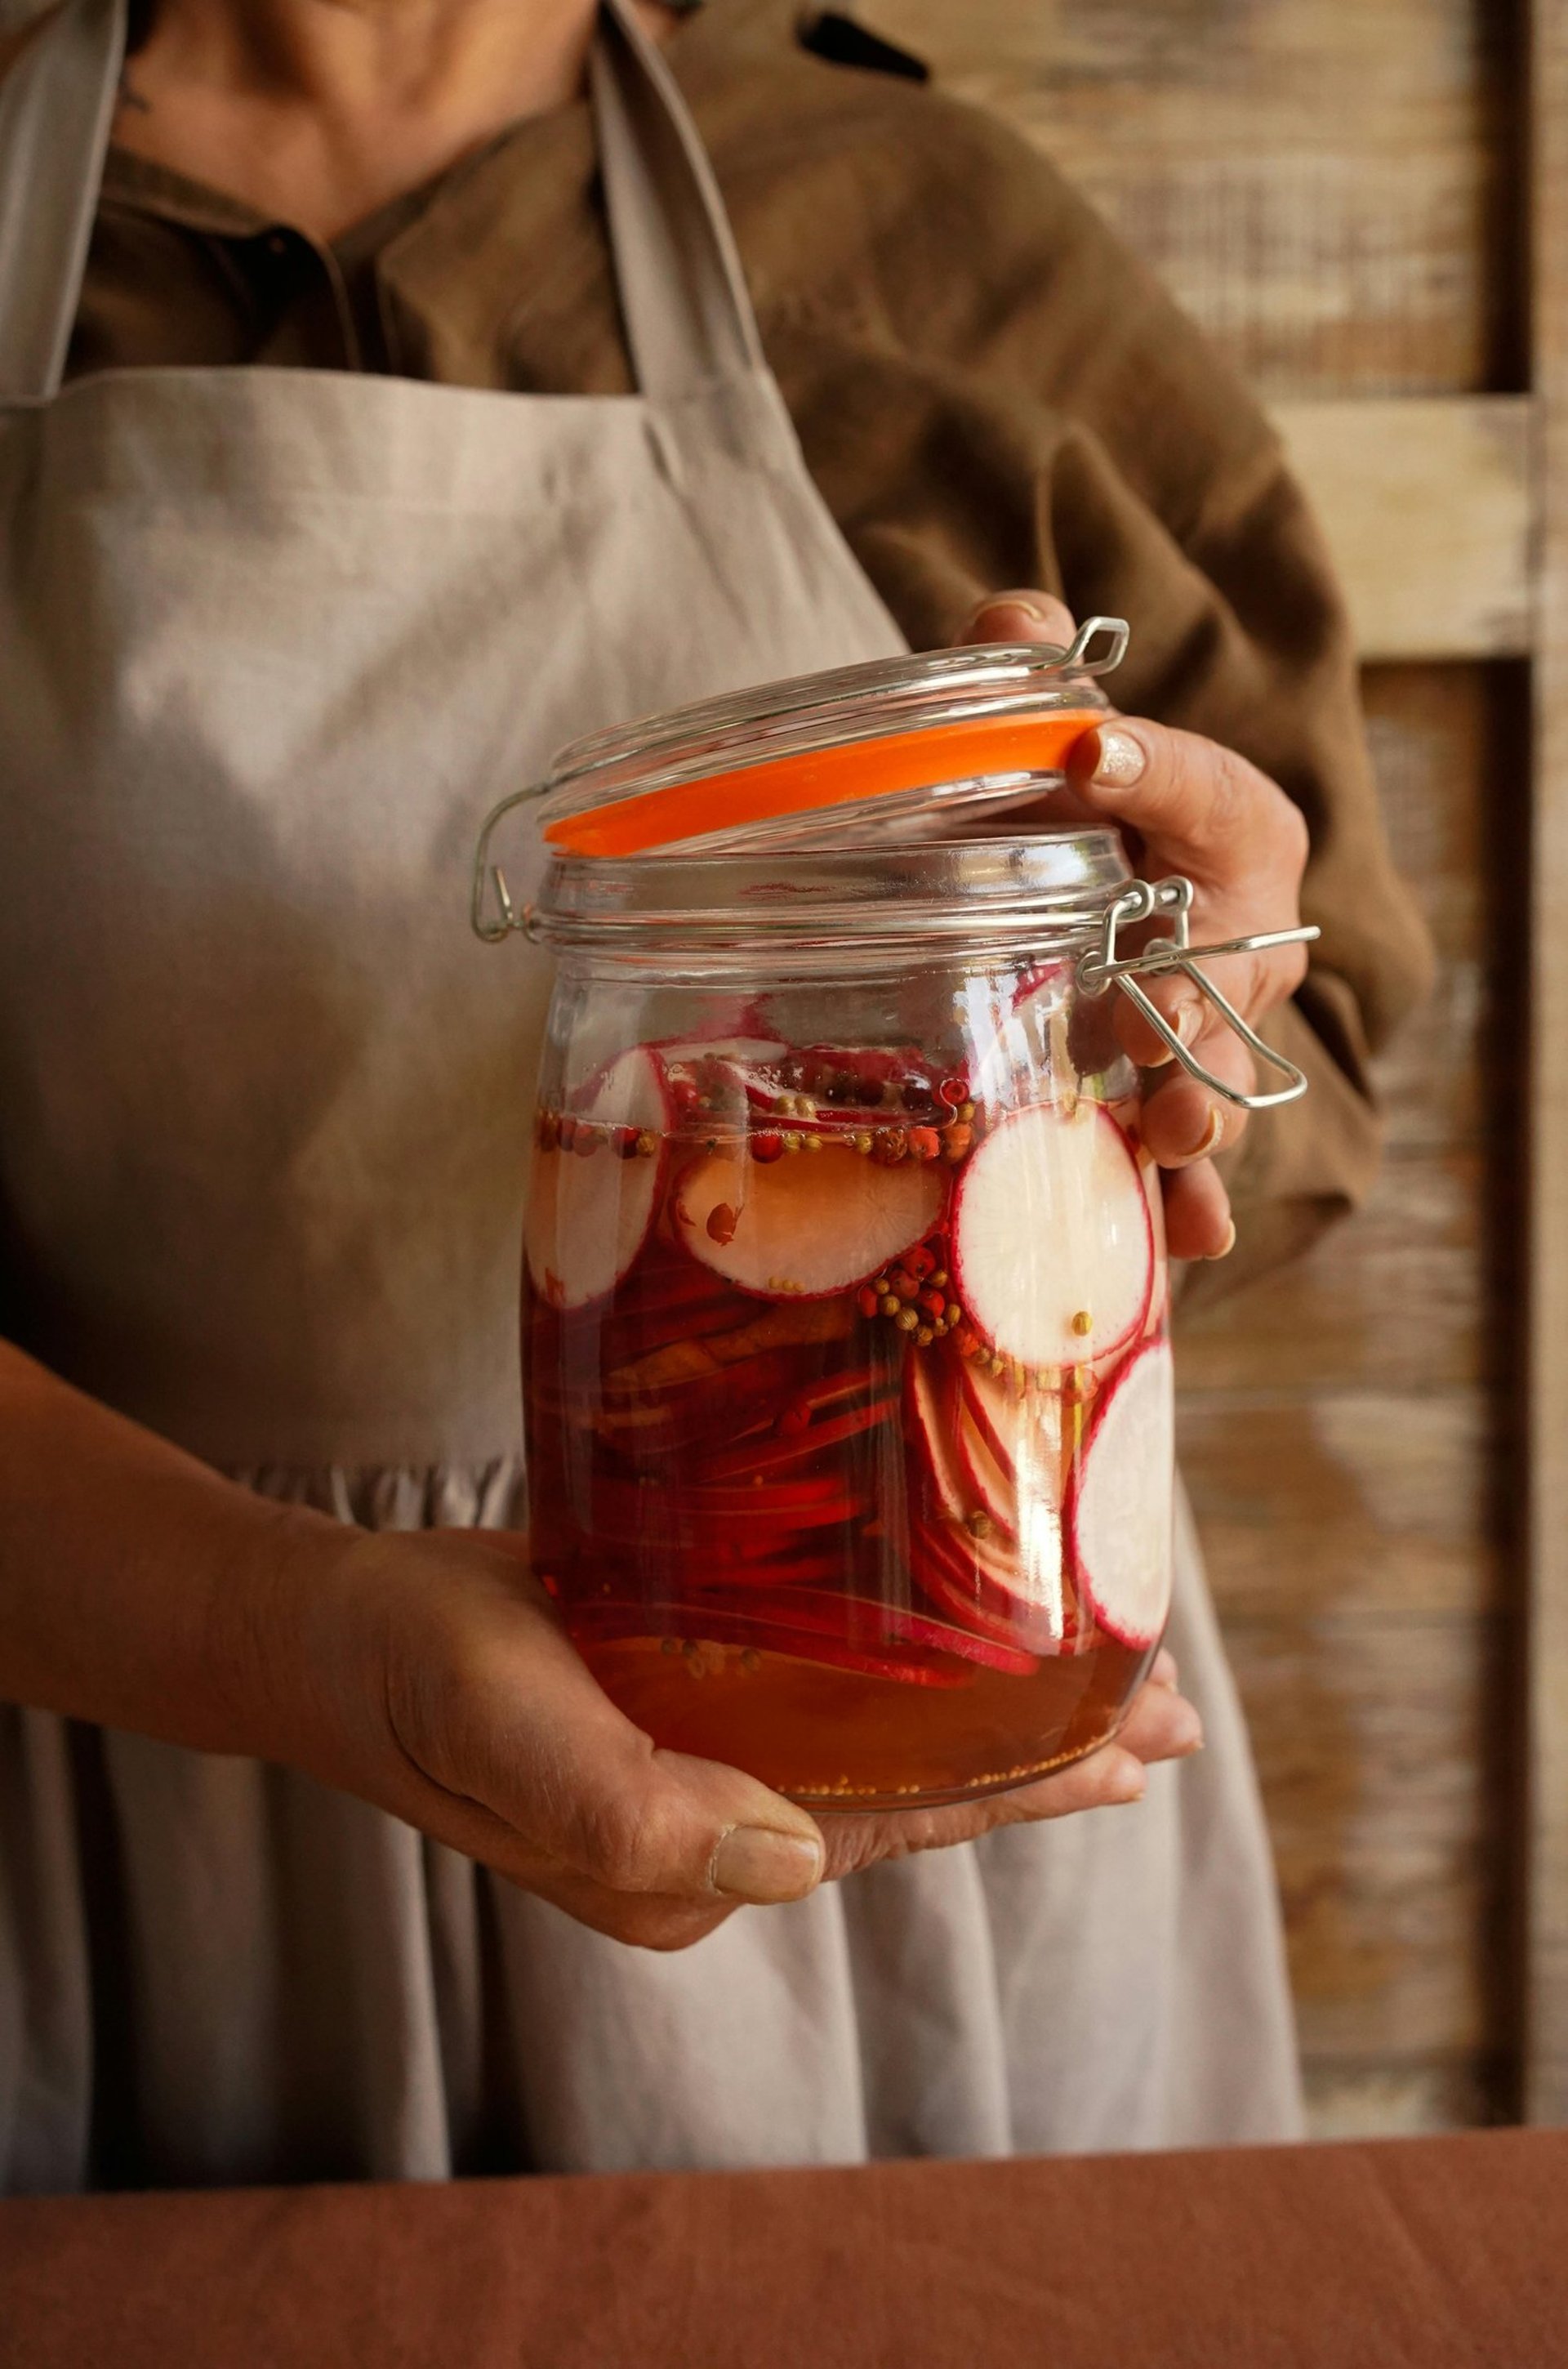
In Part I of this series, we explored three time-honored methods: fermentation, pickling, and canning. These techniques once meant survival but today bring flavor, creativity, and a sense of connection to the past. If you haven’t read it yet, you can find Part I here. In this post, we continue the journey with three more traditional techniques that remain just as effective and relevant today.
In Part I, we explored three time-honored methods: fermentation, pickling, and canning. These techniques once meant survival but today bring flavor, creativity, and a sense of connection to the past. If you haven’t read it yet, you can find Part I here. In this post, we continue the journey with three more traditional techniques that remain just as effective and relevant today.
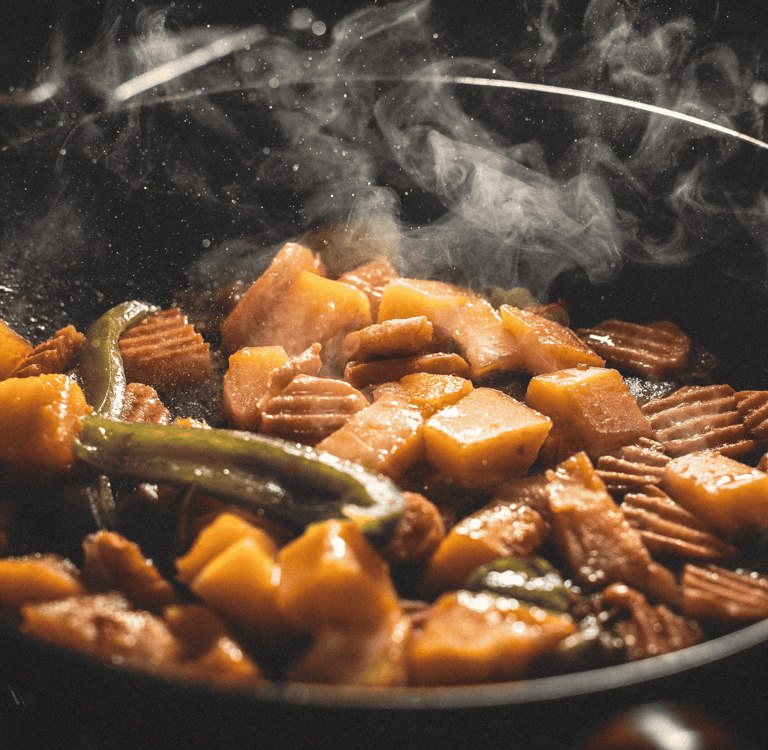
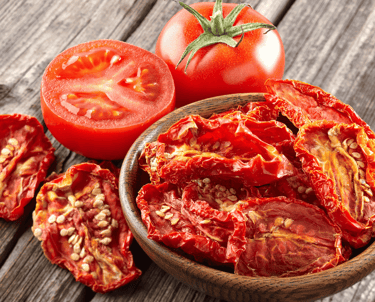
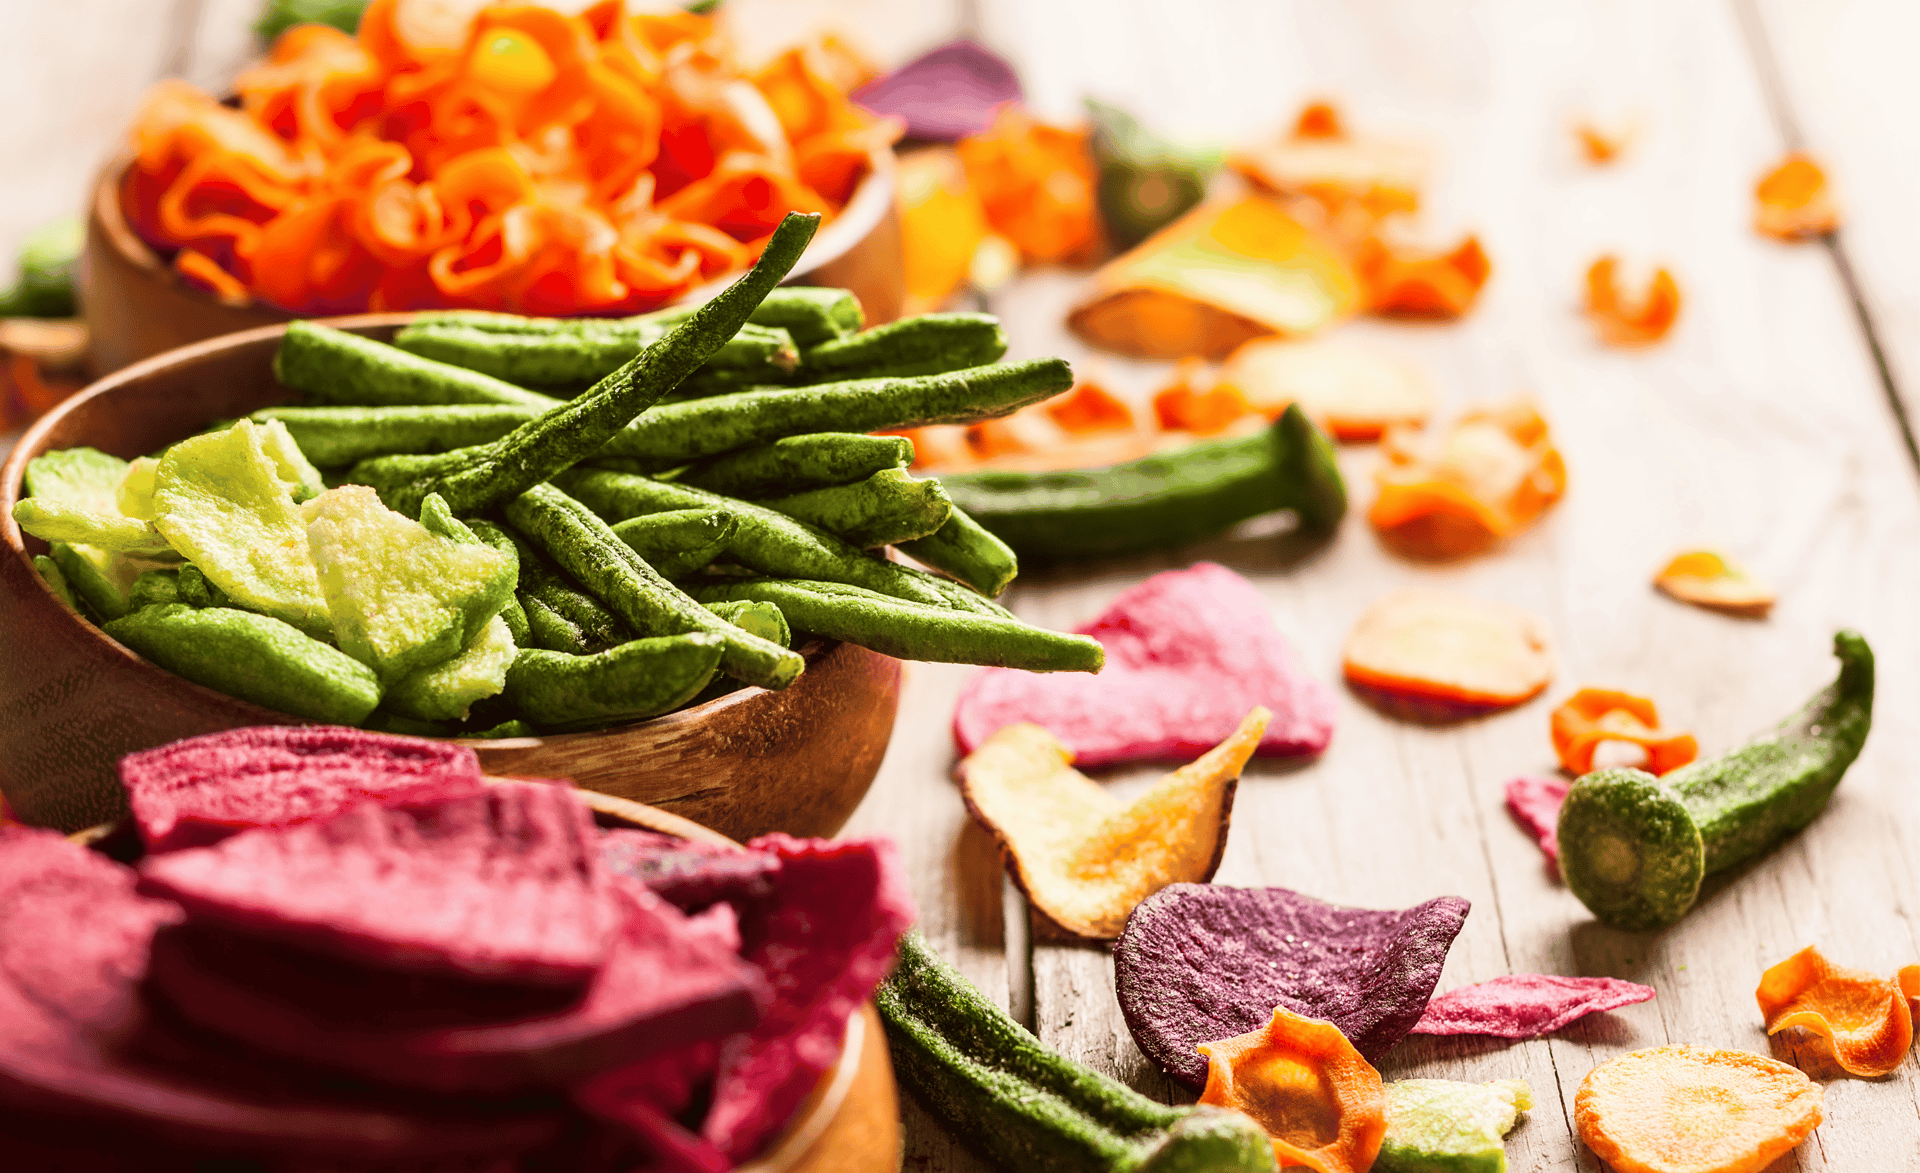
Drying: Light, Portable, and Surprisingly Effective
Before, drying was one of the simplest ways to ensure food would last through harsh winters or long travels. Families laid out fruit, herbs, or strips of meat on rooftops, mats, or wooden racks, covering them lightly to keep insects away. Without refrigeration, this method meant carrying lightweight provisions for journeys and keeping summer flavors alive for months.
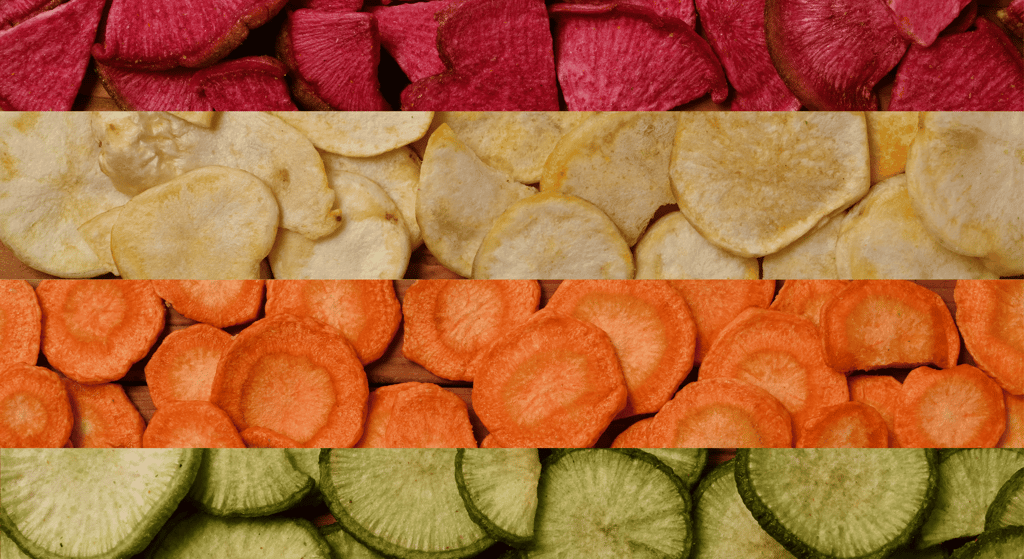


Today, drying has become more reliable with dehydrators and ovens, though some people still sun-dry foods in warm climates. The idea is simple: remove moisture so food becomes shelf-stable, light, and easy to store or carry.

How to do it: Slice fruits and vegetables evenly so they dry at the same pace. Spread them in a single layer on trays and dry at a low, steady temperature, around 125–135 °F for produce, and 145–160 °F for meats like jerky. Herbs can be tied in small bunches and hung in a warm, airy space out of direct sun. Once dried, food should feel leathery, brittle, or crumbly, and it must be cooled before sealing in jars or airtight bags.
Tips: Using lemon water on fruits like apples or pears prevents browning, and blanching vegetables briefly before drying helps keep their color and nutrients. Rotate trays if drying in the oven for more even results. Always let foods cool fully before sealing, as trapped heat can create condensation and mold.
Common mistakes: Storing food before it is completely dry almost always leads to spoilage. Cutting slices too thick keeps moisture inside, while using too high a temperature can cause case hardening, when the outside dries quickly but the inside stays damp. Another mistake is forgetting to label jars with dates; dried foods last long but not forever.
Approximate duration: Traditionally, dried foods could last for 6–12 months if kept in a dry, cool place. Today, airtight storage extends herbs up to a year, fruits 6–12 months, and jerky about 1–3 months at room temperature, longer if vacuum-sealed or refrigerated.
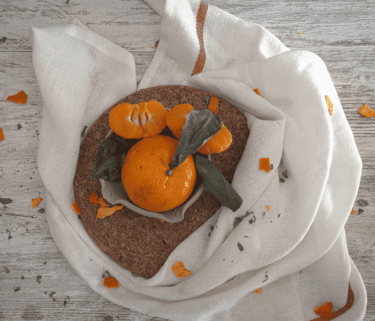
Natural Material Storage, Breathable and Reusable
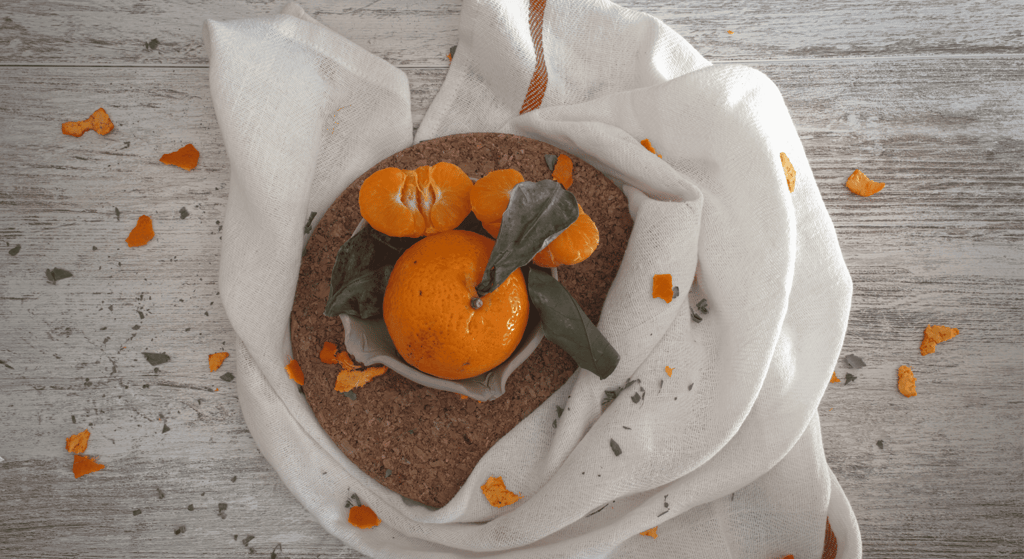
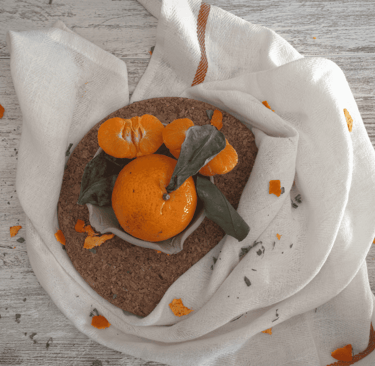
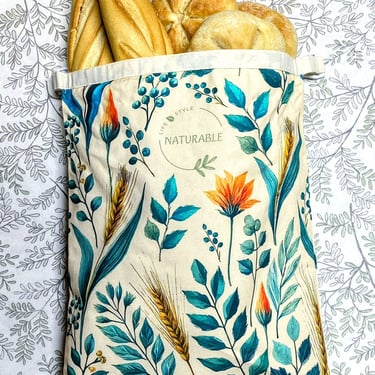
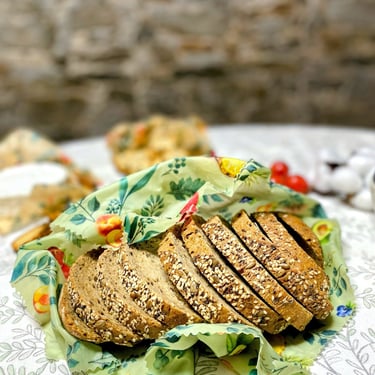
Before, before plastic bags or cling film existed, people wrapped bread, cheese, and vegetables in fabrics like linen or cotton. These natural materials allowed air to circulate, keeping food from turning soggy while slowing down moisture loss. For generations, simple cloth was enough to make bread last a few days longer or keep cheese from drying out too quickly.
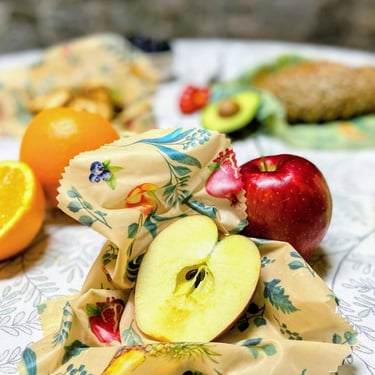
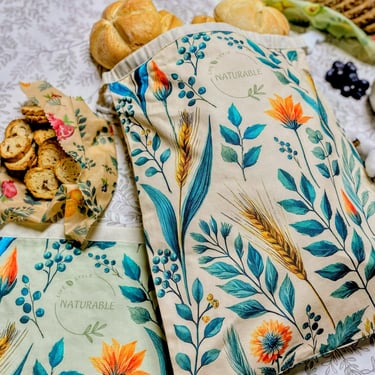
Today, natural fabrics are making a comeback as people look for simple, eco-friendly alternatives to plastic. Cotton bread bags, linen wraps, and other breathable covers are being rediscovered for their effectiveness and reusability. Some products even use natural wax coatings, like beeswax, to create a flexible wrap that holds its shape around food while still allowing airflow.
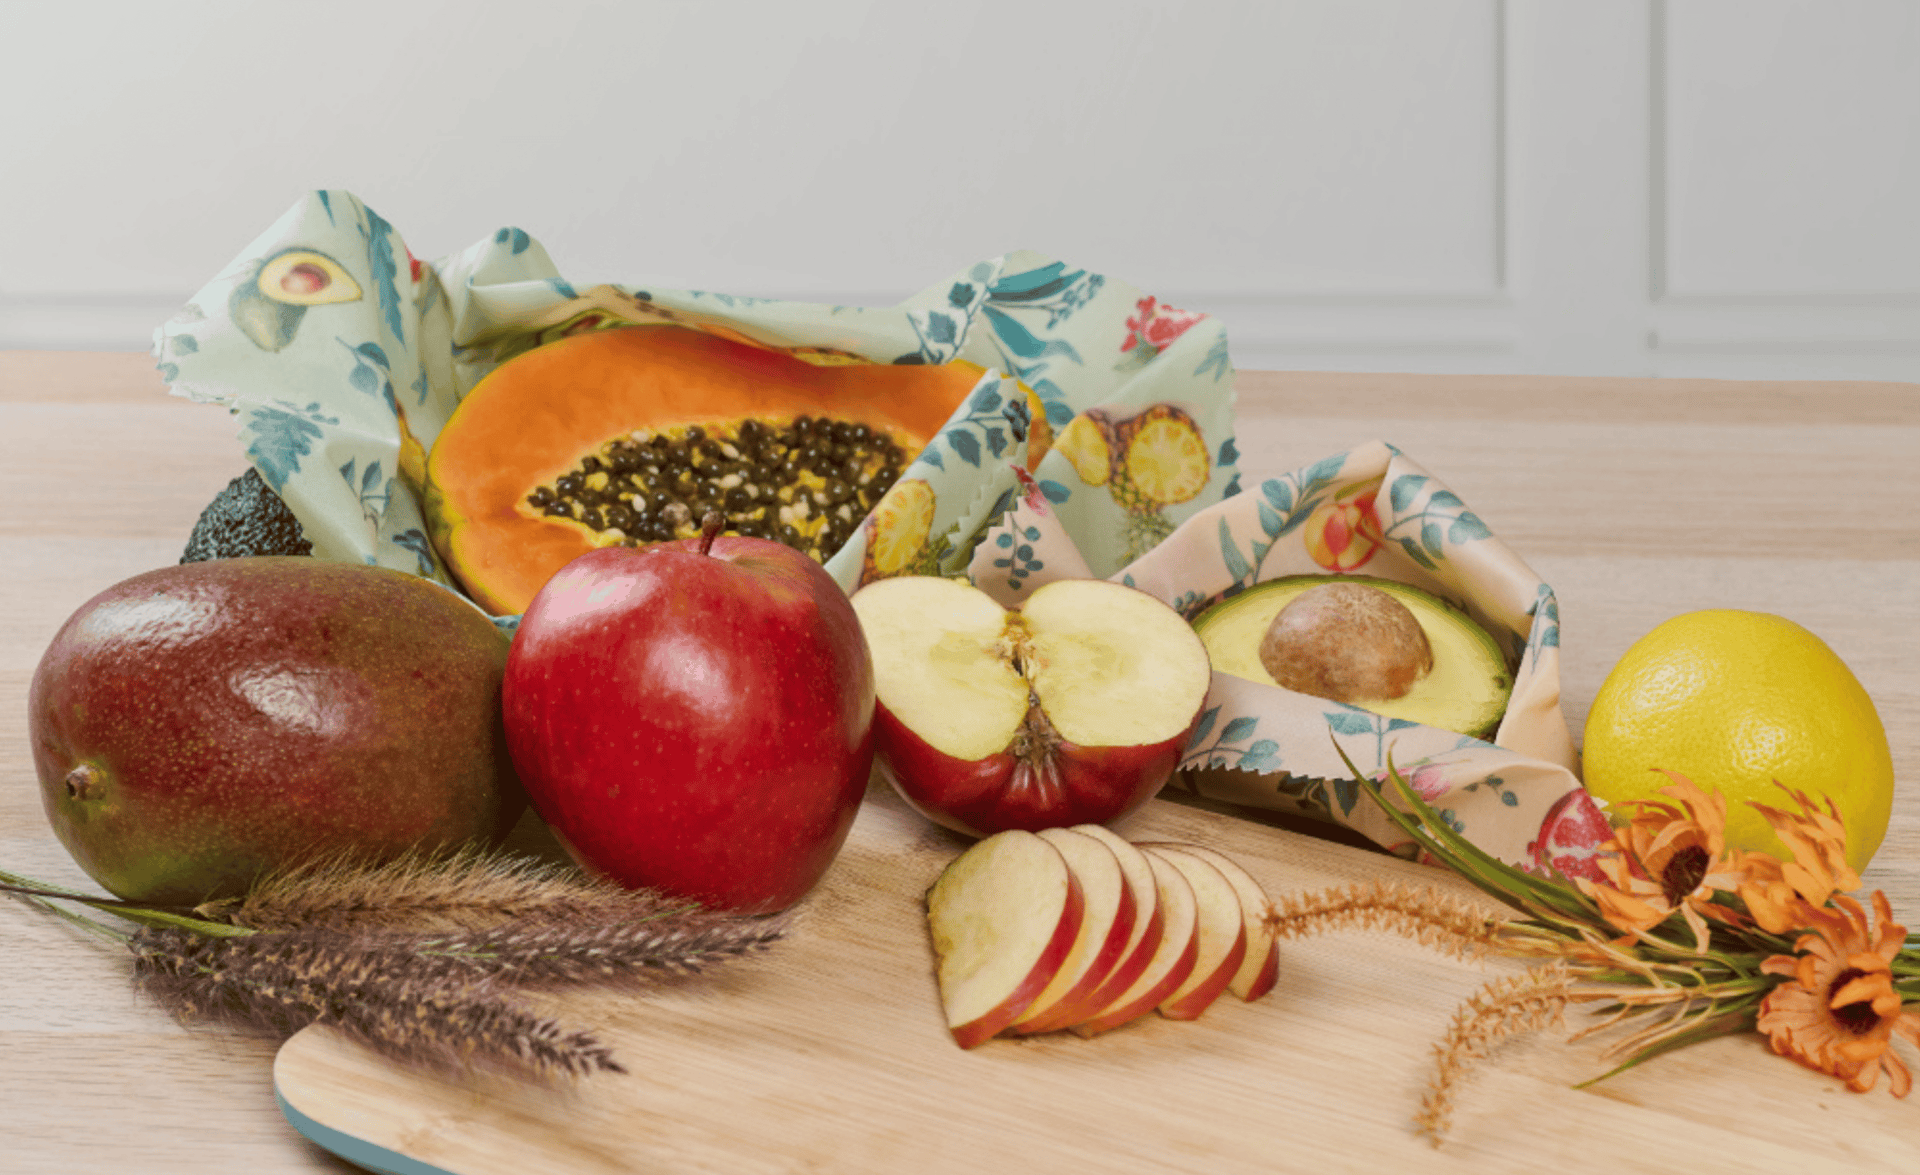
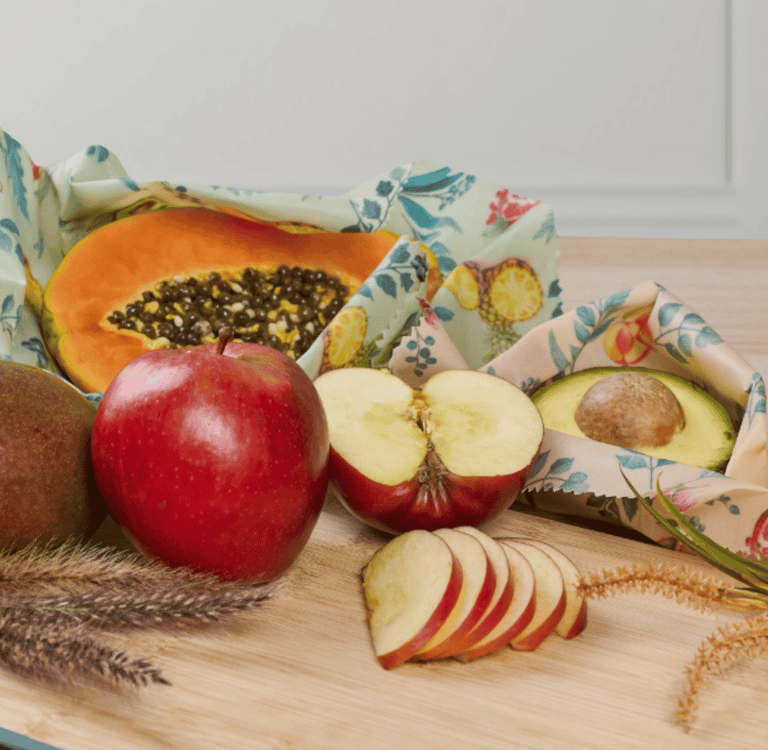


How to do it: Wrap bread or cheese in cloth, or store produce in breathable bags. Bread is best kept at room temperature, away from direct sunlight, while cheese and vegetables do well in the fridge when wrapped in these natural materials. Beeswax wraps, warmed slightly with your hands, mold gently around food to create a snug but breathable cover.
Tips: Wash and dry wraps or bags regularly so they stay clean and last longer. Freezing bread in a cloth bag or a beeswax wrap inside another layer extends freshness without relying on plastic. For cheese, allowing a little airflow helps prevent it from sweating too much.
Common mistakes: Storing bread in airtight plastic, which often makes the crust soggy, or reusing fabric wraps while still damp, which encourages mold.
Approximate duration: Traditionally, bread stored in cloth stayed good for 3–5 days, and cheese could last weeks or even months depending on the type. Today, bread wrapped in breathable fabrics lasts about 3–5 days, cheese about 1–2 weeks, and leafy greens up to 10 days in the fridge.
Did you know that our set of cotton bread bags and beeswax wraps is a perfect way to keep your food fresh using natural materials? Get your set here.
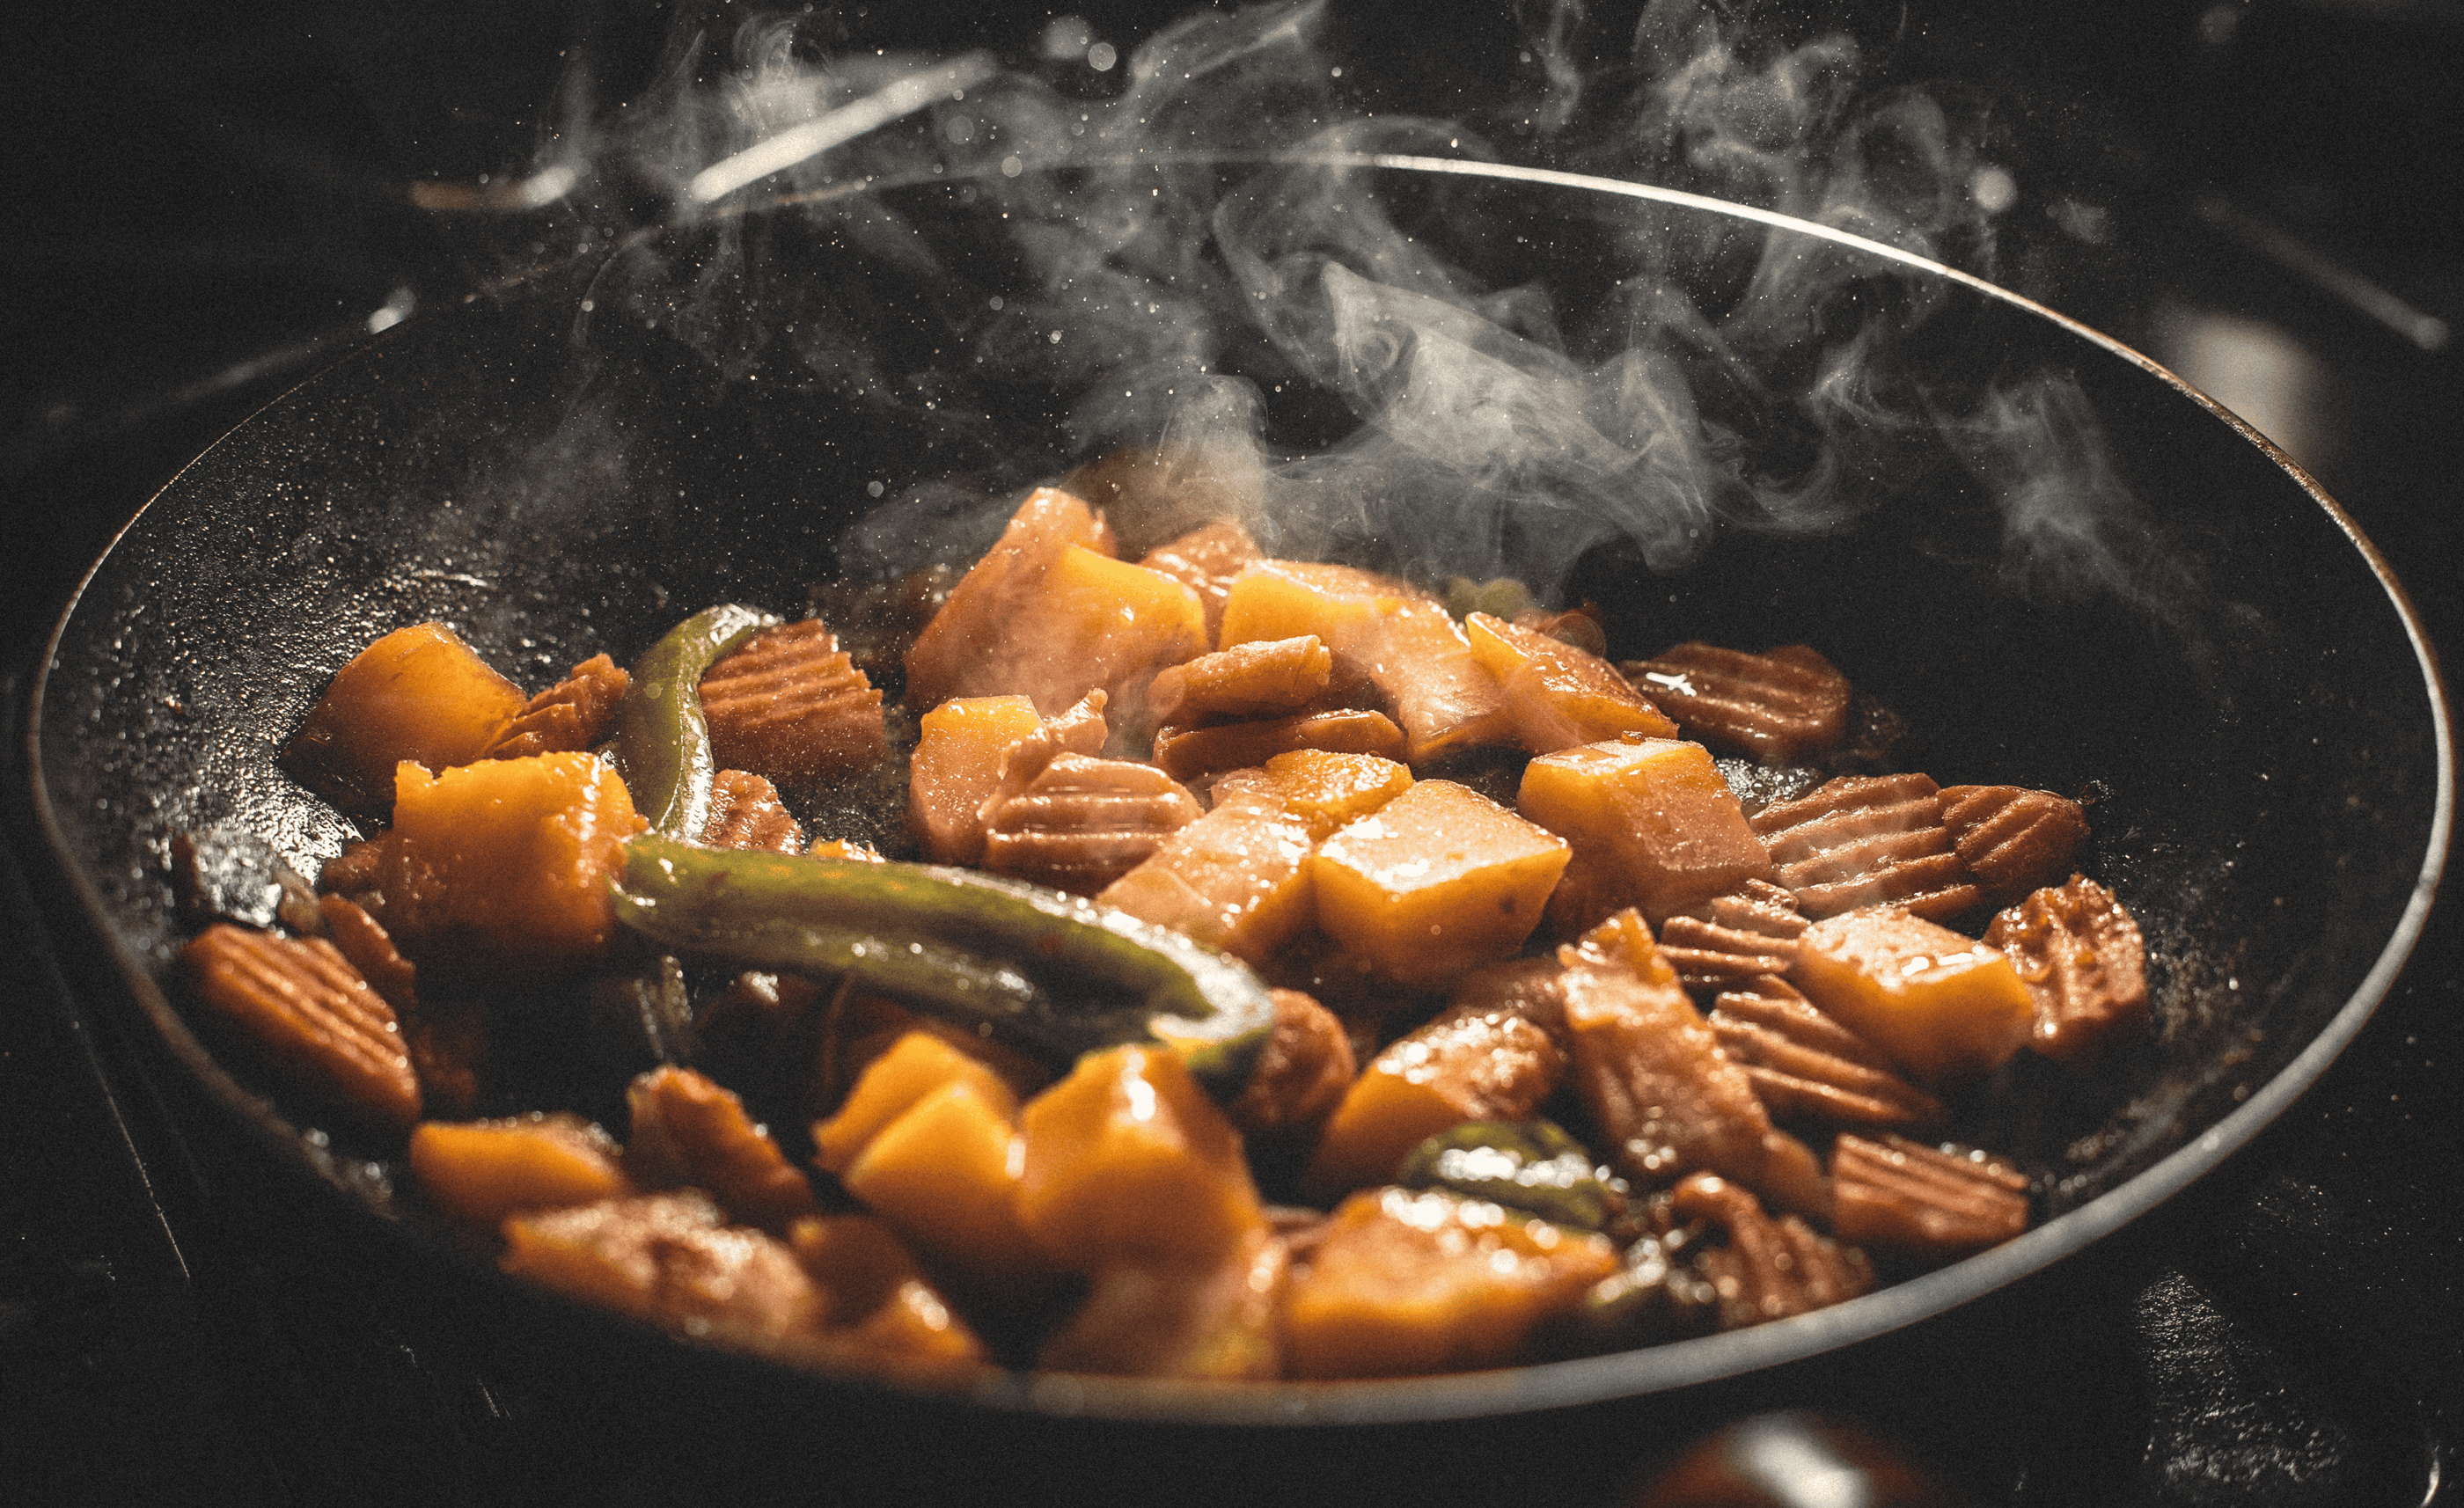
Smoking, Flavor with Preservation


How to do it: First salt or brine the meat or fish, using a dry rub or a wet mix of water, salt, and sometimes sugar or spices.
For cold smoking (below 90 °F / 32 °C), the goal is to add smoky flavor without cooking the food. This is done by keeping the smoke source separate from the food, often in a smokehouse, an offset smoker, or even a DIY setup where wood chips smolder in one chamber and the smoke is piped into another where the food rests cool. Cold-smoked foods usually need several hours to days of smoking and must still be cooked before eating.
For hot smoking (160–225 °F / 70–110 °C), the smoke and heat come from the same chamber, like in a standard smoker, a covered grill with wood chips, or an oven smoker box. Here, the food is both cooked and flavored at the same time, making it safe to eat right away. Wood choice makes a big difference, hickory gives a strong flavor, apple and cherry bring a sweeter touch, and oak strikes a balance in between.
Tips: Always cure before smoking, as this protects the food and deepens flavor. Keep the temperature steady and low, avoid rushing the process, and let the food rest after smoking so the flavor settles.
Common mistakes: Skipping the curing step, smoking at too high a temperature so the food cooks too quickly and dries out, or using softwoods like pine, which release resins that create a harsh, bitter smoke.
Approximate duration: Traditionally, smoked meat and fish could last several months in dry conditions. Today, hot-smoked fish keeps about 2 weeks in the fridge, smoked meat 2–4 weeks, and smoked cheese up to 2 months. Vacuum sealing or freezing extends these times significantly.
Before, smoking meat or fish, usually after salting, was one of the oldest and most reliable preservation techniques. Families hung food in smokehouses or over smoldering wood fires, keeping protein safe for weeks or months and adding deep, smoky flavors that became part of cultural traditions across the world.
Today, smoking is often about taste, but it still extends freshness. Whether in a backyard smoker, a grill with a smoking box, or even a stovetop smoker, the method remains the same: cure with salt or brine, then expose to steady smoke over hardwood.
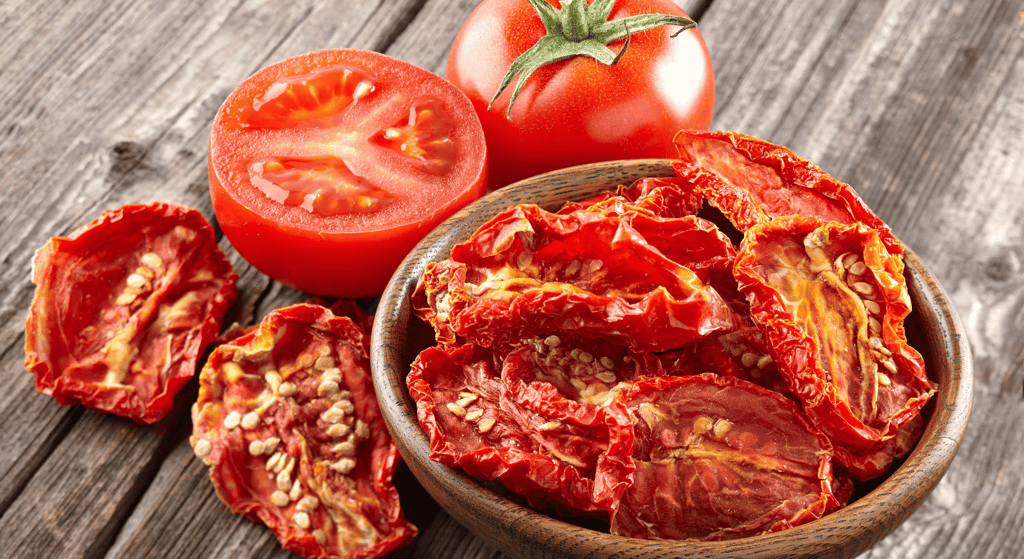
Drying: Light, Dry, and Ready to Travel
Before, in warm, dry regions, sun-drying was one of the most reliable ways to preserve food. People laid out fruits, herbs, and strips of meat on rooftops, mats, or wooden racks, covering them with cloth to keep insects away. It allowed families to carry food for long journeys or save the summer harvest for the cold months.
Today, the method hasn’t disappeared, but it has become easier and more consistent. Dehydrators provide steady airflow and low heat, while ovens on their lowest setting offer a practical alternative. In some places, people still sun-dry tomatoes or peppers, keeping the connection to tradition alive. abundance meant jars of fruits, jams, and preserves lined shelves, ready to brighten winter days.
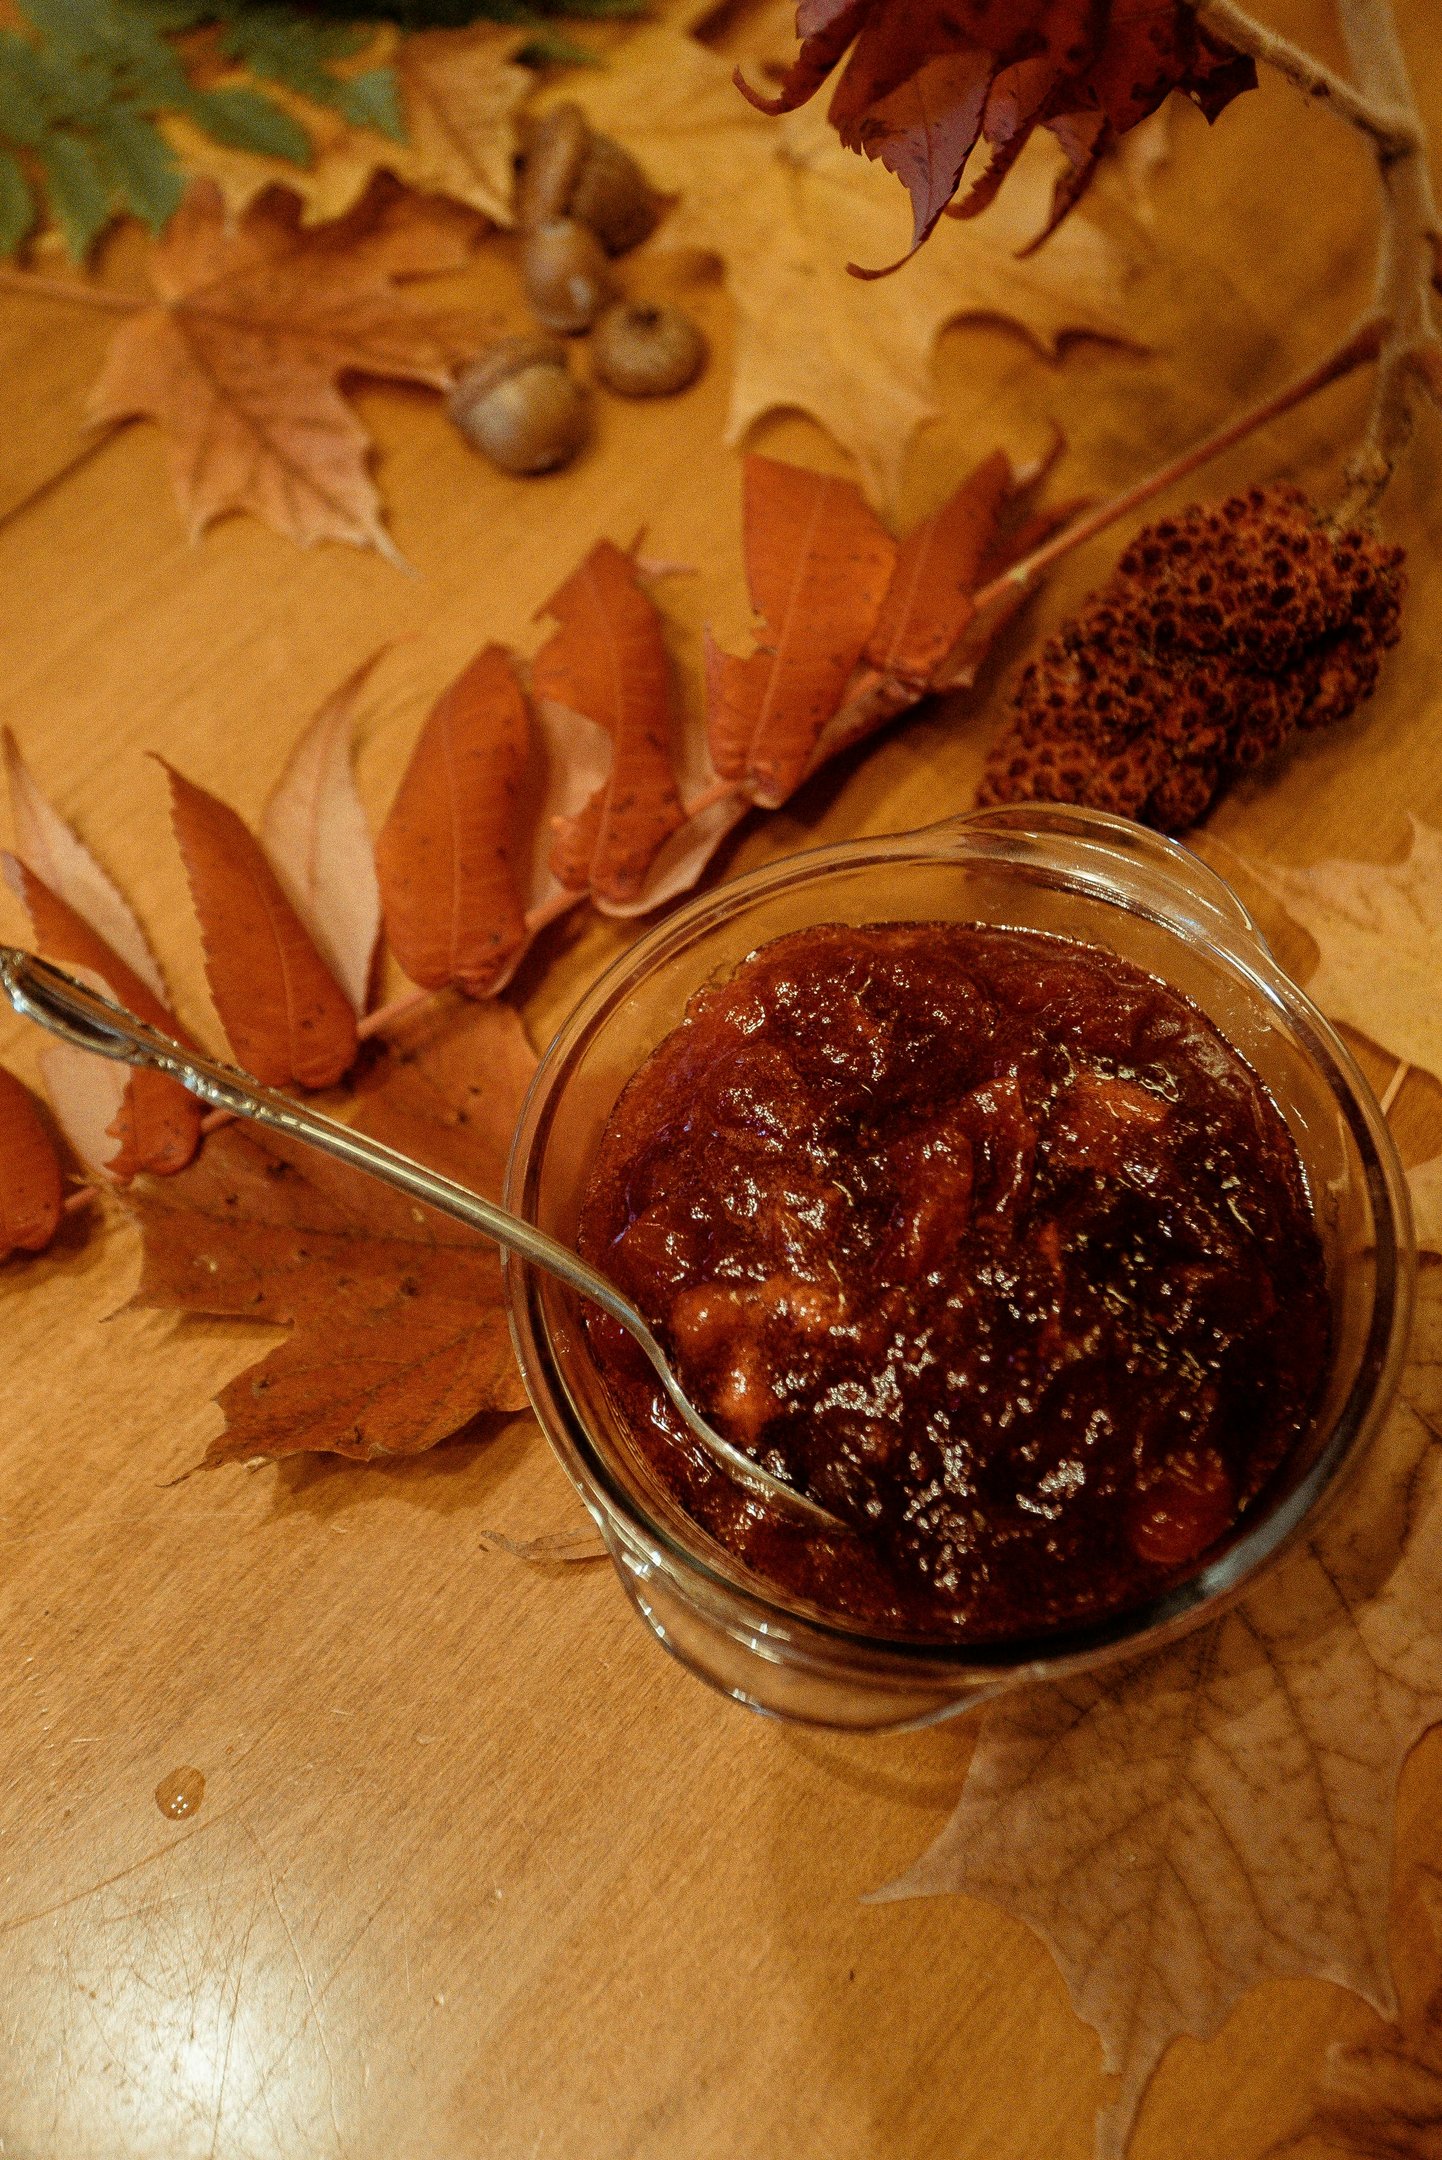


How to do it: Sterilize jars and lids, cook your fruit or vegetables with sugar, syrup, or brine, then fill jars while hot. Seal and process in boiling water or a pressure canner, depending on the recipe.
Tips: Always use clean, sterilized jars to avoid contamination. Follow tested recipes to ensure acidity levels are safe.
Common mistakes: Not processing jars long enough, which can allow bacteria to grow. Reusing lids, which may not seal properly.
Approximate duration: Traditionally, well-sealed preserves could last until the next harvest, about a year. Today, properly canned goods last 12–24 months unopened in a cool, dark place. Once opened, consume within 6–12 months in the fridge.
Drying: Light, Portable, and Surprisingly Effective
Before, drying was one of the simplest ways to ensure food would last through harsh winters or long travels. Families laid out fruit, herbs, or strips of meat on rooftops, mats, or wooden racks, covering them lightly to keep insects away. Without refrigeration, this method meant carrying lightweight provisions for journeys and keeping summer flavors alive for months.

Today, drying has become more reliable with dehydrators and ovens, though some people still sun-dry foods in warm climates. The idea is simple: remove moisture so food becomes shelf-stable, light, and easy to store or carry.
How to do it: Slice fruits and vegetables evenly so they dry at the same pace. Spread them in a single layer on trays and dry at a low, steady temperature, around 125–135 °F for produce, and 145–160 °F for meats like jerky. Herbs can be tied in small bunches and hung in a warm, airy space out of direct sun. Once dried, food should feel leathery, brittle, or crumbly, and it must be cooled before sealing in jars or airtight bags.
Tips: Using lemon water on fruits like apples or pears prevents browning, and blanching vegetables briefly before drying helps keep their color and nutrients. Rotate trays if drying in the oven for more even results. Always let foods cool fully before sealing, as trapped heat can create condensation and mold.
Common mistakes: Storing food before it is completely dry almost always leads to spoilage. Cutting slices too thick keeps moisture inside, while using too high a temperature can cause case hardening, when the outside dries quickly but the inside stays damp. Another mistake is forgetting to label jars with dates; dried foods last long but not forever.
Approximate duration: Traditionally, dried foods could last for 6–12 months if kept in a dry, cool place. Today, airtight storage extends herbs up to a year, fruits 6–12 months, and jerky about 1–3 months at room temperature, longer if vacuum-sealed or refrigerated.
Natural Material Storage: Breathable and Reusable
Before, before plastic bags or cling film existed, people wrapped bread, cheese, and vegetables in fabrics like linen or cotton. These natural materials allowed air to circulate, keeping food from turning soggy while slowing down moisture loss. For generations, simple cloth was enough to make bread last a few days longer or keep cheese from drying out too quickly.
Today, natural fabrics are making a comeback as people look for simple, eco-friendly alternatives to plastic. Cotton bread bags, linen wraps, and other breathable covers are being rediscovered for their effectiveness and reusability. Some products even use natural wax coatings, like beeswax, to create a flexible wrap that holds its shape around food while still allowing airflow.

How to do them: Wrap bread or cheese in cloth, or store produce in breathable bags. Bread is best kept at room temperature, away from direct sunlight, while cheese and vegetables do well in the fridge when wrapped in these natural materials. Beeswax wraps, warmed slightly with your hands, mold gently around food to create a snug but breathable cover.
Tips: Wash and dry wraps or bags regularly so they stay clean and last longer. Freezing bread in a cloth bag or a beeswax wrap inside another layer extends freshness without relying on plastic. For cheese, allowing a little airflow helps prevent it from sweating too much.
Common mistakes: Storing bread in airtight plastic, which often makes the crust soggy, or reusing fabric wraps while still damp, which encourages mold
Approximate duration: Traditionally, bread stored in cloth stayed good for 3–5 days, and cheese could last weeks or even months depending on the type. Today, bread wrapped in breathable fabrics lasts about 3–5 days, cheese about 1–2 weeks, and leafy greens up to 10 days in the fridge.
Did you know that our set of cotton bread bags and beeswax wraps is a perfect way to keep your food fresh using natural materials? Get your set here.
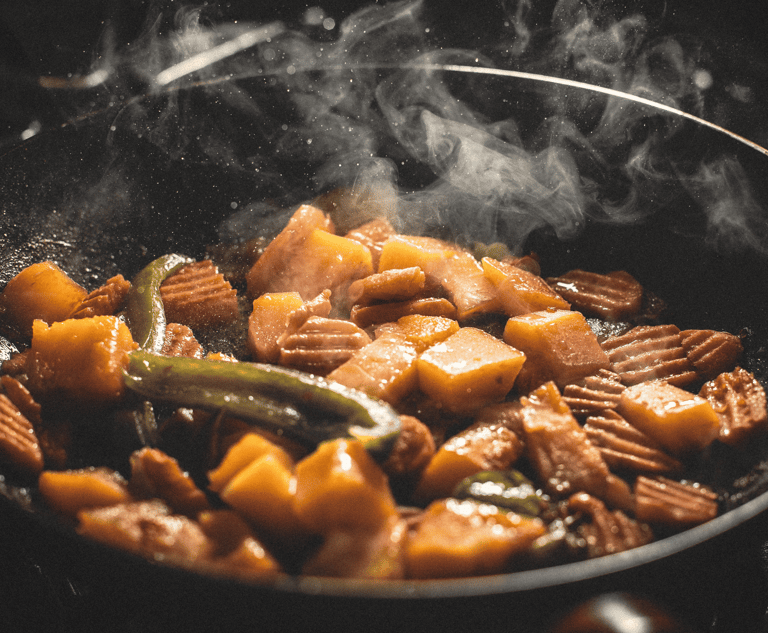
Smoking, Flavor with Preservation
Before, smoking meat or fish, usually after salting, was one of the oldest and most reliable preservation techniques. Families hung food in smokehouses or over smoldering wood fires, keeping protein safe for weeks or months and adding deep, smoky flavors that became part of cultural traditions across the world.
Today, smoking is often about taste, but it still extends freshness. Whether in a backyard smoker, a grill with a smoking box, or even a stovetop smoker, the method remains the same: cure with salt or brine, then expose to steady smoke over hardwood.


How to do it: First salt or brine the meat or fish, using a dry rub or a wet mix of water, salt, and sometimes sugar or spices. For cold smoking (below 90 °F / 32 °C), the goal is to add smoky flavor without cooking the food. This is done by keeping the smoke source separate from the food, often in a smokehouse, an offset smoker, or even a DIY setup where wood chips smolder in one chamber and the smoke is piped into another where the food rests cool. Cold-smoked foods usually need several hours to days of smoking and must still be cooked before eating.
For hot smoking (160–225 °F / 70–110 °C), the smoke and heat come from the same chamber, like in a standard smoker, a covered grill with wood chips, or an oven smoker box. Here, the food is both cooked and flavored at the same time, making it safe to eat right away. Wood choice makes a big difference—hickory gives a strong flavor, apple and cherry bring a sweeter touch, and oak strikes a balance in between.
Tips: Always cure before smoking, as this protects the food and deepens flavor. Keep the temperature steady and low, avoid rushing the process, and let the food rest after smoking so the flavor settles.
Common mistakes: Skipping the curing step, smoking at too high a temperature so the food cooks too quickly and dries out, or using softwoods like pine, which release resins that create a harsh, bitter smoke.
Approximate duration: Traditionally, smoked meat and fish could last several months in dry conditions. Today, hot-smoked fish keeps about 2 weeks in the fridge, smoked meat 2–4 weeks, and smoked cheese up to 2 months. Vacuum sealing or freezing extends these times significantly.
These three methods, drying, natural storage, and smoking, complete our journey into six traditional preservation techniques that have stood the test of time. Together with fermentation, pickling, and canning from Part I, they show how people across generations found clever, natural ways to make food last longer and taste better.
At Naturable, we share these traditions because they remind us that sustainability isn’t always about new inventions, it often means rediscovering practices that already worked. From jars of sauerkraut to bread wrapped in beeswax, these simple techniques help us waste less, live more naturally, and savor food in a way that feels connected to both past and future.
Sources
Drying
National Center for Home Food Preservation (University of Georgia) – Drying Fruits and Vegetables
University of Minnesota Extension – Drying Foods Safely
USDA – Principles of Home Food Preservation (includes drying)
Natural Material Storage
Smithsonian Magazine – Traditional methods of storing bread and cheese before plastic
ResearchGate – “Traditional food storage methods” (includes use of textiles and natural coatings)
Smoking
National Center for Home Food Preservation – Smoking and Curing
USDA Food Safety and Inspection Service – Smoking Meat and Poultry
Science of Smoking Food
Have You Tried Our Beeswax Bags & Wraps?
A natural way to keep your food and bread fresh while reducing plastic in your kitchen.
Each set includes 2 reusable bread bags and 2 wraps, made from 100% cotton, beeswax, jojoba oil, and pine resin.
Simple, sustainable, and long-lasting.
Have You Tried Our Beeswax Bags & Wraps?
A natural way to keep your food and bread fresh while reducing plastic in your kitchen.
Each set includes 2 reusable bread bags and 2 wraps, made from 100% cotton, beeswax, jojoba oil, and pine resin.
Simple, sustainable, and long-lasting.
Let’s Connect on Instagram
Let’s Connect on Instagram
Subscribe to Our Newsletter
Join the Naturable Blog! Stay updated with our tips, kitchen hacks, and much more
Subscribe to Our Newsletter
Join the Naturable Blog! Stay updated with our tips, kitchen hacks, and much more
Stay connected! Follow us for tips, updates, and a little extra inspiration for your home and kitchen.
Have a question or need assistance?
Feel free to contact us!
© 2025. Naturable – A brand of Horizon Origin LLC