Naturally fresh, beautifully stored

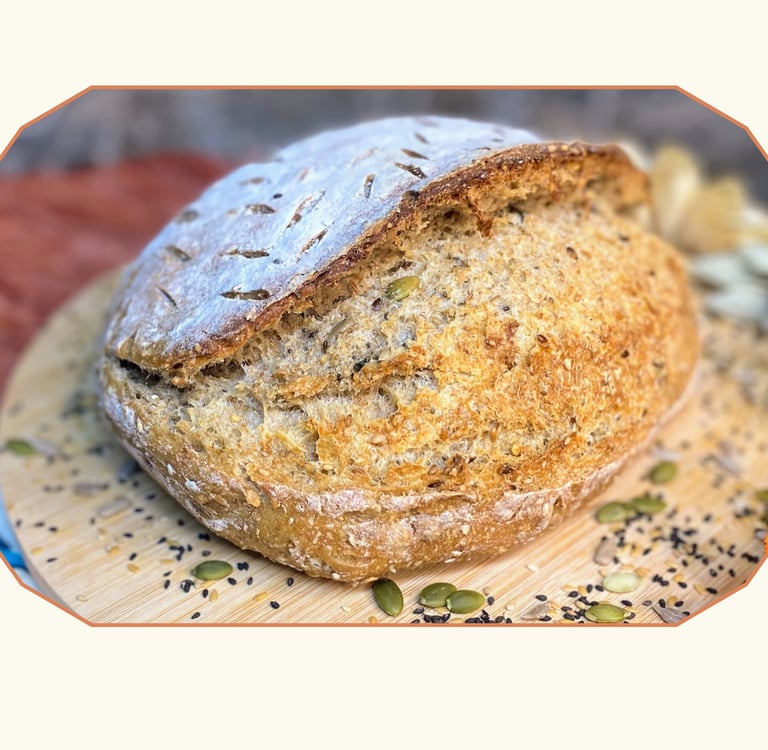
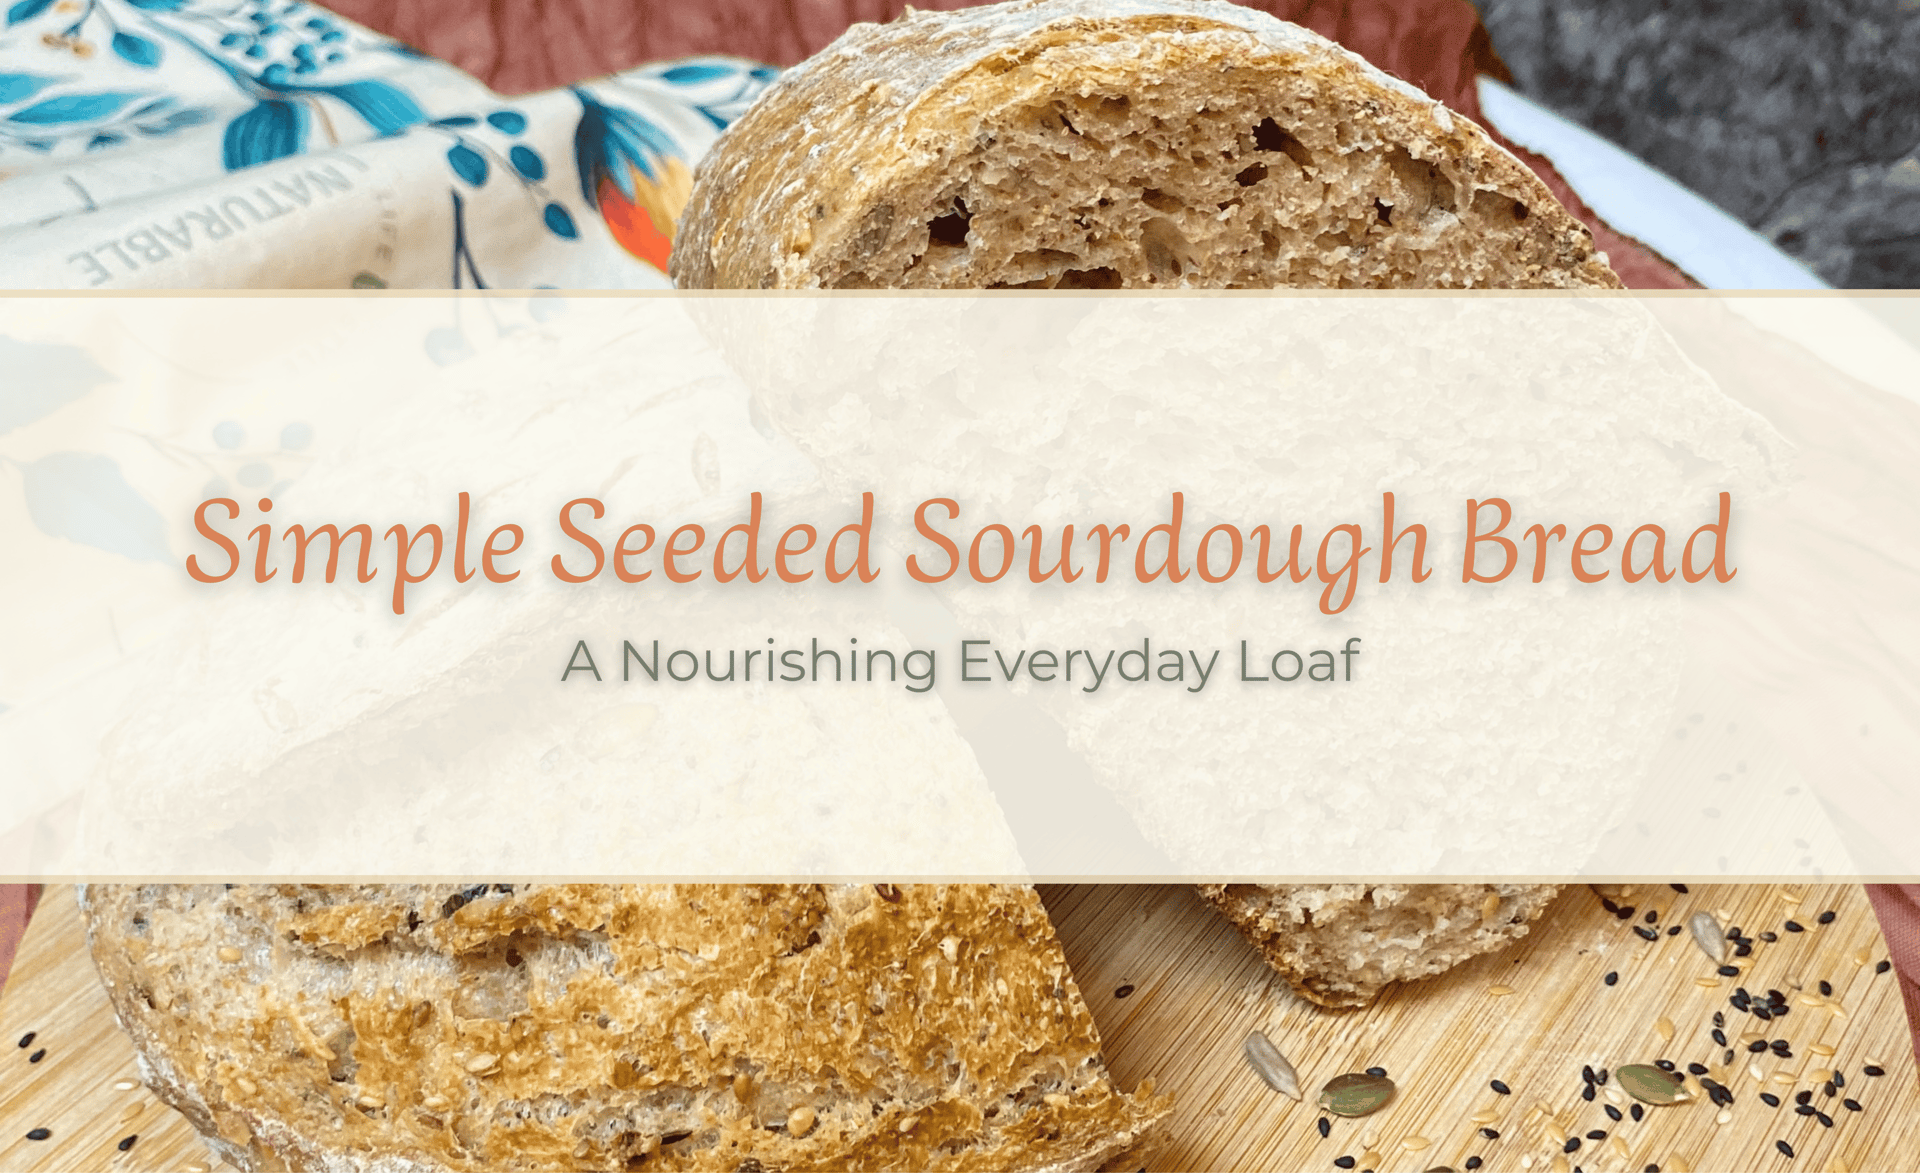
Simple & Reliable Seeded Sourdough Bread: A Nourishing Everyday Loaf
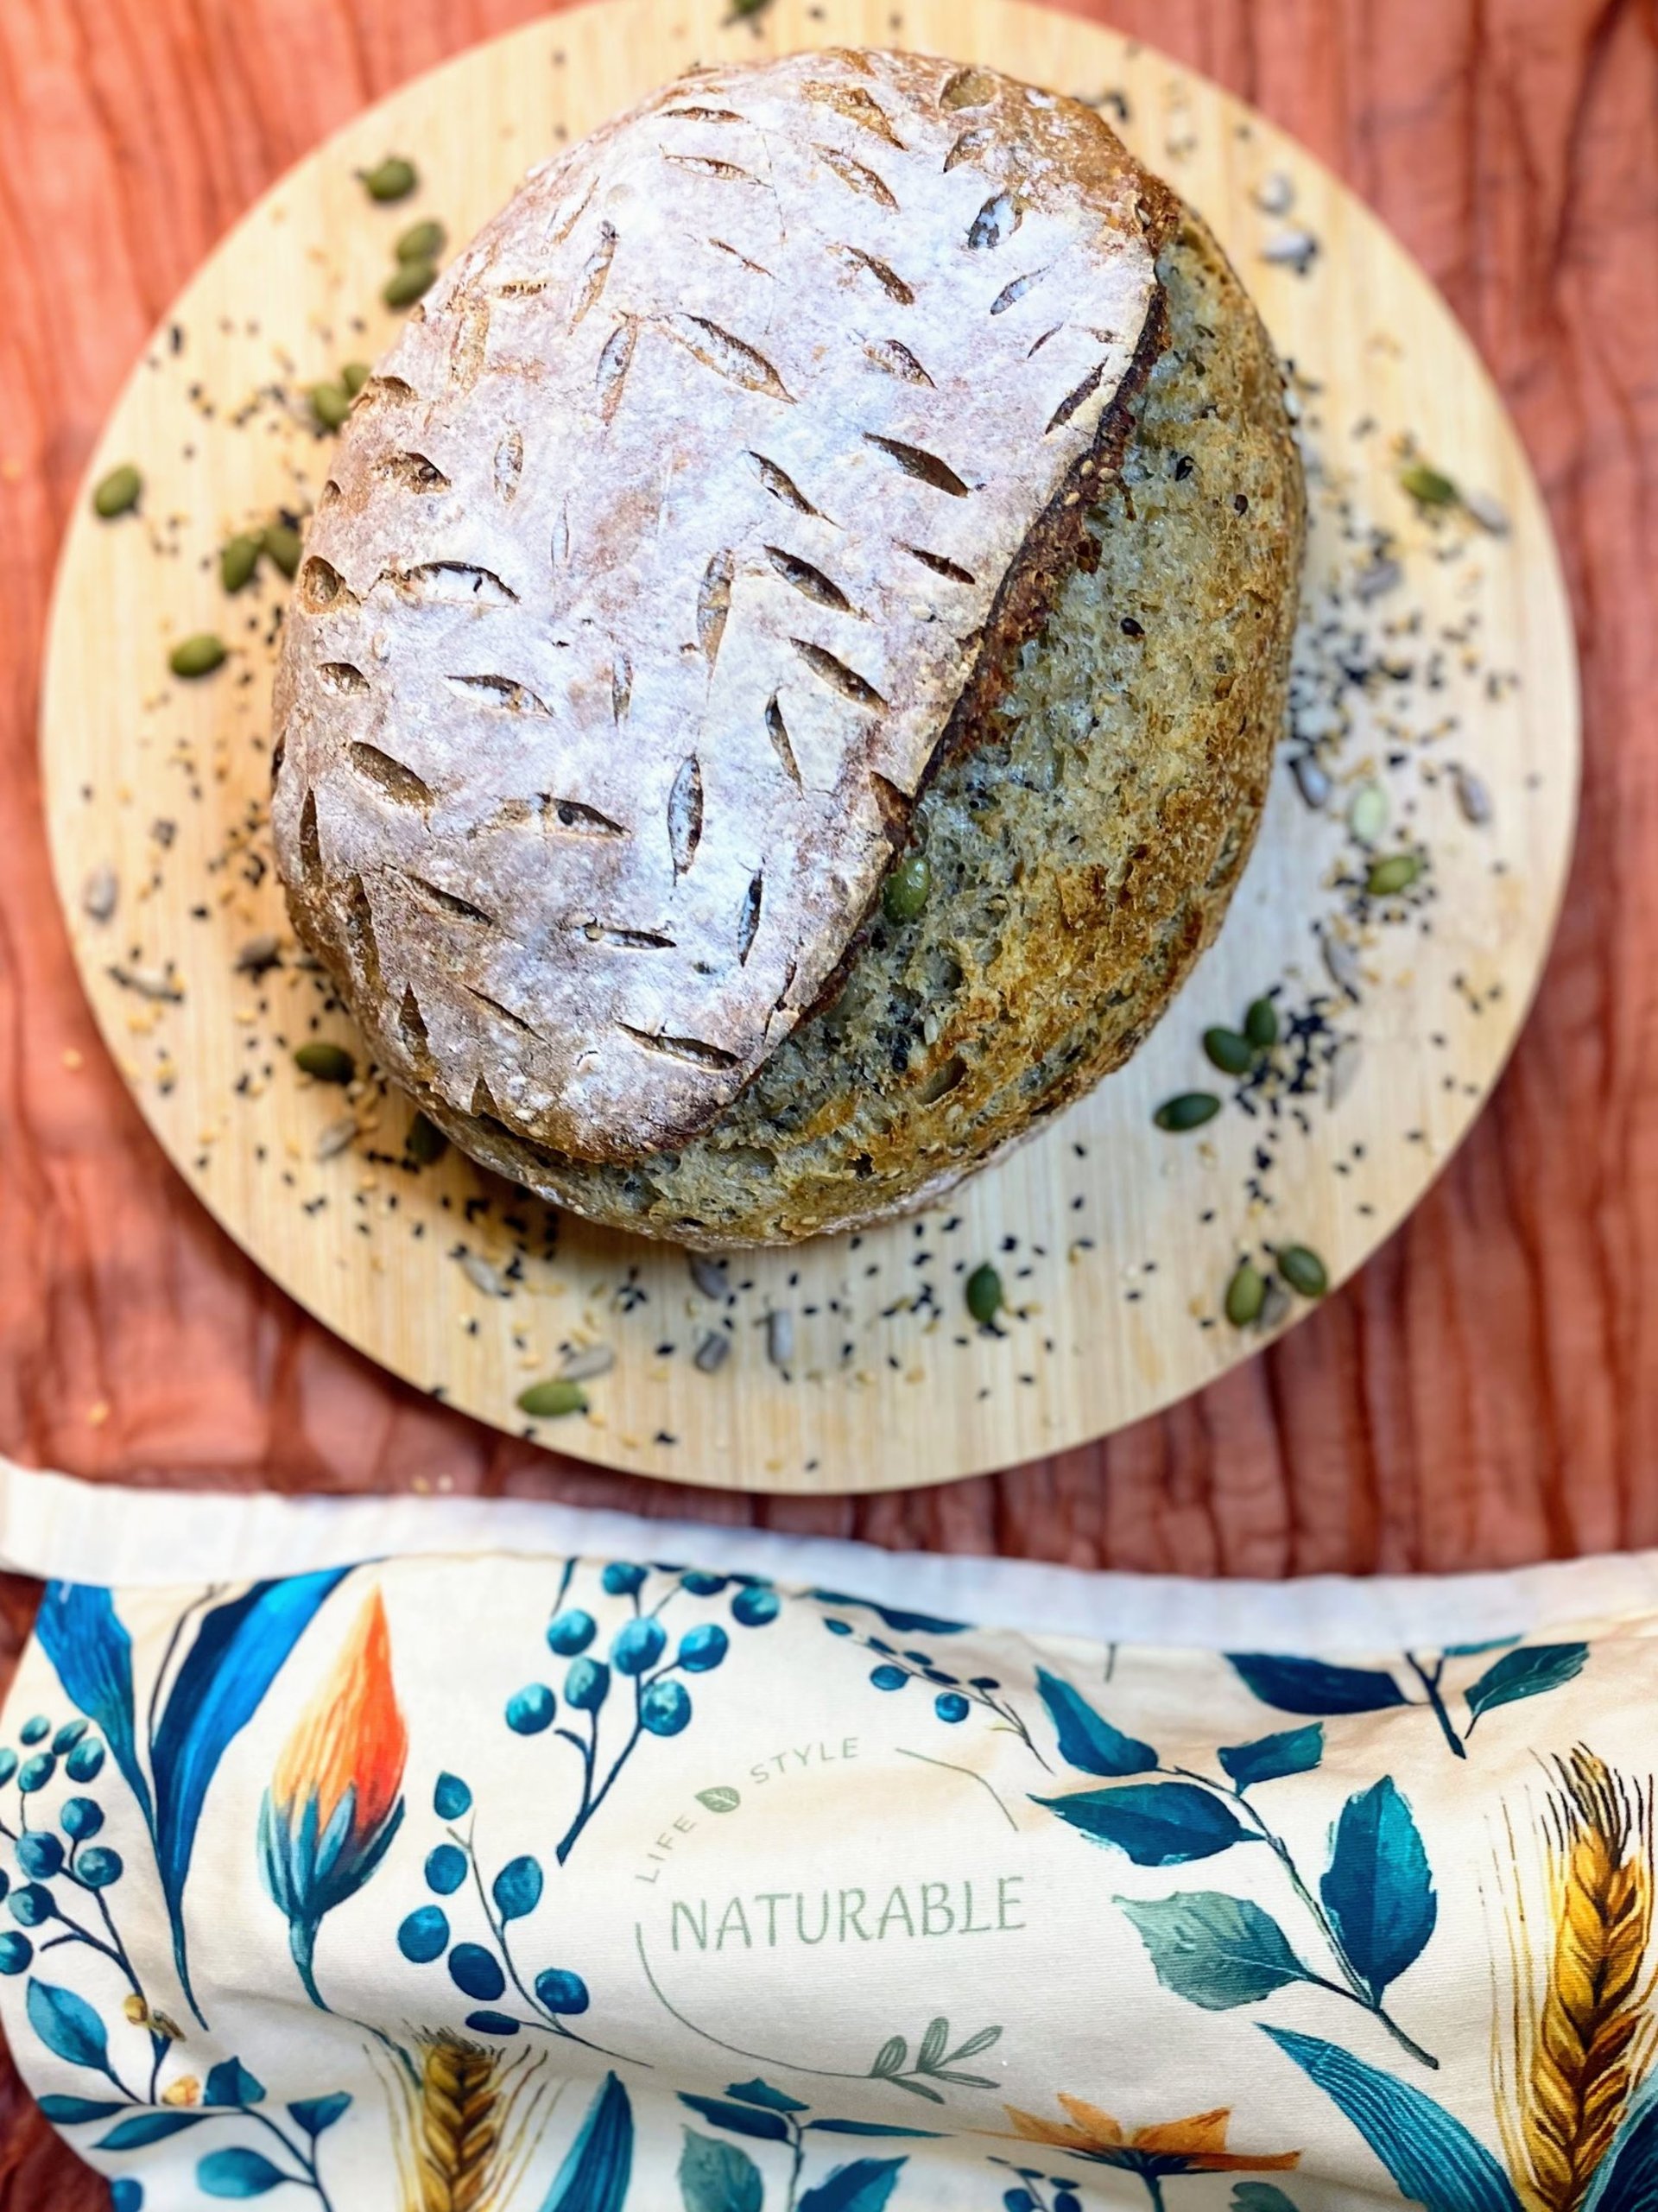
A seeded sourdough bread designed for everyday baking, without unnecessary complexity. This loaf focuses on good structure, balanced hydration, and practical techniques that really work. It’s a versatile bread that fits easily into daily meals. Perfect for toast, sandwiches, and week-to-week baking routines.
A


This seeded sourdough bread is designed to fit into everyday life.
It’s not complicated, it doesn’t require advanced techniques, and it doesn’t ask for constant attention. What it does require is a bit of patience and an understanding of what the dough needs at each stage.
It’s a reliable, versatile loaf that works just as well for toast as it does for sandwiches or daily meals. Adding seeds is an easy way to make your bread a little more nourishing without changing your routine.
Sourdough doesn’t have to be complicated. With good organization and cold fermentation, it can adapt easily to your schedule and become part of your weekly rhythm.
What you will need
(Basic tools and simple alternatives)
You don’t need special equipment to bake good sourdough bread.
A few basic tools are enough, and most items have easy alternatives.
Essential tools
A large mixing bowl
A kitchen towel or cloth
A bench scraper
A banneton or proofing basket
If you don’t have one, a bowl lined with a lightly floured cloth works perfectly.
A lame or sharp blade
A clean razor blade or a very sharp knife can be used instead.
Baking options
With a Dutch oven
A Dutch oven helps trap steam during the first part of baking, allowing the bread to rise well before the crust sets.
If you have one, it’s a very convenient option.
Without a Dutch oven (You can still bake excellent bread without it)
You’ll need:
A baking stone or heavy baking tray, well preheated
A metal tray placed at the bottom of the oven to create steam
An extra baking tray placed above the bread during the first 20 minutes to prevent the crust from setting too quickly
A metal tray or heatproof container to add water and create steam in the oven during baking.
This setup mimics the steam effect of a Dutch oven and works very well when the oven is fully preheated.
Optional but helpful
Parchment paper for easy transfer into the oven
A spray bottle or ice cubes to help generate steam
A cooling rack to let the bread cool properly after baking
Ingredients (For one medium loaf)
300 g bread flour
200 g whole wheat flour
100 g active sourdough starter
350 g water
10 g salt
15 g honey
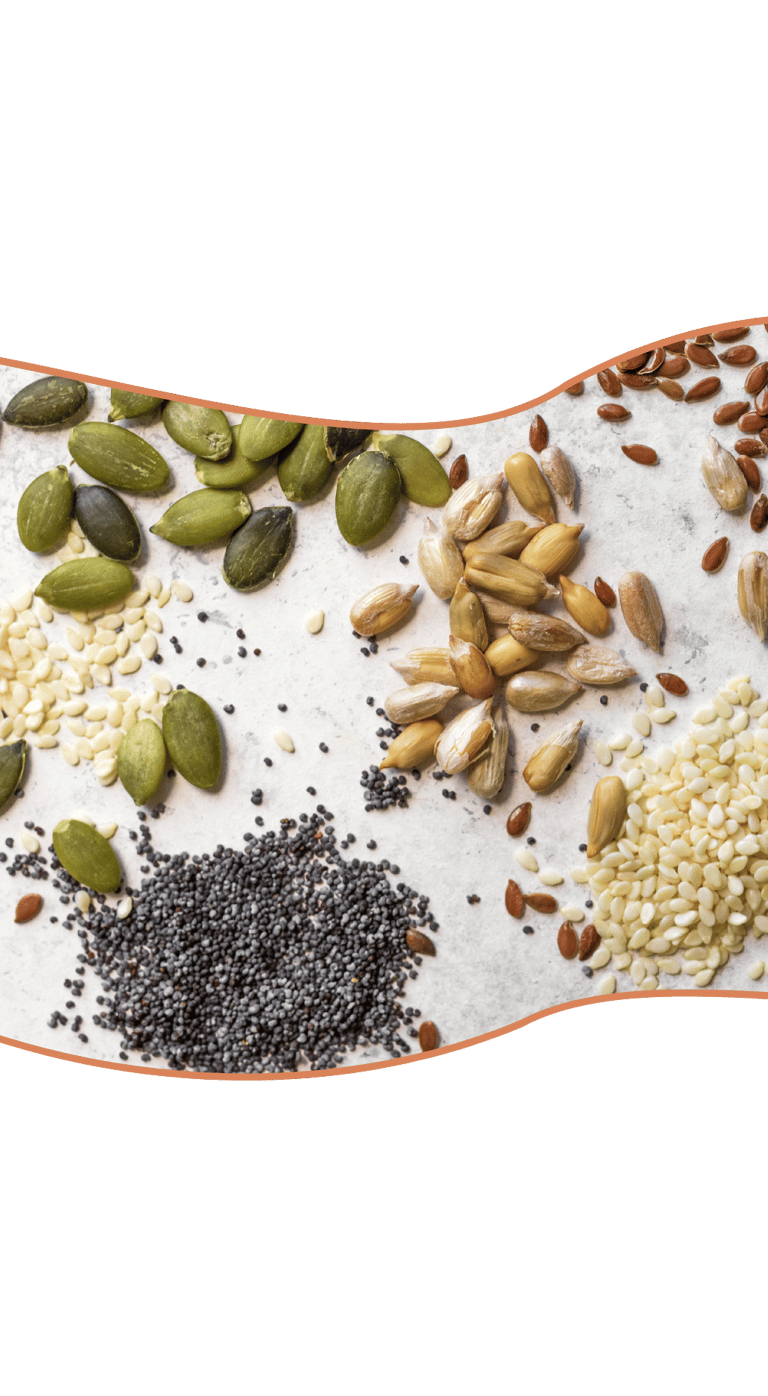
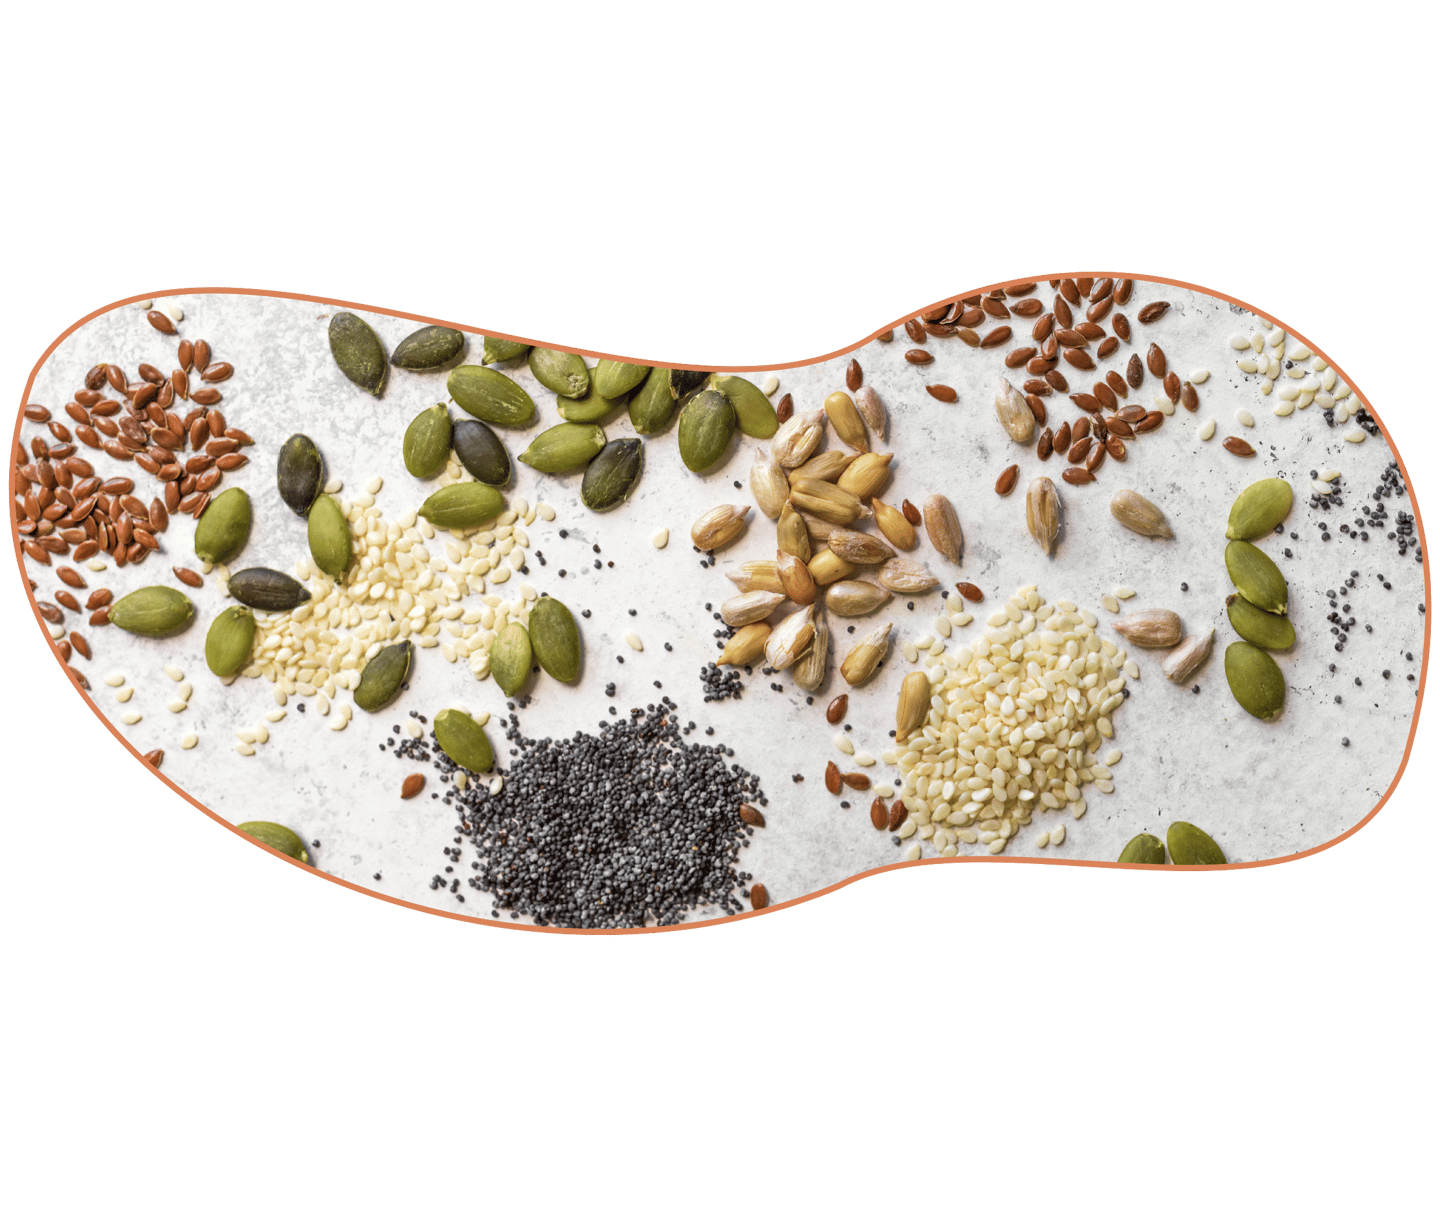
Seed mix
This recipe uses 60 g of seeds in total. You can increase the amount up to 80 g if you prefer a more seeded loaf.
The combination is fully adaptable. Use the seeds you already have at home.


Notes on Flour & Hydration
(Understanding how the dough behaves)
You can make this bread using only white flour or only whole wheat flour.
Keep in mind that whole wheat flour absorbs more water than white flour.
If using mostly or only whole wheat flour, you may need to add 15–20 g of extra water, no more.
With experience, you’ll learn to recognize this naturally.
If after autolyse the dough feels stiff, tight, or resists stretching, it may need a little more hydration. Always add water gradually rather than all at once.
You can also include other flours, such as spelt or rye.

Preparing The Seeds
(Texture, structure, and digestion)
Why soak seeds?
For the dough
Prevents seeds from absorbing moisture from the dough during fermentation
Helps maintain a juicier, more even crumb
Makes the seeds easier to integrate without damaging gluten structure
For digestion and nutrition
Makes seeds easier to digest
Reduces compounds such as phytates, which can interfere with mineral absorption
Improves the availability of nutrients like minerals and healthy fats
In the case of flaxseed, soaking activates its natural gel, which also benefits crumb texture
Soak the seeds for about 30 minutes, then drain them well before use.
Two valid options
Soak and use directly: Simple, effective, and ideal for consistent hydration.
Toast first, then soak: Toast lightly for deeper flavor, let cool completely, then soak and drain before adding.
Avoid adding seeds that are hot or completely dry.
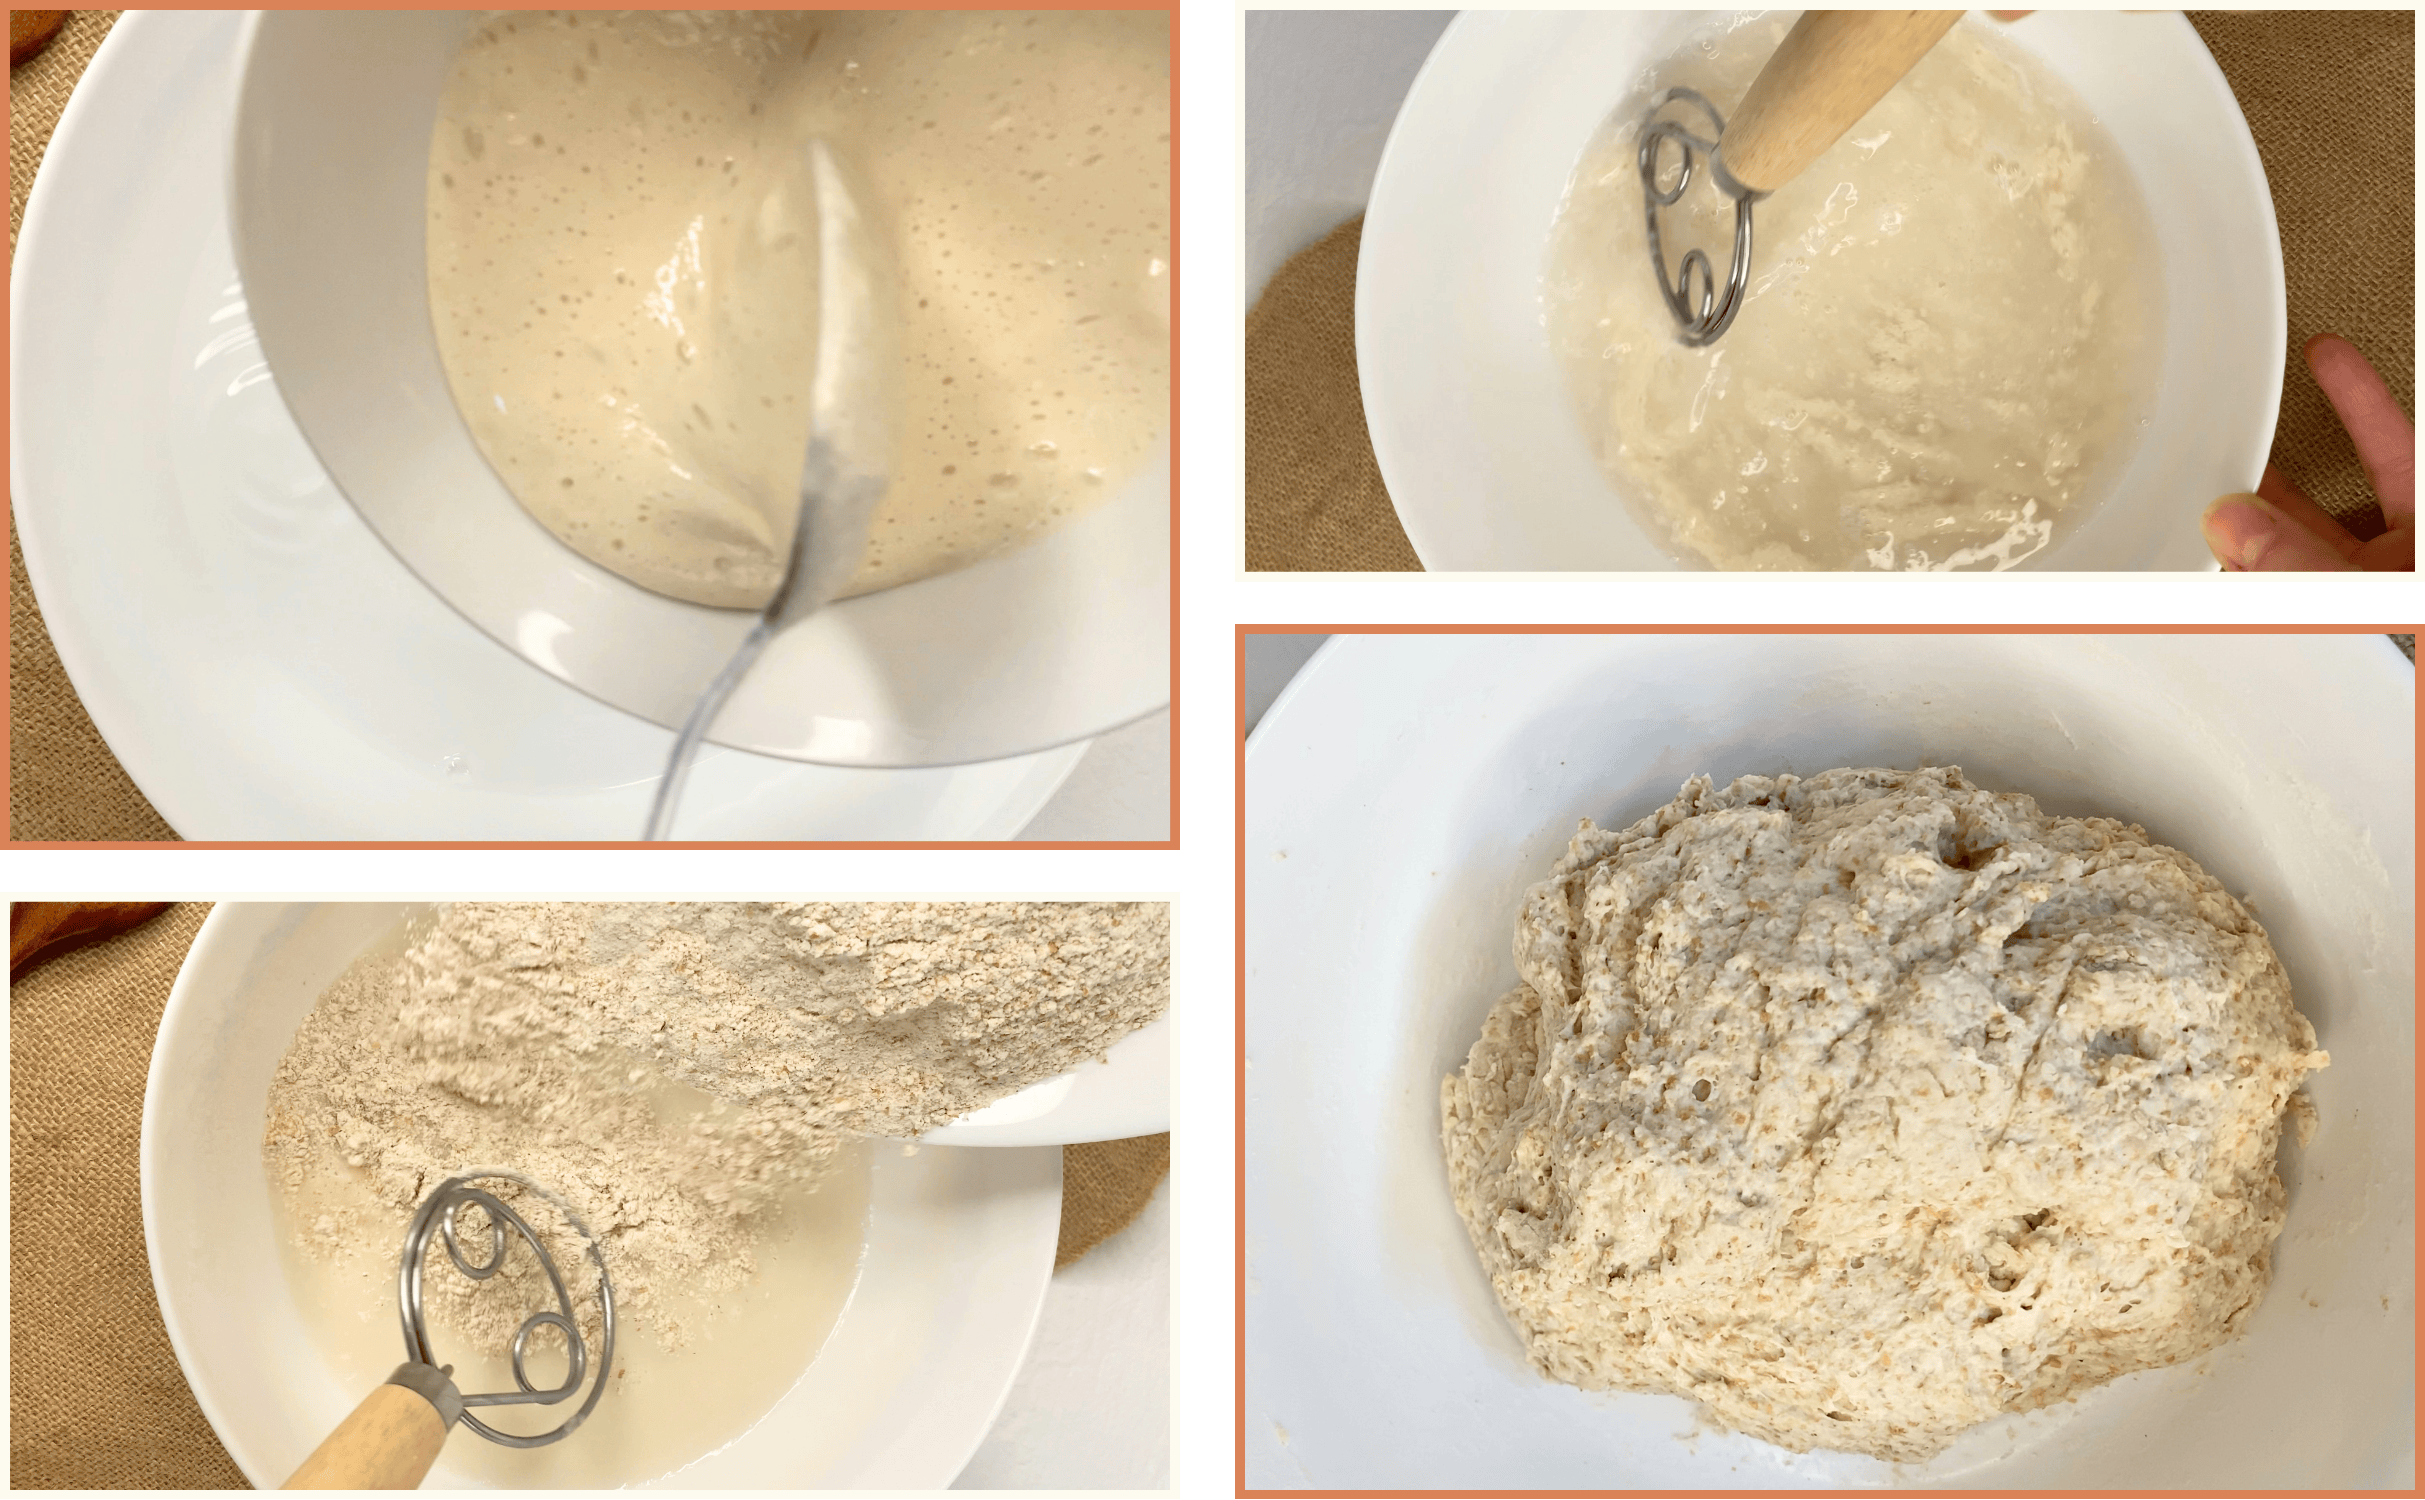
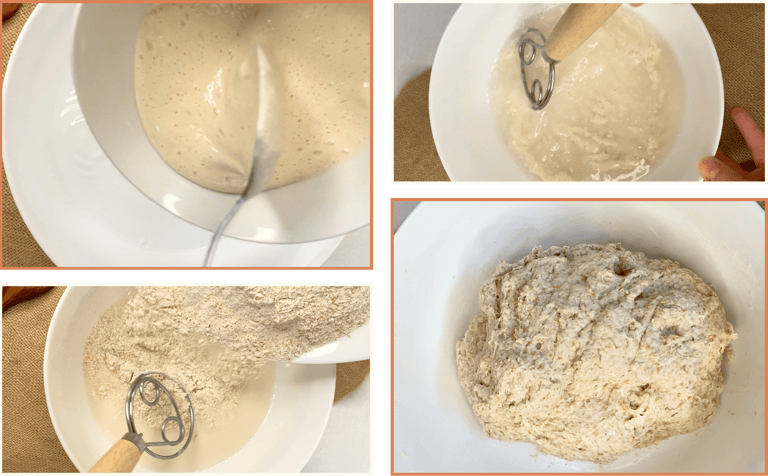
Autolyse
(Letting the dough start working on its own)
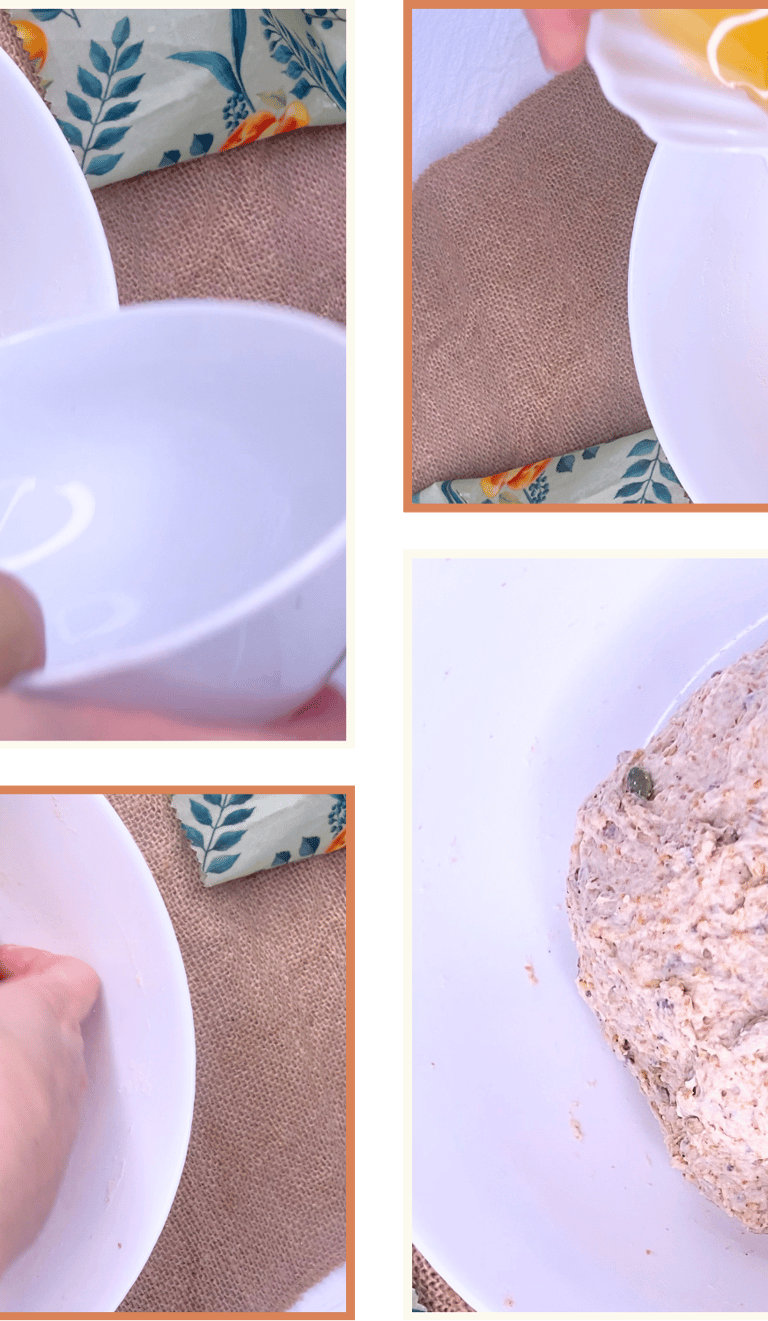
Mix the flours, water, and sourdough starter until no dry flour remains.
Cover and let rest for 30 minutes.
This step allows the flour to hydrate fully and gluten to begin developing naturally, reducing the need for intensive mixing later.
Step by Step

How to tell bulk fermentation is ready
With seeded doughs and cold fermentation, the dough may not look as smooth or bubbly as a plain dough. This is completely normal.
Look for these signs instead:
The dough feels lighter and more elastic
The surface looks more relaxed and aerated
It releases easily from the bowl
Small bubbles may appear, but they may be subtle
At around 24 °C, this usually takes 2.5–3 hours, but always follow the dough, not the clock.
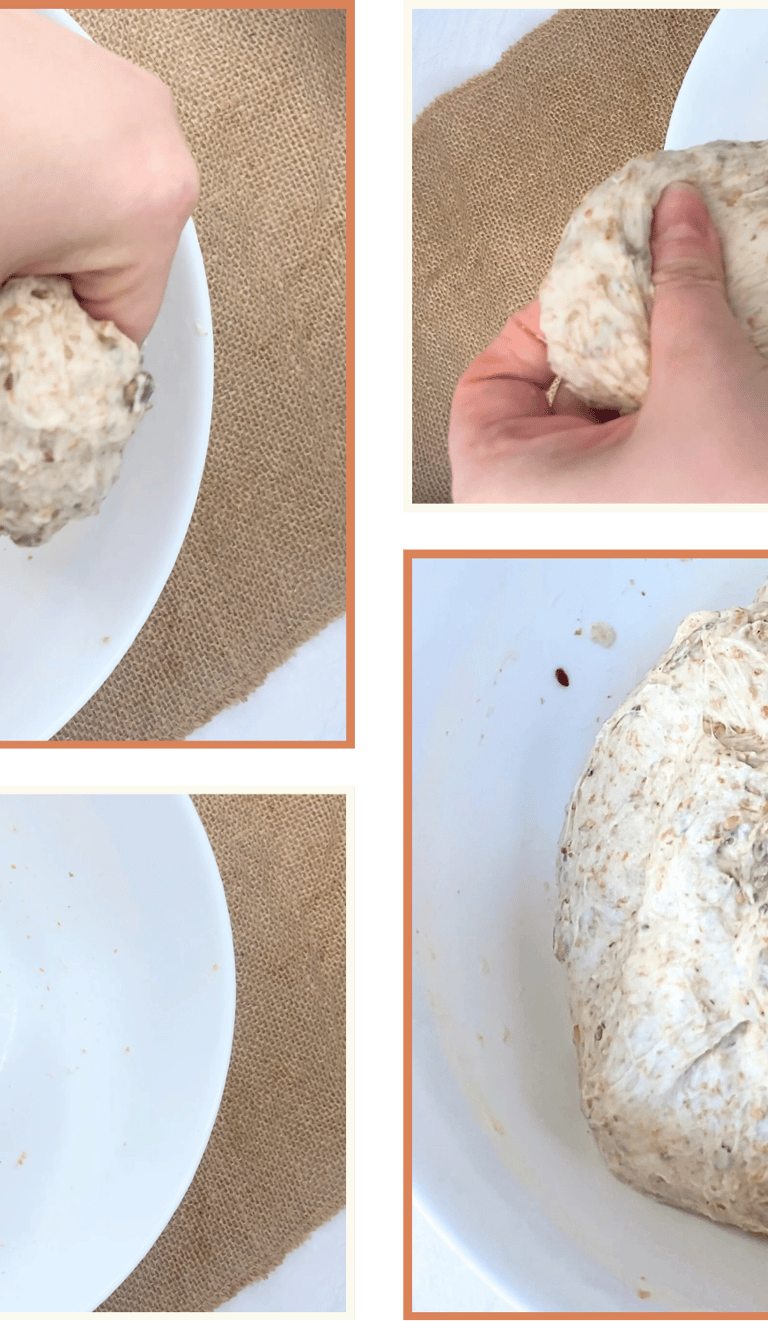
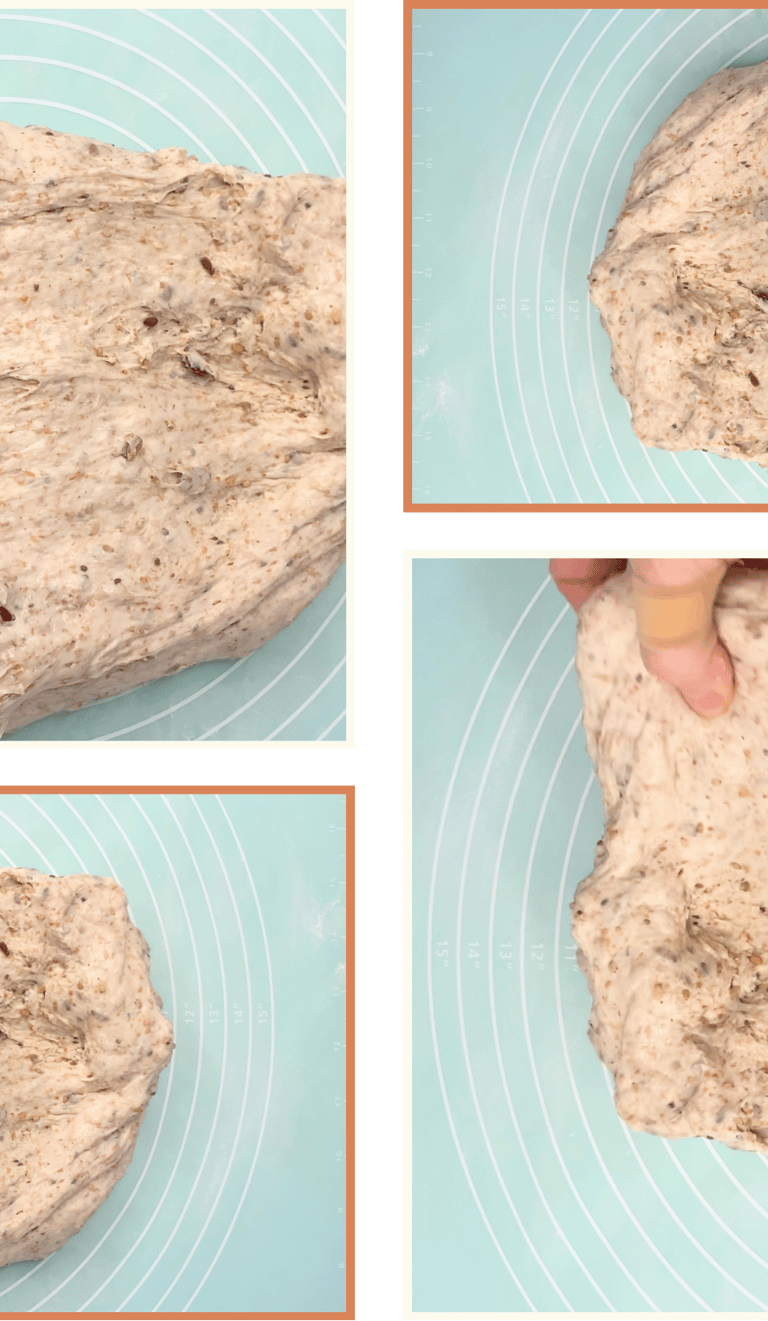
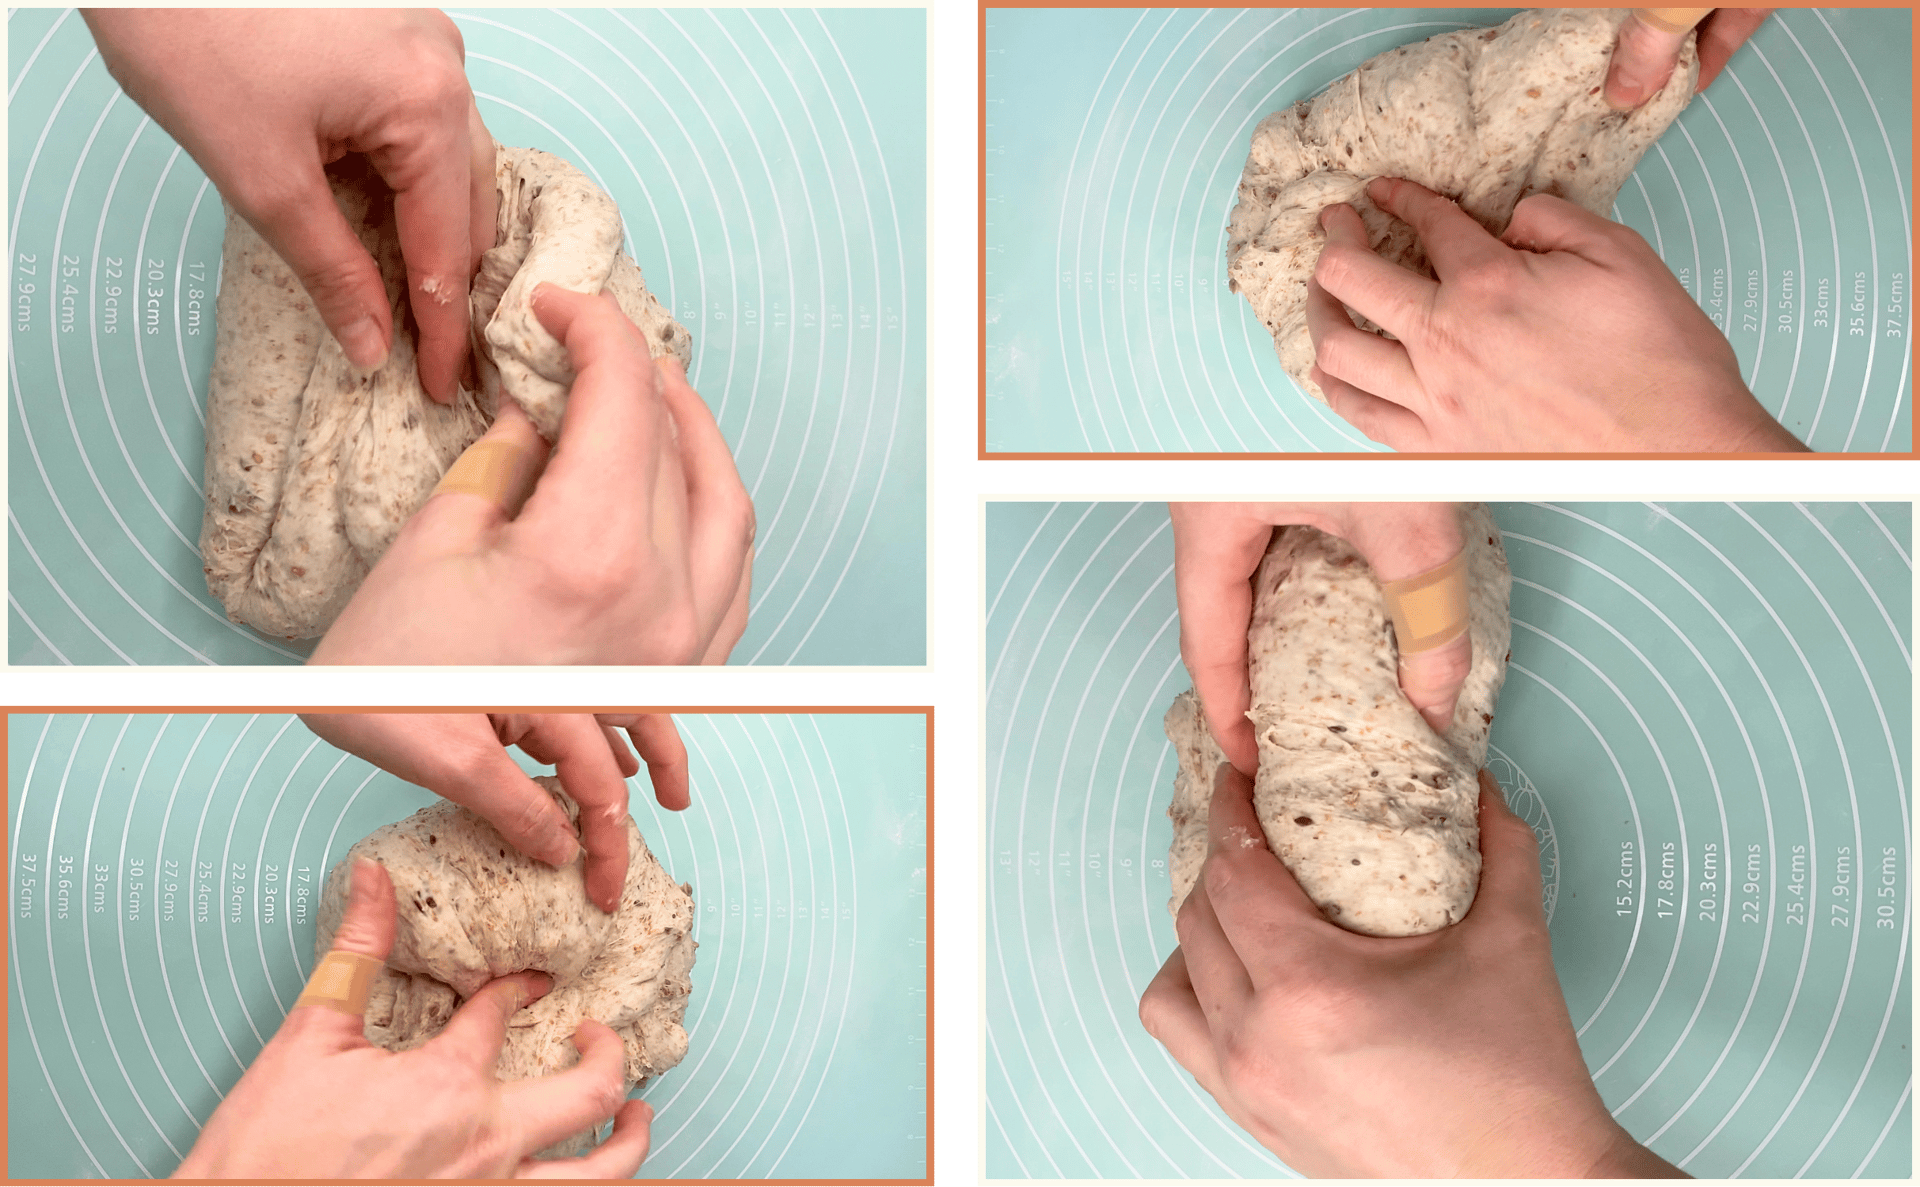
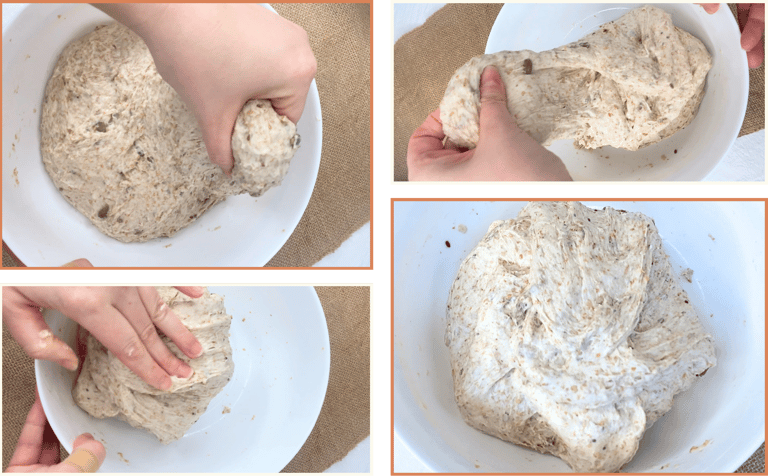
Bulk fermentation and folds
During bulk fermentation, perform three sets of folds, spaced 40 minutes apart.
Instead of classic stretch-and-folds, use a short, controlled motion. Lift just the edge of the dough with your fingertips and fold it toward the center. Repeat this 3–4 times per set, rotating the bowl slightly.
This method is especially suitable for seeded doughs, as it builds strength without tearing the structure.
After the third set of folds, let the dough ferment until it has increased by about 60–70% in volume.
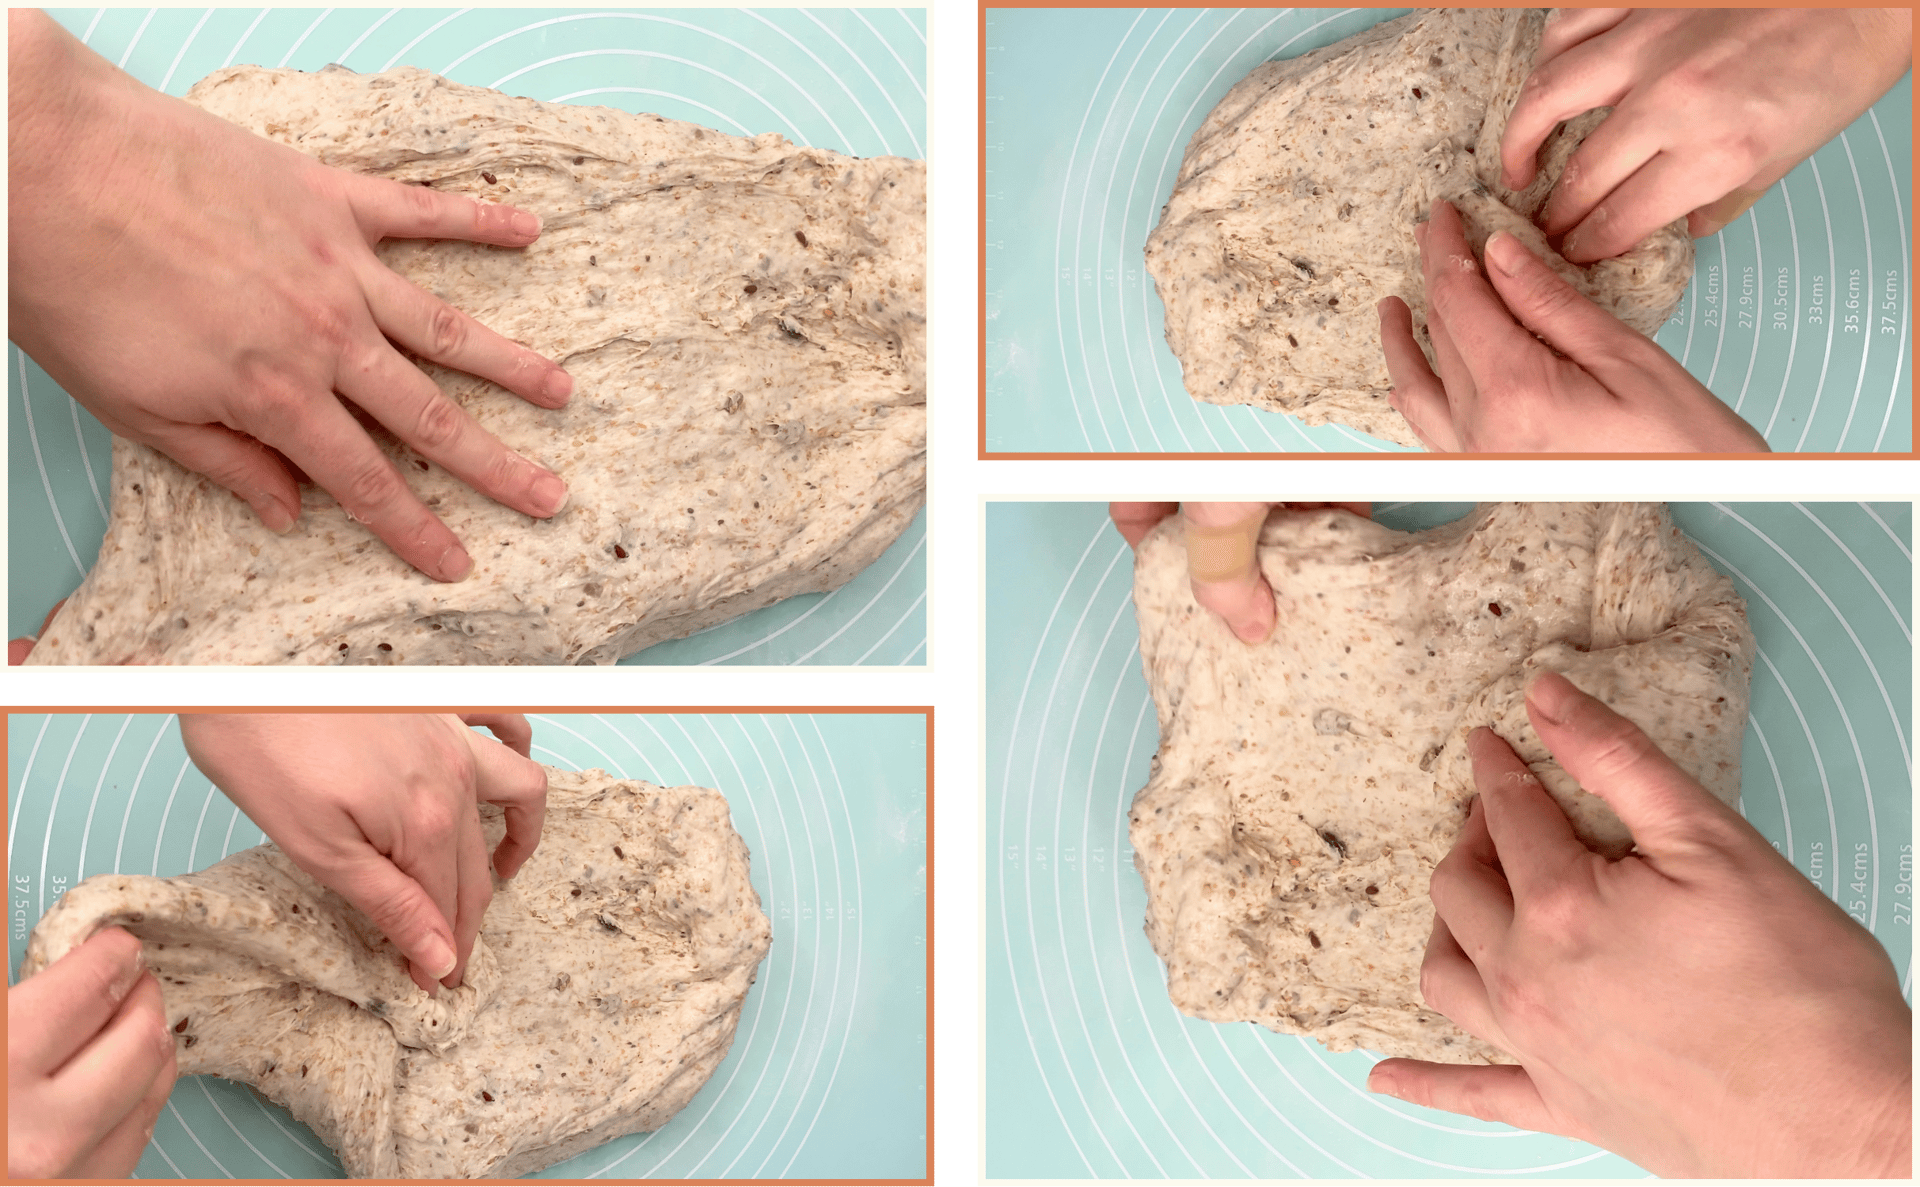
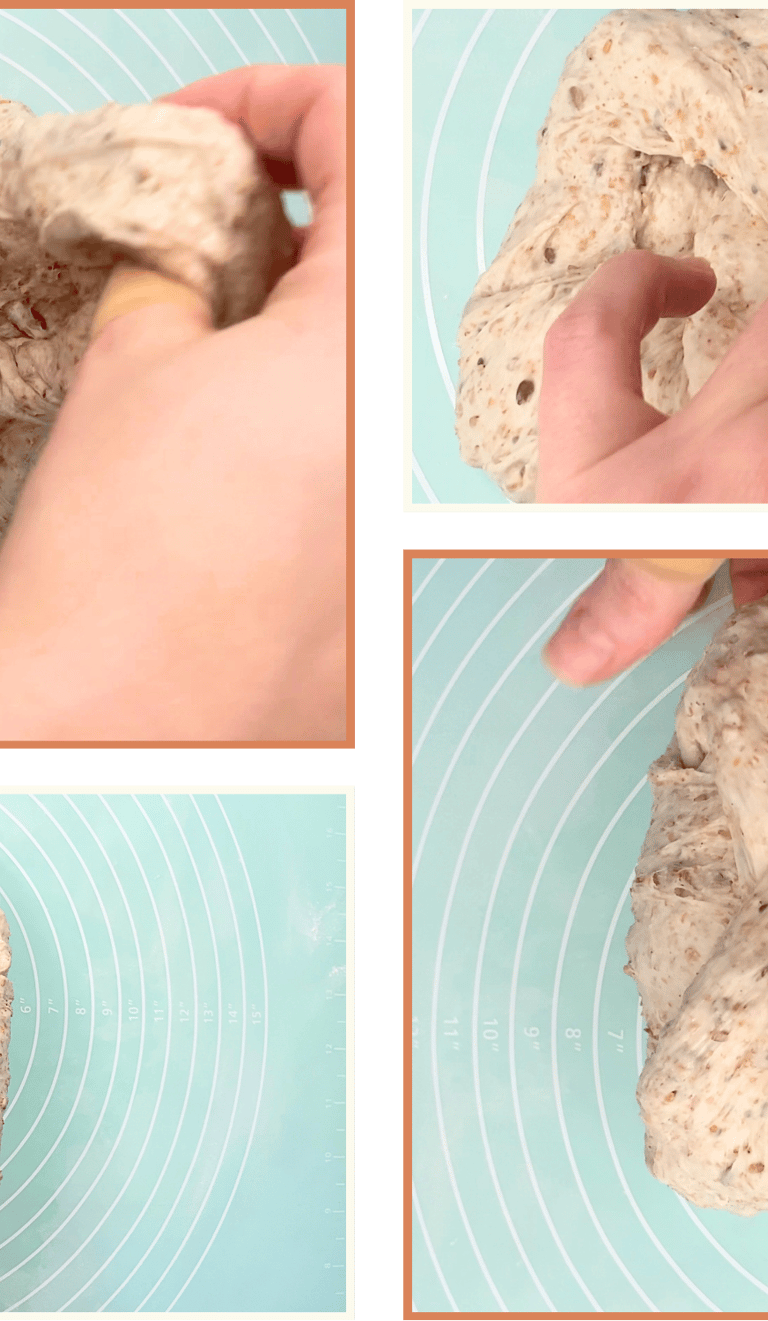
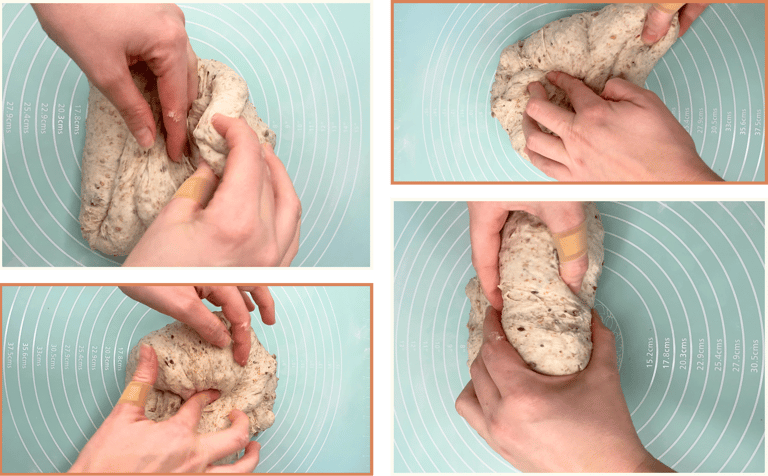
Shaping
Turn the dough out onto a lightly floured or lightly damp surface.
Avoid pressing it flat. Gently stretch it from the center outward to open it slightly without deflating it.
Lower folds
Bring the bottom left corner toward the center, then the bottom right corner.
Lift the bottom edge and fold it upward toward the middle.
Adding salt, honey, and seeds
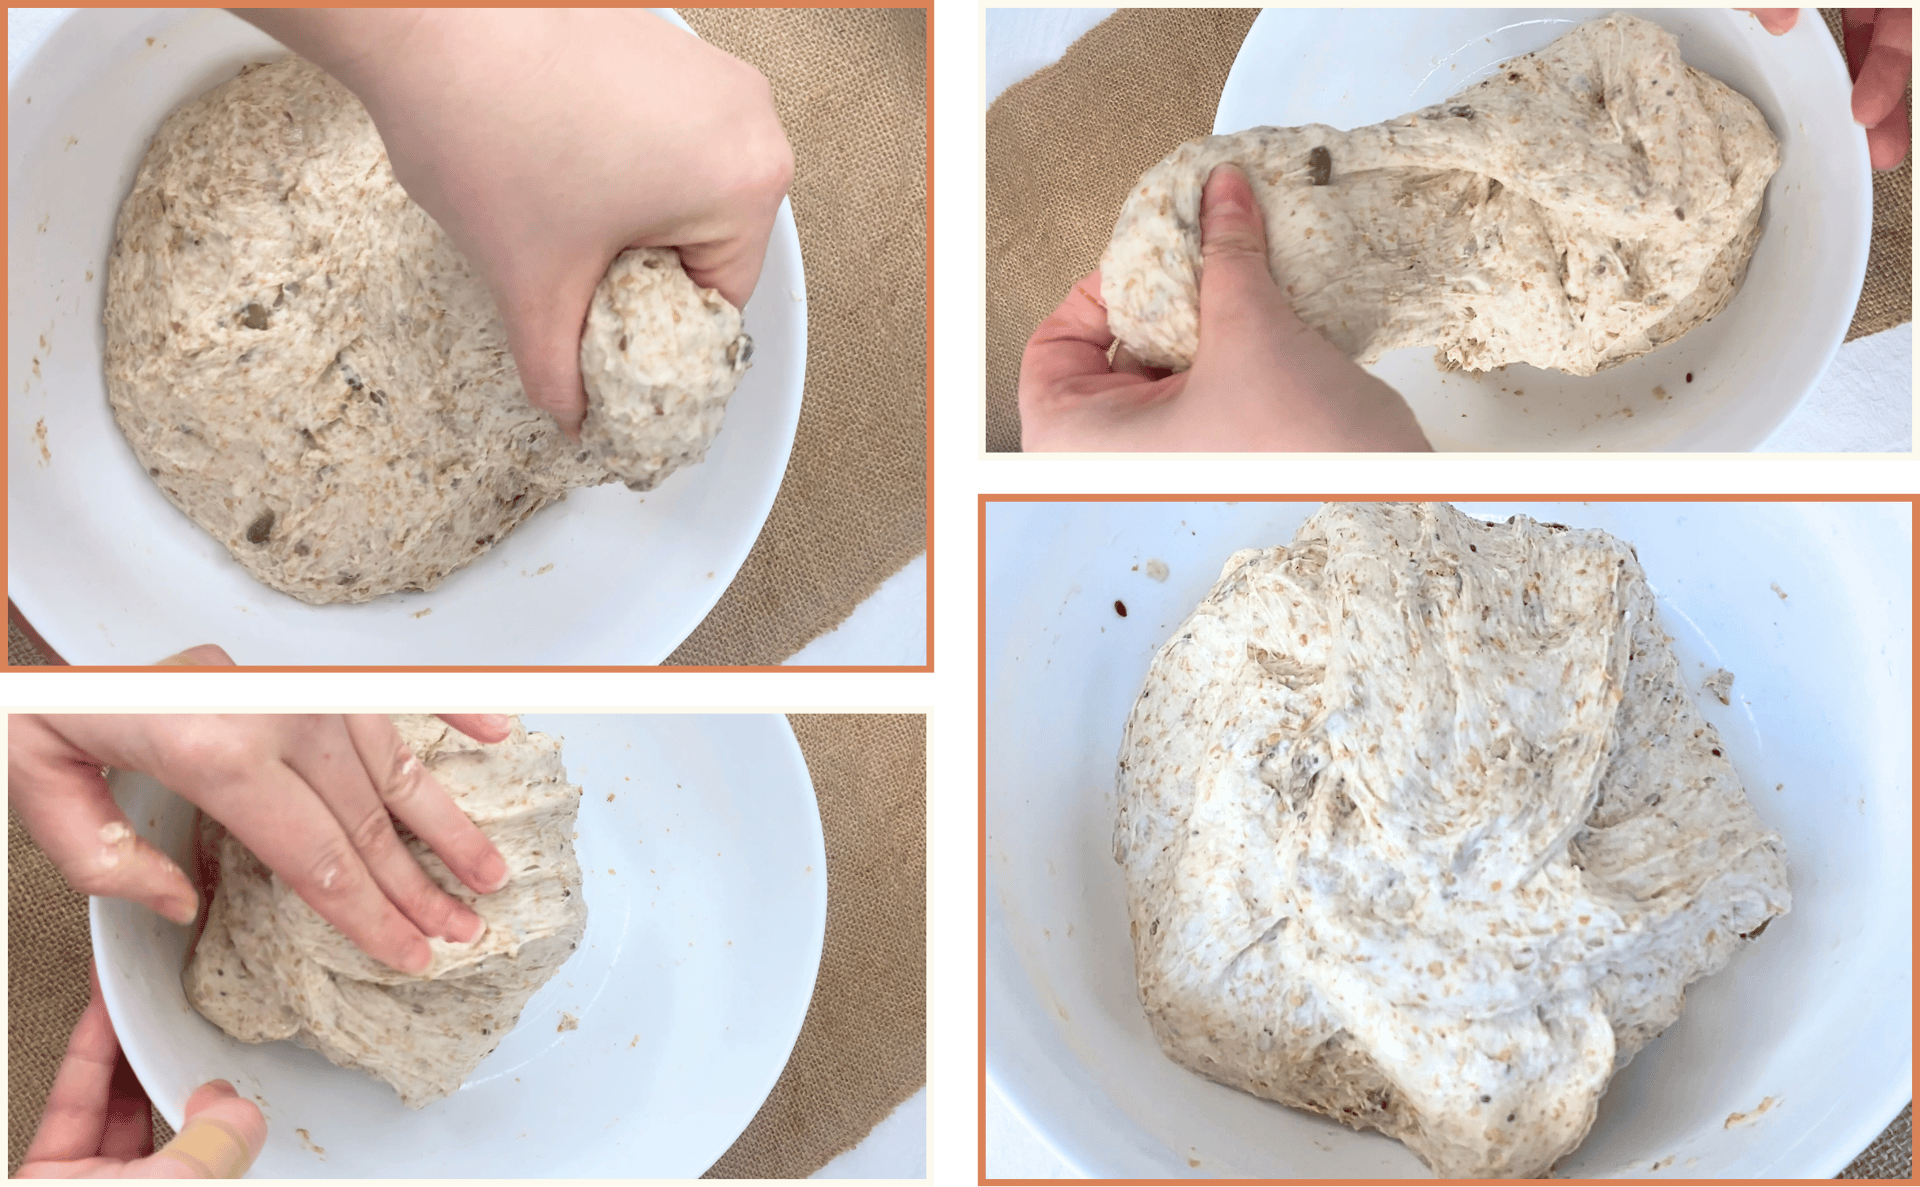
Add the salt and honey to the dough and begin incorporating them gently.
Then add the seeds gradually.
Use soft folding motions rather than aggressive kneading.
Mix gently for about 6–8 minutes.
You can reserve about 15 g of the total water and use it at this stage to help dissolve and integrate the salt and honey more easily.
If the dough feels like it’s tearing slightly while adding the seeds, don’t worry.
This is normal when working with inclusions.
The gluten will continue strengthening during bulk fermentation and through the folds, resulting in a well-structured loaf with a good crumb.
If you enjoy baking sourdough and exploring different seasonal loaves, you might also like:
Our Rustic Chestnut Sourdough: The Perfect Companion for Your Winter Table: A gentle, cozy loaf made with real chestnut purée, offering a soft, tender crumb and an earthy winter aroma, perfect for buttered toast and slow mornings.
Or discover our Winter Orange Sourdough with a Touch of Honey and Rosemary: A comforting winter loaf with bright citrus notes, subtle sweetness, and aromatic rosemary, designed to bring warmth and depth to everyday baking.

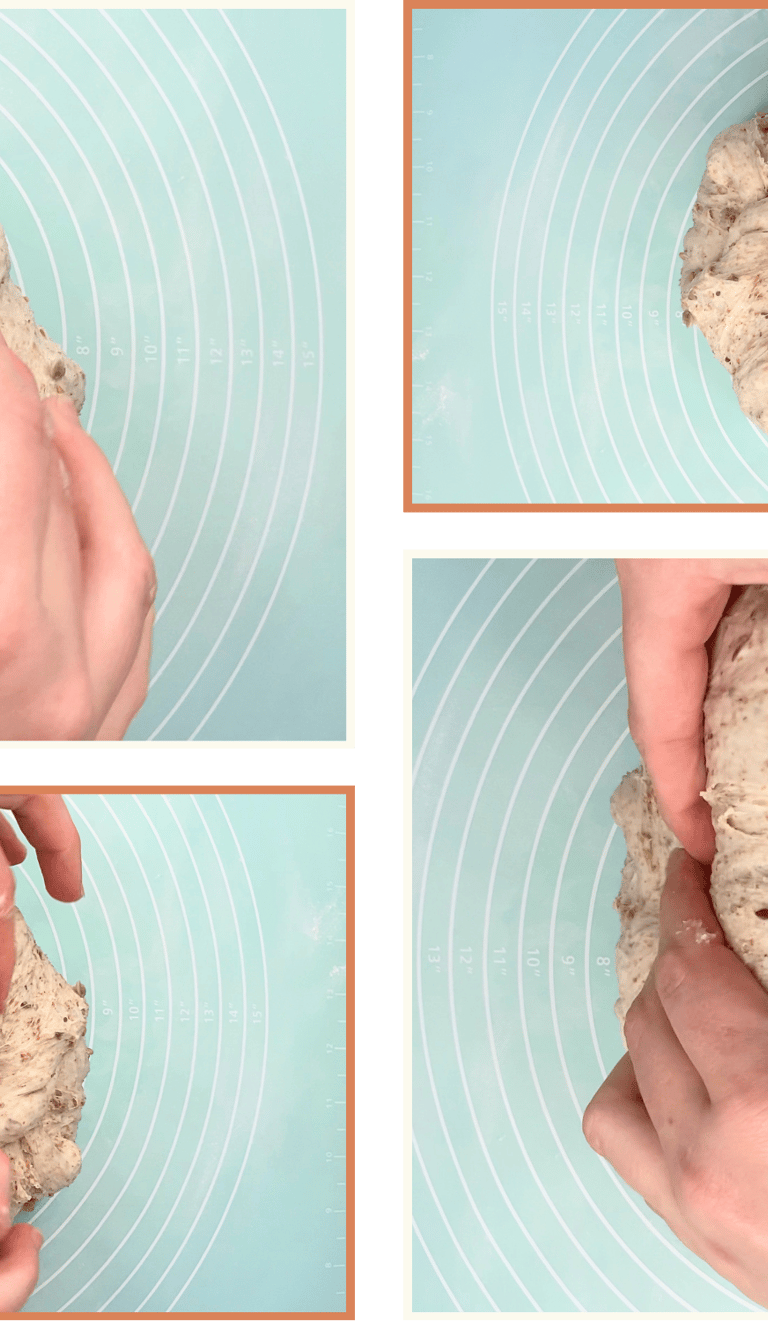
Upper folds
Bring the top left corner toward the center, then the top right corner.
Fold the top edge down toward the middle.
Side folds
Fold the left side toward the center, then the right side.
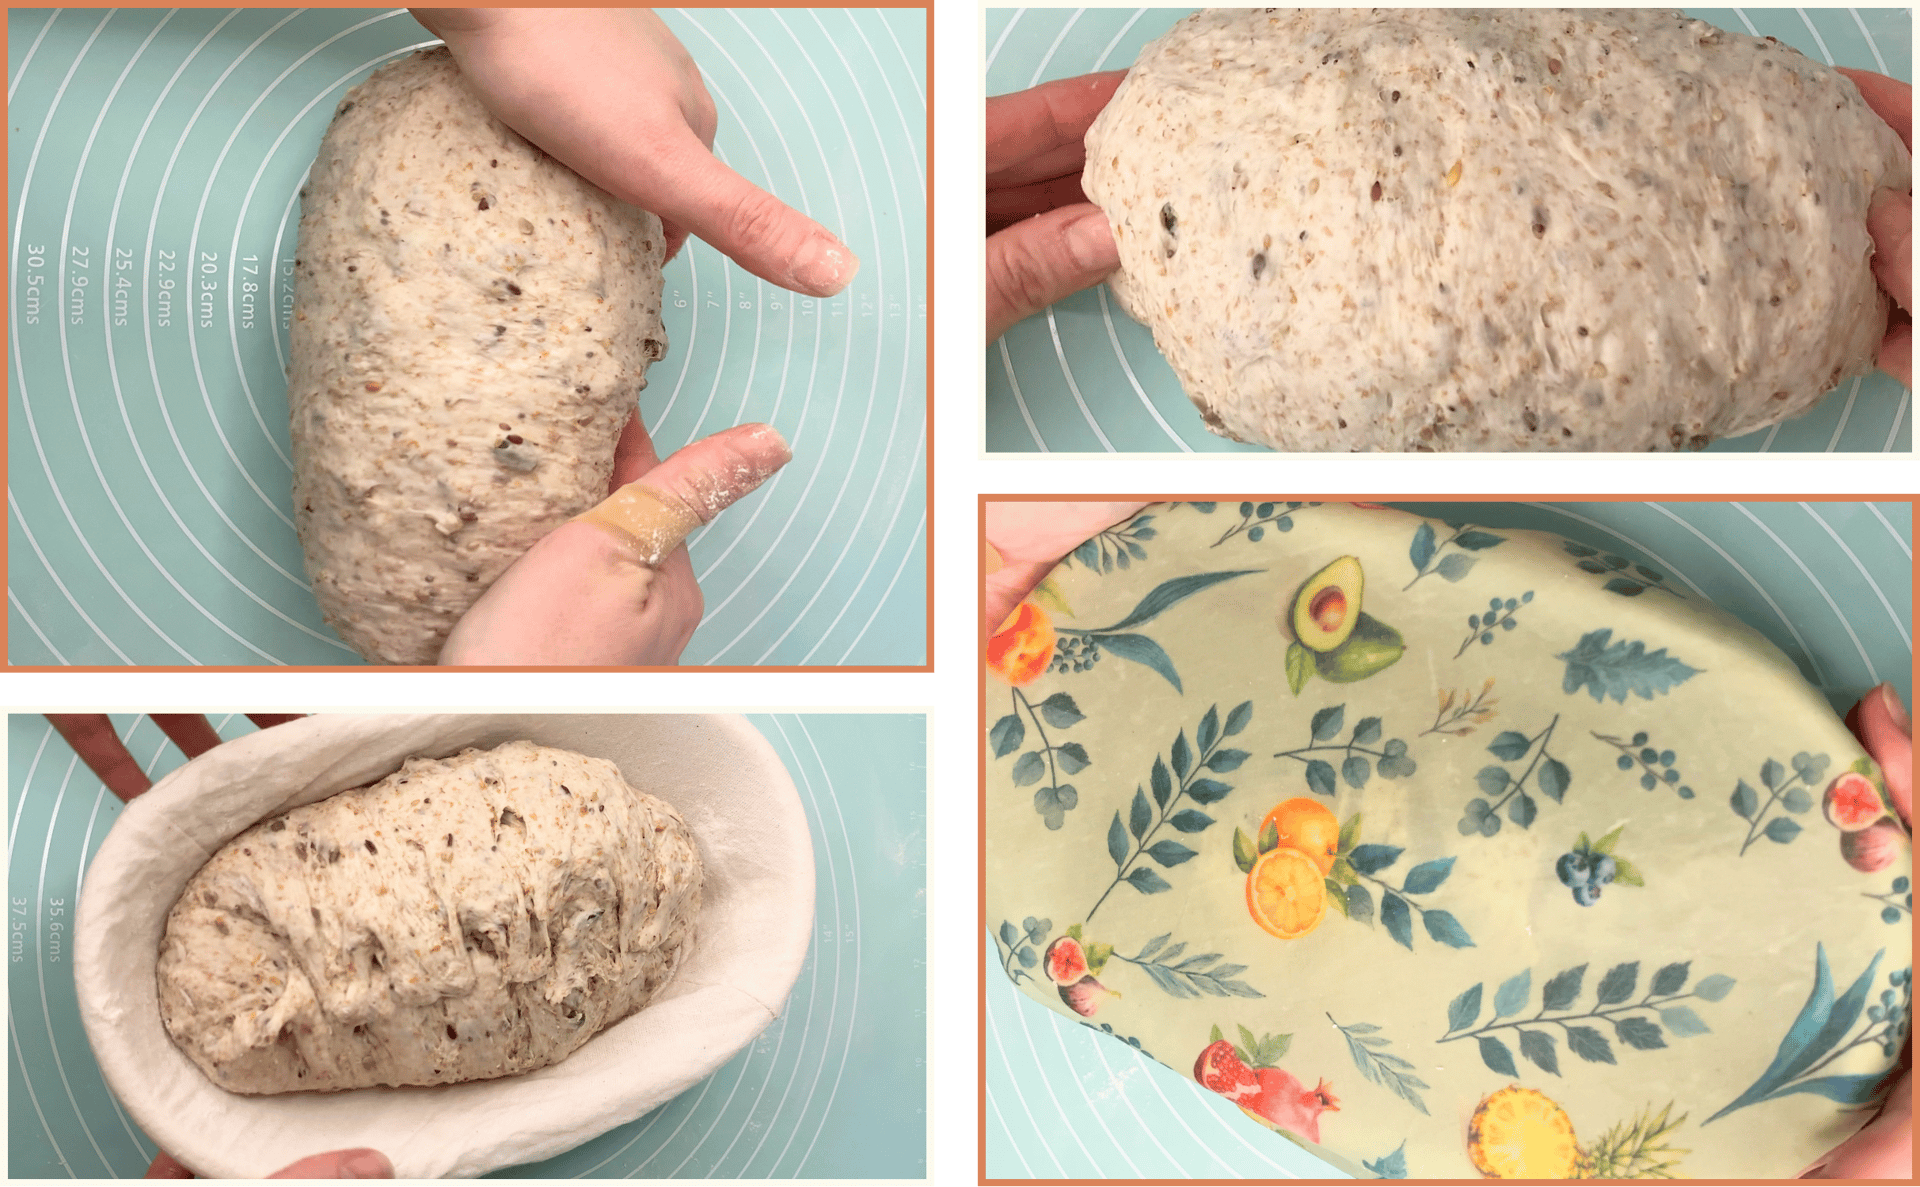
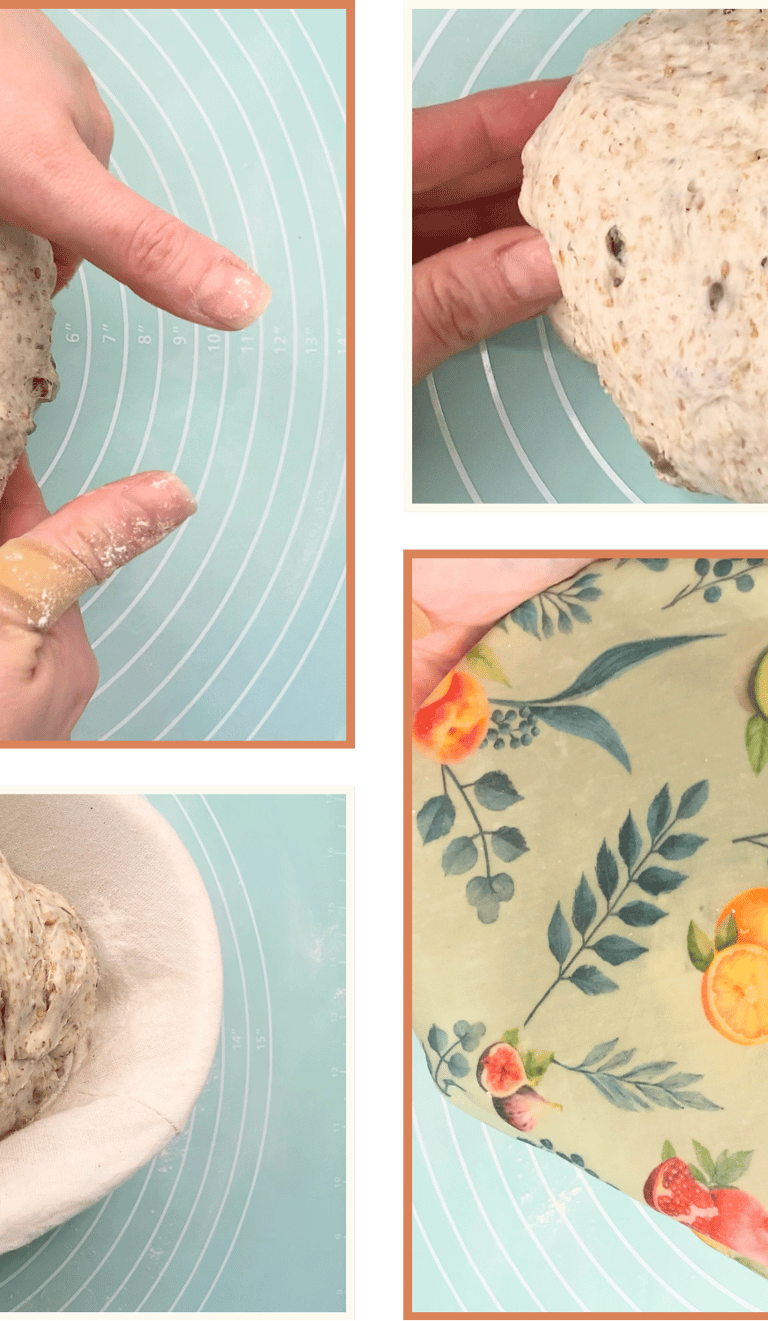
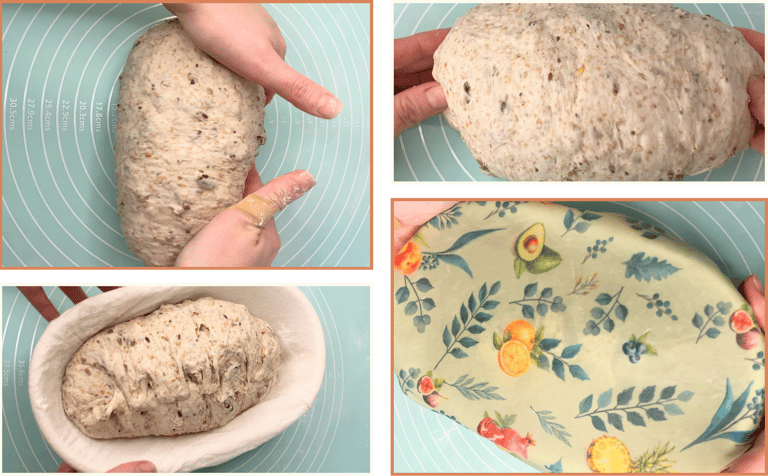
Tensioning
Fold the corners in gently to build light surface tension. This helps the dough hold its shape without tightening it too much.
Final roll
Starting from the bottom edge, roll the dough toward you while gently dragging and turning it to create surface tension.
After rolling, gently pull the dough slightly toward you on the work surface to build a bit more tension on the outer layer.
Lightly pinch and seal the sides and seams to close the dough properly.
Then place it seam-side up in the banneton, making sure everything is well sealed so the loaf keeps its structure during the final proof.
Banneton and cold fermentation
Seal the seam lightly and place the dough seam-side up in the banneton.
Cover and refrigerate for 8–12 hours, depending on your schedule.
Cold fermentation slows yeast activity, improves flavor and digestibility, and makes sourdough baking easier to fit into real life.
Baking
Preheat the oven to 250 °C well in advance. A thoroughly preheated oven is essential for good oven spring.
Before baking
Remove the dough from the fridge.
If you like, lightly dust the surface with flour before scoring.
Rice flour works especially well for this, as it stays visible and doesn’t absorb as quickly as wheat flour.
For better adhesion, you can lightly mist or brush the surface of the dough with a bit of water before dusting with flour. This helps the flour stick evenly.
Score the dough using a sharp blade or lame, making the cut you prefer.
Once scored, transfer the dough to the oven immediately.
With a Dutch oven
Bake for 20 minutes at 250 °C, covered
Remove the lid, lower the temperature to 200–210 °C, and bake for another 20–25 minutes, until well browned
The exact final temperature and time may vary depending on how strong your oven is.
Without a Dutch oven
Use a baking stone or baking tray, fully heated
Place a metal tray at the bottom of the oven to create steam
Place an extra tray above the loaf during the first 20 minutes to prevent the crust from setting too early
Just before baking, carefully add water or ice to the tray
Bake for 20 minutes at 250 °C with steam
Remove the steam tray and the top tray
Lower the temperature to 200–210 °C and bake for another 20–25 minutes, until the crust is well developed
Again, adjust slightly depending on your oven’s power.
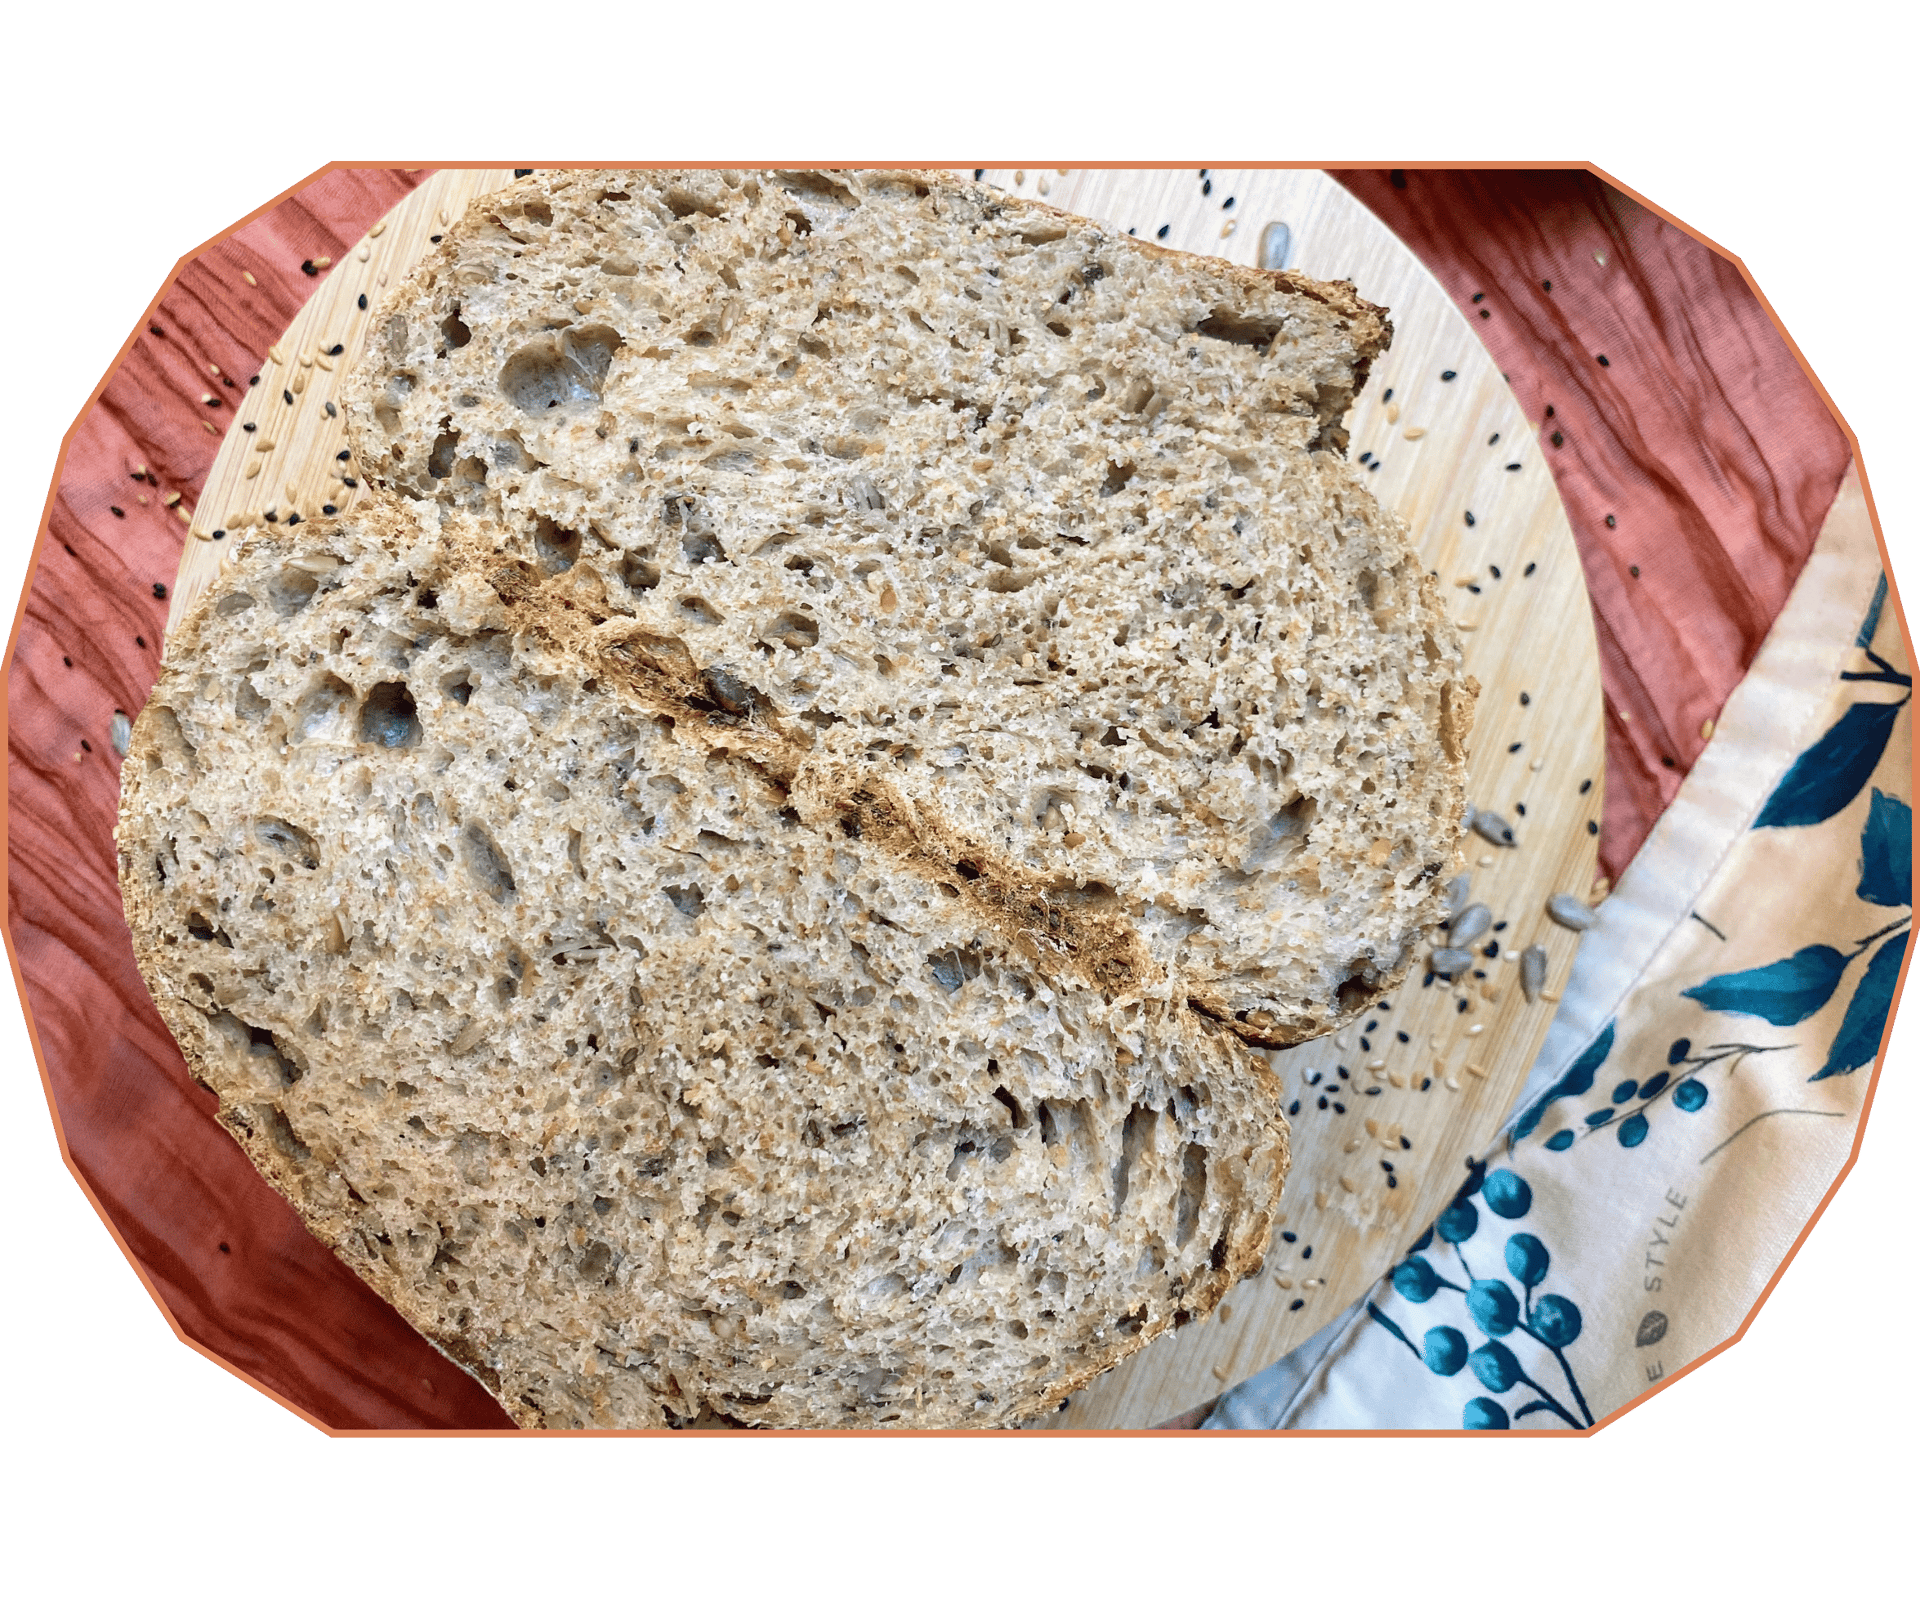
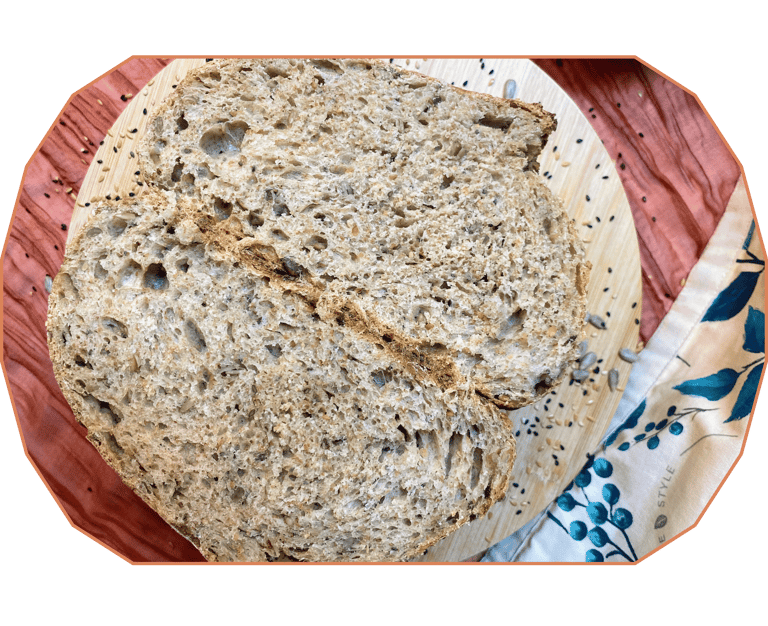
How to know when the bread is ready
The bread is fully baked when the crust is deeply golden, the loaf feels light, and it sounds hollow when tapped on the bottom.
Cooling
Once baked, transfer the bread to a cooling rack and let it cool completely before slicing.
This resting time allows the crumb to set properly and prevents a gummy interior.

A Practical Tip for Everyday Baking
(Making sourdough practical)
You can make several loaves at once and bake them gradually throughout the week.
Once the dough is fully shaped, you can freeze the loaf before baking. This allows you to bake fresh sourdough whenever you need it, without starting the process from scratch each time.
To bake a frozen, unbaked loaf:
Thaw the dough slowly in the refrigerator
Allow it to feel lighter and increase slightly in volume
Bake as usual
Fermentation slows almost completely in the freezer, so this gentle reactivation is important for proper oven spring and texture.
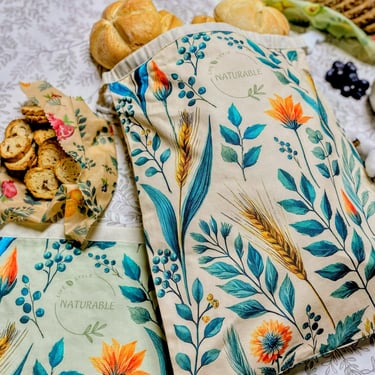
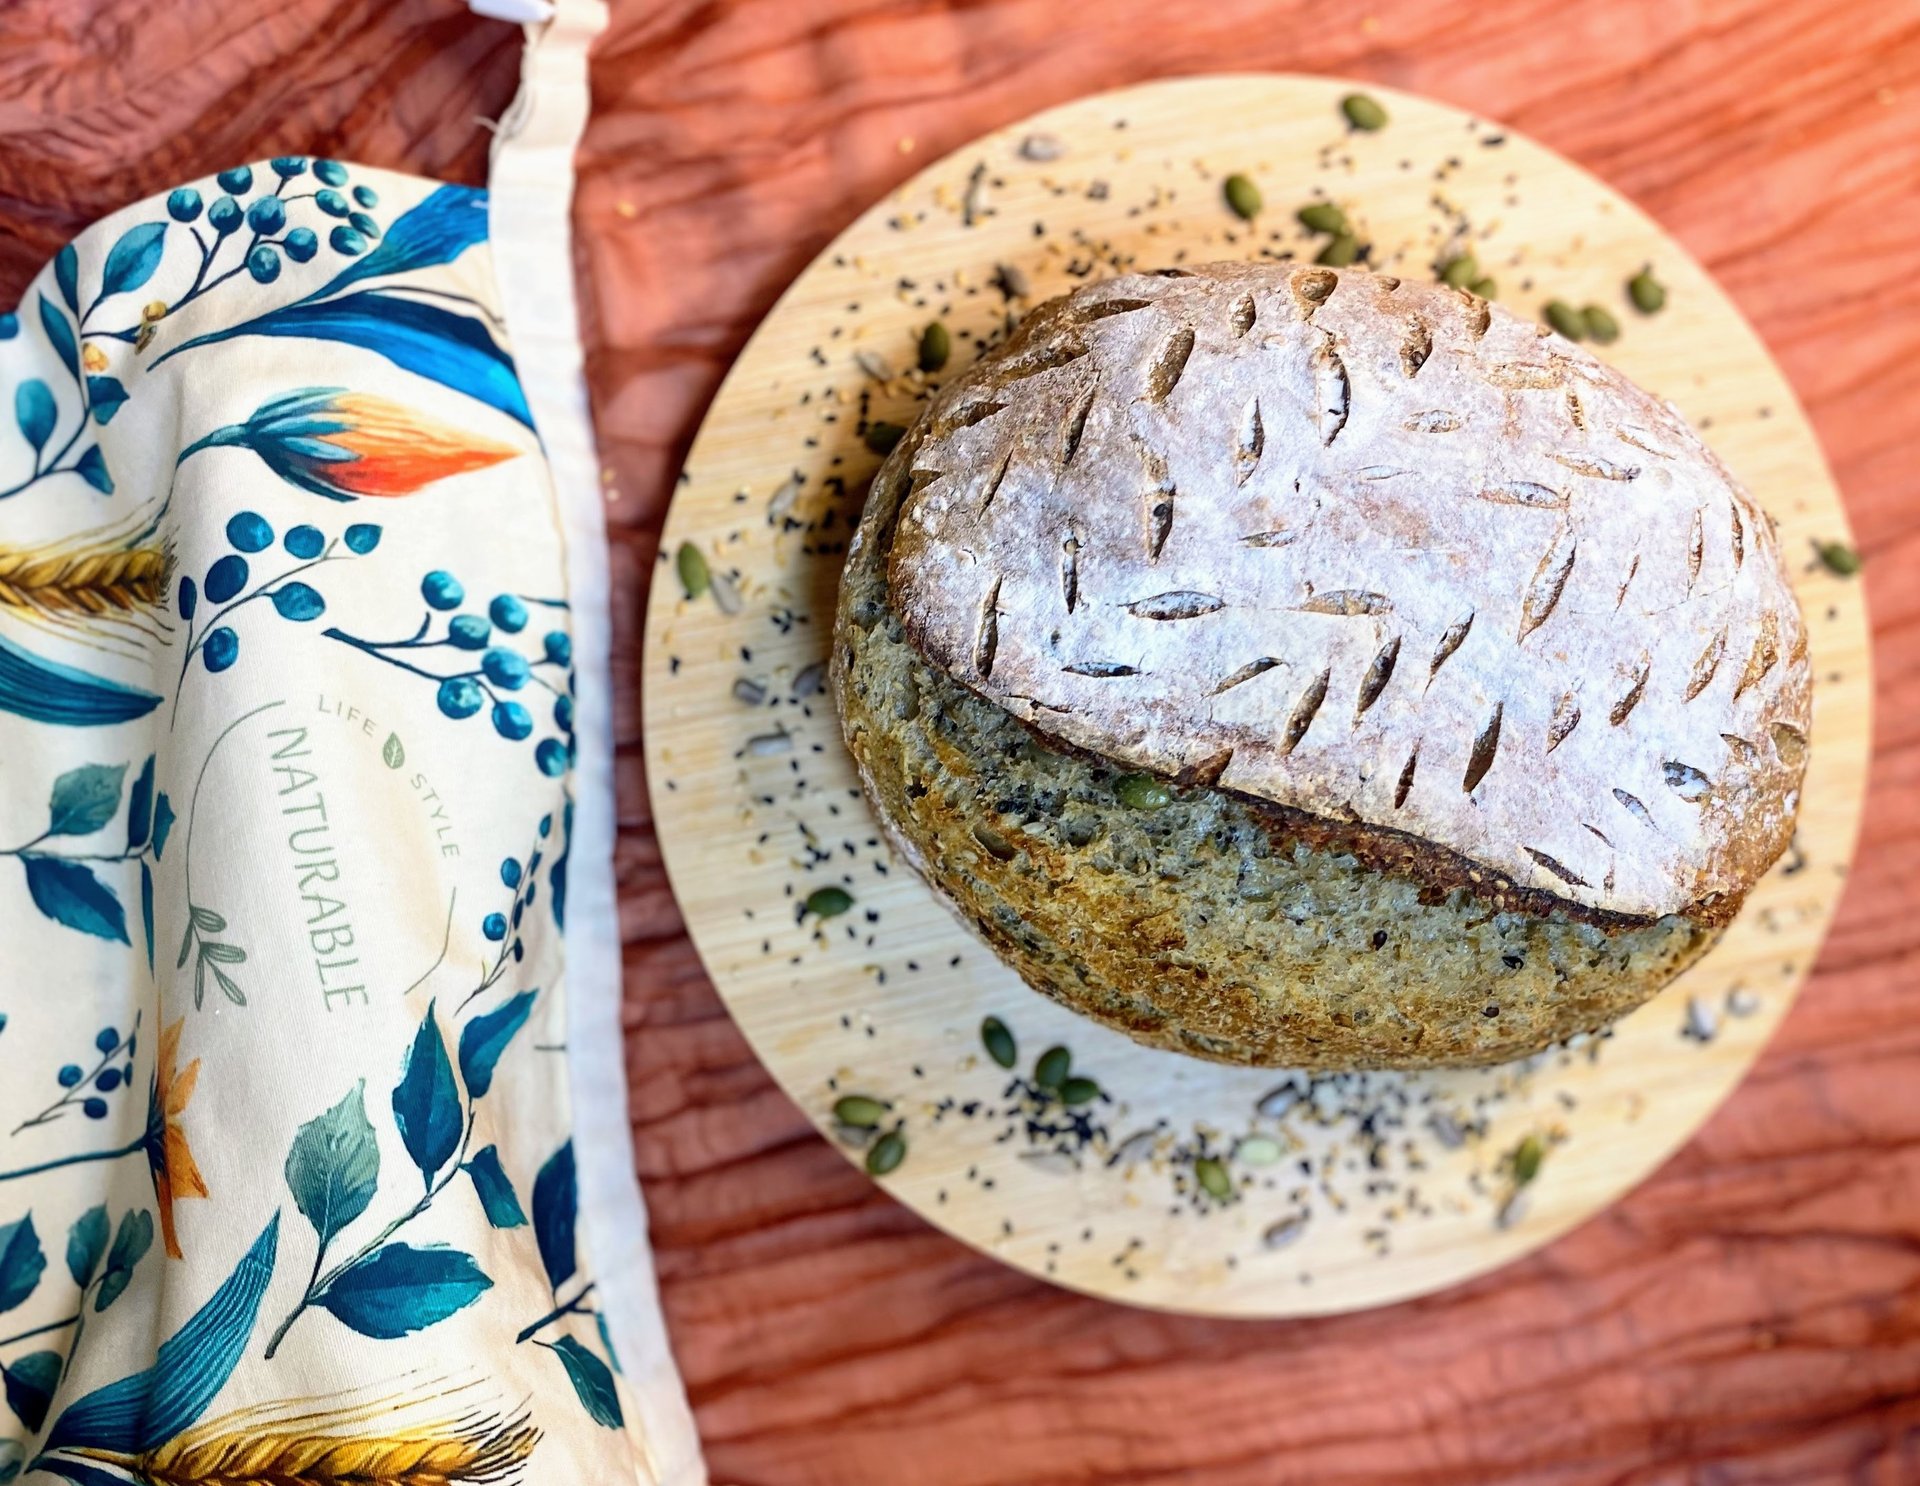
Storing Bread with The Naturable Set
Proper storage makes a big difference in how long your bread stays fresh and enjoyable.
Our Naturable Beeswax Bread Bags & Wraps Set is designed specifically for storing sourdough bread naturally, both at room temperature and in the freezer.
Bread bags are ideal for storing whole loaves, allowing the bread to breathe while protecting the crust and keeping the crumb soft.
Beeswax wraps are perfect for portioning bread or wrapping individual slices.
If freezing bread using the Naturable beeswax bags or wraps, allow it to sit at room temperature for about 5 minutes before opening or unwrapping. This helps prevent condensation and keeps the texture of the bread intact.
With the right storage, this seeded sourdough fits easily into everyday life, whether you enjoy it fresh, toasted, or straight from the freezer.


Curious about why swapping plastic wraps and plastic bags for beeswax is such a simple yet powerful upgrade for your kitchen?
Discover how small changes can make a real difference in our post: Swap Plastic for Beeswax: The Kitchen Upgrade You Didn’t Know You Needed
Freezing Baked Bread:
You can also bake several loaves at once, let them cool completely, and freeze them after baking.
A fully baked loaf can be frozen whole. This works especially well if you plan to defrost and use it within a short time.
For daily convenience, freezing the bread already sliced is often the most practical option.
Arrange the slices in a single layer on a tray or flat surface and freeze them briefly until firm. Once frozen, store them together. This makes the slices much easier to separate later.
Note: Freezing bread before consuming it may also offer additional health benefits. When bread is cooled or frozen, part of its starch structure changes and becomes resistant starch, which is digested more slowly. This can help support better blood sugar balance and gut health, especially when the bread is later reheated or toasted.
This is everyday bread.
Made for toast, sandwiches, meals, or a simple drizzle of olive oil.
Reliable, nourishing, and uncomplicated.
Have You Tried Our Beeswax Bags & Wraps?
A natural way to keep your food and bread fresh while reducing plastic in your kitchen.
Each set includes 2 reusable bread bags and 2 wraps, made from 100% cotton, beeswax, jojoba oil, and pine resin.
Simple, sustainable, and long-lasting.


Let’s Connect on Instagram
This seeded sourdough bread is designed to fit into everyday life.
It’s not complicated, it doesn’t require advanced techniques, and it doesn’t ask for constant attention. What it does require is a bit of patience and an understanding of what the dough needs at each stage.
It’s a reliable, versatile loaf that works just as well for toast as it does for sandwiches or daily meals. Adding seeds is an easy way to make your bread a little more nourishing without changing your routine.
Sourdough doesn’t have to be complicated. With good organization and cold fermentation, it can adapt easily to your schedule and become part of your weekly rhythm.

Ingredients (For one medium loaf)
300 g bread flour
200 g whole wheat flour
100 g active sourdough starter
350 g water
10 g salt
15 g honey
Seed mix
This recipe uses 60 g of seeds in total. You can increase the amount up to 80 g if you prefer a more seeded loaf.
The combination is fully adaptable. Use the seeds you already have at home.
What you will need
(Basic tools and simple alternatives)
You don’t need special equipment to bake good sourdough bread.
A few basic tools are enough, and most items have easy alternatives.
Essential tools
A large mixing bowl
A kitchen towel or cloth
A bench scraper
A banneton or proofing basket
If you don’t have one, a bowl lined with a lightly floured cloth works perfectly.
A lame or sharp blade
A clean razor blade or a very sharp knife can be used instead.
Baking options
With a Dutch oven
A Dutch oven helps trap steam during the first part of baking, allowing the bread to rise well before the crust sets.
If you have one, it’s a very convenient option.
Without a Dutch oven (You can still bake excellent bread without it)
You’ll need:
A baking stone or heavy baking tray, well preheated
A metal tray placed at the bottom of the oven to create steam
An extra baking tray placed above the bread during the first 20 minutes to prevent the crust from setting too quickly
A metal tray or heatproof container to add water and create steam in the oven during baking.
This setup mimics the steam effect of a Dutch oven and works very well when the oven is fully preheated.
Optional but helpful
Parchment paper for easy transfer into the oven
A spray bottle or ice cubes to help generate steam
A cooling rack to let the bread cool properly after baking


Notes on Flour & Hydration
(Understanding how the dough behaves)
You can make this bread using only white flour or only whole wheat flour.
Keep in mind that whole wheat flour absorbs more water than white flour.
If using mostly or only whole wheat flour, you may need to add 15–20 g of extra water, no more.
With experience, you’ll learn to recognize this naturally.
If after autolyse the dough feels stiff, tight, or resists stretching, it may need a little more hydration. Always add water gradually rather than all at once.
You can also include other flours, such as spelt or rye.

Preparing The Seeds
(Texture, structure, and digestion)
Why soak seeds?
For the dough
Prevents seeds from absorbing moisture from the dough during fermentation
Helps maintain a juicier, more even crumb
Makes the seeds easier to integrate without damaging gluten structure
For digestion and nutrition
Makes seeds easier to digest
Reduces compounds such as phytates, which can interfere with mineral absorption
Improves the availability of nutrients like minerals and healthy fats
In the case of flaxseed, soaking activates its natural gel, which also benefits crumb texture
Soak the seeds for about 30 minutes, then drain them well before use.
Two valid options
Soak and use directly: Simple, effective, and ideal for consistent hydration.
Toast first, then soak: Toast lightly for deeper flavor, let cool completely, then soak and drain before adding.
Avoid adding seeds that are hot or completely dry.
Bulk fermentation and folds
During bulk fermentation, perform three sets of folds, spaced 40 minutes apart.
Instead of classic stretch-and-folds, use a short, controlled motion. Lift just the edge of the dough with your fingertips and fold it toward the center. Repeat this 3–4 times per set, rotating the bowl slightly.
This method is especially suitable for seeded doughs, as it builds strength without tearing the structure.
After the third set of folds, let the dough ferment until it has increased by about 60–70% in volume.
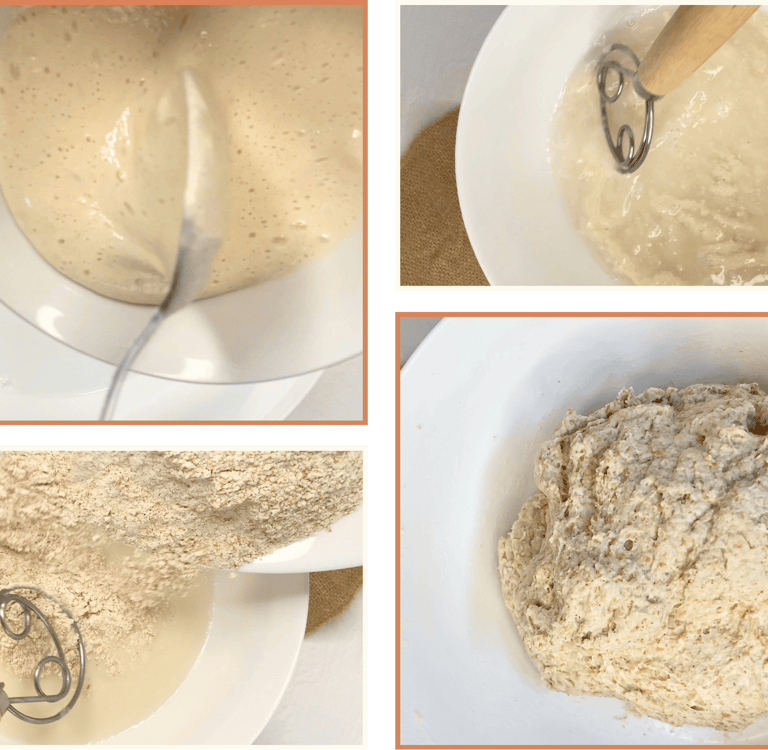
Autolyse
(Letting the dough start working on its own)
Mix the flours, water, and sourdough starter until no dry flour remains.
Cover and let rest for 30 minutes.
This step allows the flour to hydrate fully and gluten to begin developing naturally, reducing the need for intensive mixing later.
Step by Step


Adding salt, honey, and seeds
Add the salt and honey to the dough and begin incorporating them gently.
Then add the seeds gradually.
Use soft folding motions rather than aggressive kneading.
Mix gently for about 6–8 minutes.
You can reserve about 15 g of the total water and use it at this stage to help dissolve and integrate the salt and honey more easily.
If the dough feels like it’s tearing slightly while adding the seeds, don’t worry.
This is normal when working with inclusions.
The gluten will continue strengthening during bulk fermentation and through the folds, resulting in a well-structured loaf with a good crumb.
How to tell bulk fermentation is ready
With seeded doughs and cold fermentation, the dough may not look as smooth or bubbly as a plain dough. This is completely normal.
Look for these signs instead:
The dough feels lighter and more elastic
The surface looks more relaxed and aerated
It releases easily from the bowl
Small bubbles may appear, but they may be subtle
At around 24 °C, this usually takes 2.5–3 hours, but always follow the dough, not the clock.

Shaping
Turn the dough out onto a lightly floured or lightly damp surface.
Avoid pressing it flat. Gently stretch it from the center outward to open it slightly without deflating it.
Lower folds
Bring the bottom left corner toward the center, then the bottom right corner.
Lift the bottom edge and fold it upward toward the middle.
Upper folds
Bring the top left corner toward the center, then the top right corner.
Fold the top edge down toward the middle.
Side folds
Fold the left side toward the center, then the right side.
Tensioning
Fold the corners in gently to build light surface tension. This helps the dough hold its shape without tightening it too much.
Final roll
Starting from the bottom edge, roll the dough toward you while gently dragging and turning it to create surface tension.
After rolling, gently pull the dough slightly toward you on the work surface to build a bit more tension on the outer layer.
Lightly pinch and seal the sides and seams to close the dough properly.
Then place it seam-side up in the banneton, making sure everything is well sealed so the loaf keeps its structure during the final proof.
Banneton and cold fermentation
Seal the seam lightly and place the dough seam-side up in the banneton.
Cover and refrigerate for 8–12 hours, depending on your schedule.
Cold fermentation slows yeast activity, improves flavor and digestibility, and makes sourdough baking easier to fit into real life.
Baking
Preheat the oven to 250 °C well in advance. A thoroughly preheated oven is essential for good oven spring.
Before baking
Remove the dough from the fridge.
If you like, lightly dust the surface with flour before scoring.
Rice flour works especially well for this, as it stays visible and doesn’t absorb as quickly as wheat flour.
For better adhesion, you can lightly mist or brush the surface of the dough with a bit of water before dusting with flour. This helps the flour stick evenly.
Score the dough using a sharp blade or lame, making the cut you prefer.
Once scored, transfer the dough to the oven immediately.
With a Dutch oven
Bake for 20 minutes at 250 °C, covered
Remove the lid, lower the temperature to 200–210 °C, and bake for another 20–25 minutes, until well browned
The exact final temperature and time may vary depending on how strong your oven is.
Without a Dutch oven
Use a baking stone or baking tray, fully heated
Place a metal tray at the bottom of the oven to create steam
Place an extra tray above the loaf during the first 20 minutes to prevent the crust from setting too early
Just before baking, carefully add water or ice to the tray
Bake for 20 minutes at 250 °C with steam
Remove the steam tray and the top tray
Lower the temperature to 200–210 °C and bake for another 20–25 minutes, until the crust is well developed
Again, adjust slightly depending on your oven’s power.
How to know when the bread is ready
The bread is fully baked when the crust is deeply golden, the loaf feels light, and it sounds hollow when tapped on the bottom.
Cooling
Once baked, transfer the bread to a cooling rack and let it cool completely before slicing.
This resting time allows the crumb to set properly and prevents a gummy interior.
If you enjoy baking sourdough and exploring different seasonal loaves, you might also like:
Our Rustic Chestnut Sourdough: The Perfect Companion for Your Winter Table: A gentle, cozy loaf made with real chestnut purée, offering a soft, tender crumb and an earthy winter aroma, perfect for buttered toast and slow mornings.
Or discover our Winter Orange Sourdough with a Touch of Honey and Rosemary: A comforting winter loaf with bright citrus notes, subtle sweetness, and aromatic rosemary, designed to bring warmth and depth to everyday baking.
A Practical Tip for Everyday Baking
(Making sourdough practical)
You can make several loaves at once and bake them gradually throughout the week.
Once the dough is fully shaped, you can freeze the loaf before baking. This allows you to bake fresh sourdough whenever you need it, without starting the process from scratch each time.
To bake a frozen, unbaked loaf:
Thaw the dough slowly in the refrigerator
Allow it to feel lighter and increase slightly in volume
Bake as usual
Fermentation slows almost completely in the freezer, so this gentle reactivation is important for proper oven spring and texture.
Freezing Baked Bread:
You can also bake several loaves at once, let them cool completely, and freeze them after baking.
A fully baked loaf can be frozen whole. This works especially well if you plan to defrost and use it within a short time.
For daily convenience, freezing the bread already sliced is often the most practical option.
Arrange the slices in a single layer on a tray or flat surface and freeze them briefly until firm. Once frozen, store them together. This makes the slices much easier to separate later.
Note: Freezing bread before consuming it may also offer additional health benefits. When bread is cooled or frozen, part of its starch structure changes and becomes resistant starch, which is digested more slowly. This can help support better blood sugar balance and gut health, especially when the bread is later reheated or toasted.


Storing Bread with The Naturable Set
Proper storage makes a big difference in how long your bread stays fresh and enjoyable.
Our Naturable Beeswax Bread Bags & Wraps Set is designed specifically for storing sourdough bread naturally, both at room temperature and in the freezer.
Bread bags are ideal for storing whole loaves, allowing the bread to breathe while protecting the crust and keeping the crumb soft.
Beeswax wraps are perfect for portioning bread or wrapping individual slices.
If freezing bread using the Naturable beeswax bags or wraps, allow it to sit at room temperature for about 5 minutes before opening or unwrapping. This helps prevent condensation and keeps the texture of the bread intact.
With the right storage, this seeded sourdough fits easily into everyday life, whether you enjoy it fresh, toasted, or straight from the freezer.
Curious about why swapping plastic wraps and plastic bags for beeswax is such a simple yet powerful upgrade for your kitchen?
Discover how small changes can make a real difference in our post: Swap Plastic for Beeswax: The Kitchen Upgrade You Didn’t Know You Needed
This is everyday bread.
Made for toast, sandwiches, meals, or a simple drizzle of olive oil.
Reliable, nourishing, and uncomplicated.
Have You Tried Our Beeswax Bags & Wraps?
A natural way to keep your food and bread fresh while reducing plastic in your kitchen.
Each set includes 2 reusable bread bags and 2 wraps, made from 100% cotton, beeswax, jojoba oil, and pine resin.
Simple, sustainable, and long-lasting.
Let’s Connect on Instagram
Subscribe to Our Newsletter
Join the Naturable Blog! Stay updated with our tips, kitchen hacks, and much more
Subscribe to Our Newsletter
Join the Naturable Blog! Stay updated with our tips, kitchen hacks, and much more
Stay connected! Follow us for tips, updates, and a little extra inspiration for your home and kitchen.
Have a question or need assistance?
Feel free to contact us!
© 2025. Naturable – A brand of Horizon Origin LLC